Flower Garden
Hi Creative Friends,
I am so glad you are joining me today! I have a fun, interactive, pop-up card to share with you… and to double the fun, there is a step-by-step video to show you all the ins and outs.
So, without further adieu, let’s get started.
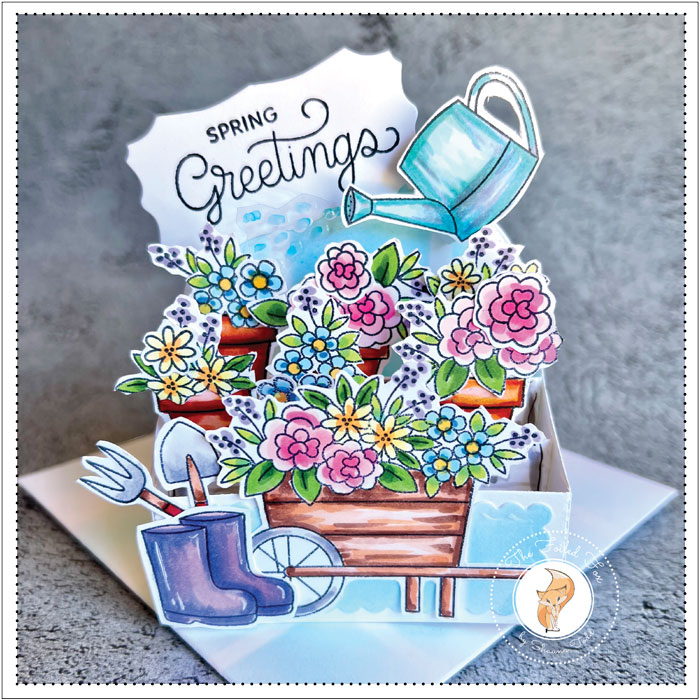
This pop-up card is easy to make… really! The pop-up box is a snap to put together, then on to the coloring and pulling it all together. Here is the video to show you how!
Now that you have had a chance to view the video, you saw how easy it is to make.
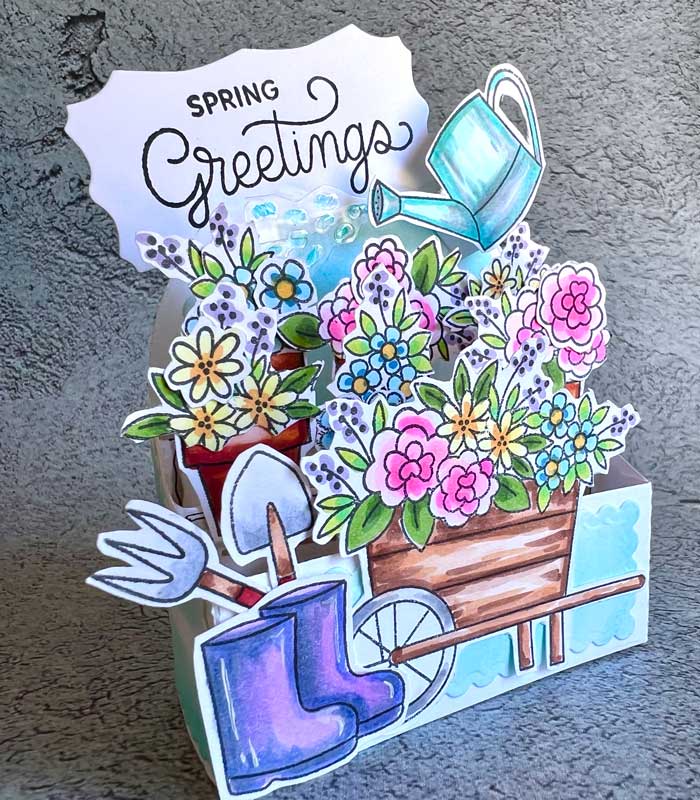
As you saw, I used Copic alcohol markers for the coloring. It is simple coloring but to help, here is a guide to the Copic markers colors used.
Wood planks: C0, C4, W3, W5
Pink flowers: RV10, RV21, RV04
Yellow flowers: Y11, YR14
Blue flowers: B01, B97, Y35
Purple spikes: V25
Leaves: YG17, G46, YG03, BG34
Cart: E21, E27, E13, 3 97 – wheel: C0, W3,C4, C5
Watering can: BG000, BG46, BG15, BG32, C4, C0, W3
Gardening boots: V12 BV04, BV23, C4
Flower pots: E50, E09, YR24, E11, YR18, R46
Now that all the coloring was done, the pieces were cut out using the matching dies (see supply list below) and a tiny bit of fussy cutting. Then onto finishing the assembly.
With the use of double-stick tape, it makes quick work of adding the elements. And, there is no sticky mess!
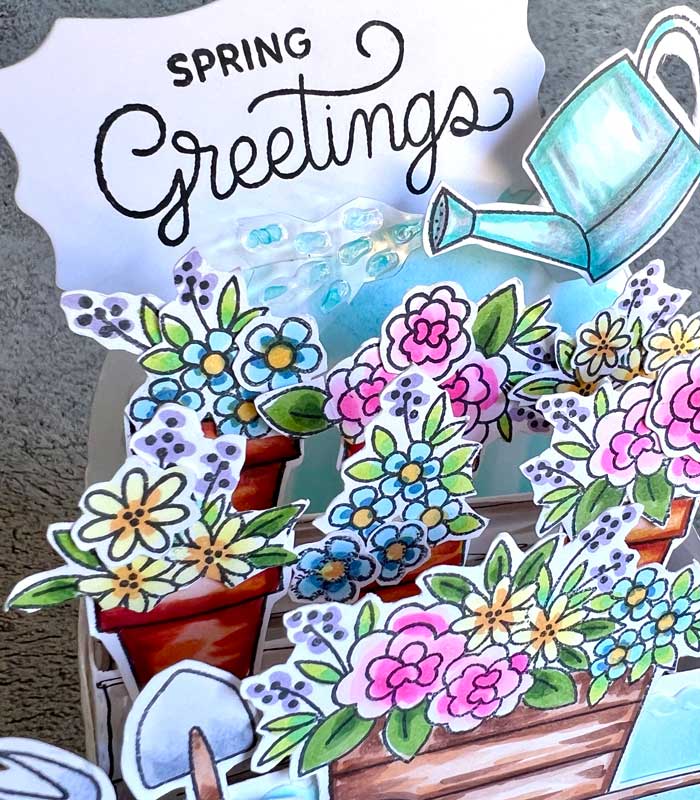
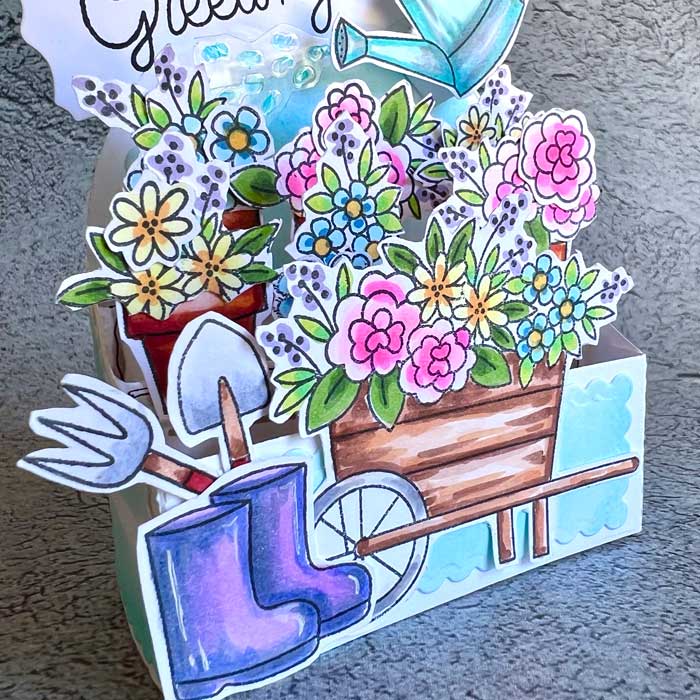
Adding the water sprinkling out of the watering can is one of my favorite features of this card design. I hope you liked it too and will give it a try. These few pics give you a closer look at the details.
To complete the project, I made an envelope to fit and added the grid pattern to match. The box and watering can collapse to fit neatly in the envelope, then pop up when the card is taken out of the envelope.
I think this project was a great way to welcome Spring or wish someone a Happy Mother’s Day. I hope you thought so too! ♥
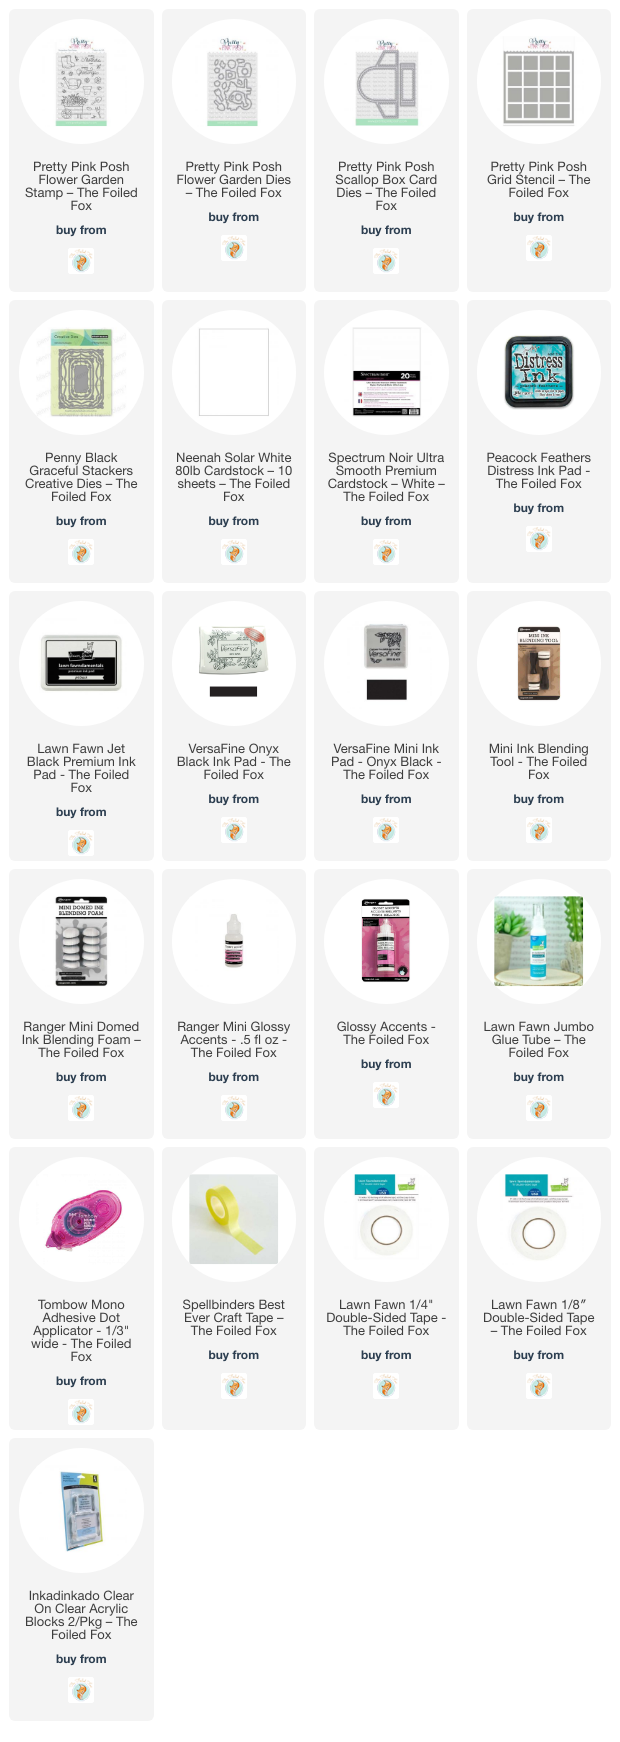
Goodies Used: