Flowers Are Blossoming
Hi Creative Friends,
We are sharing a pair of lovely card designs using the floral stamp and die set called Blossoming by Penny Black. There are four blossoms in this set and there are so many ways you can use them. For this project, we chose to couple the Blossoming sets with the Posted sets. It is a perfect combination!
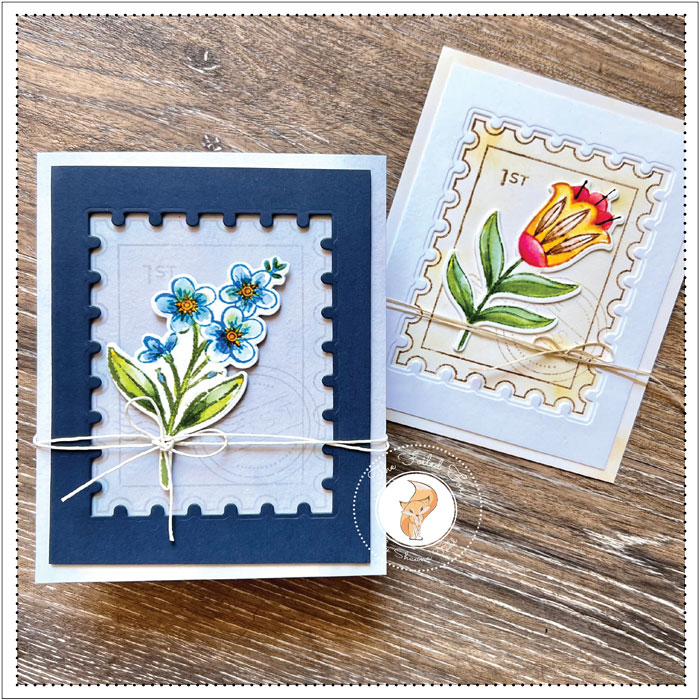
We started by making two A2 card bases from white card stock and set them aside. Then, we began with the yellow and pink flower card design.
First, we cut an A2-sized cream cardstock panel and stamped it using the Posted stamp set and Vintage Photo distress ink. We also blended on a little Antique Linen distress ink on the edges to give it a little vintage-y look.
Next, using a slightly smaller panel of heavy white cardstock and the Posted die set, we cut out the center of the panel using the postage frame die. This created a frame that perfectly fit the cream panel we had stamped. This frame was mounted on top of the cream panel.
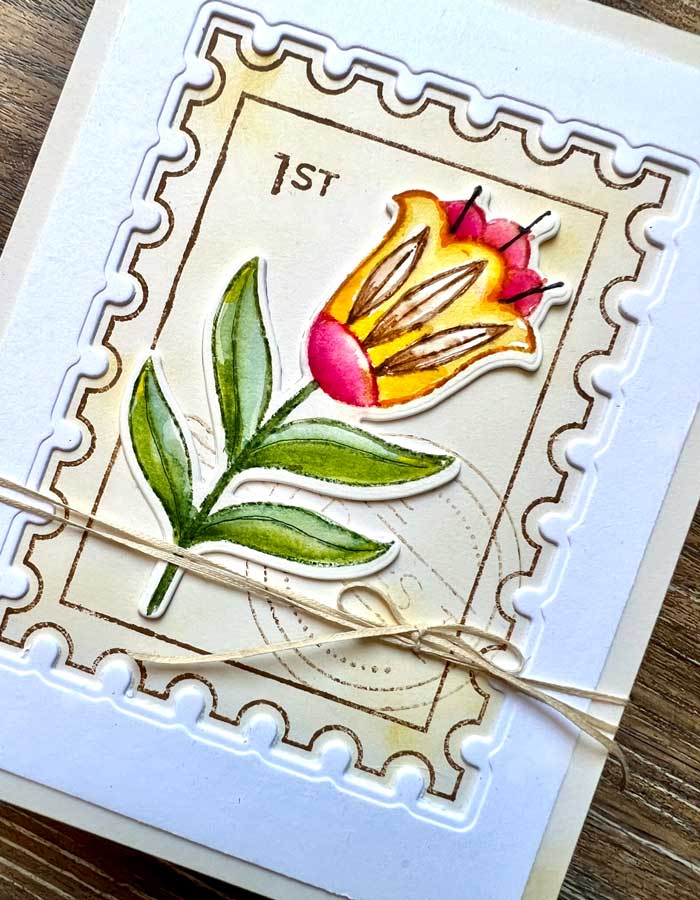
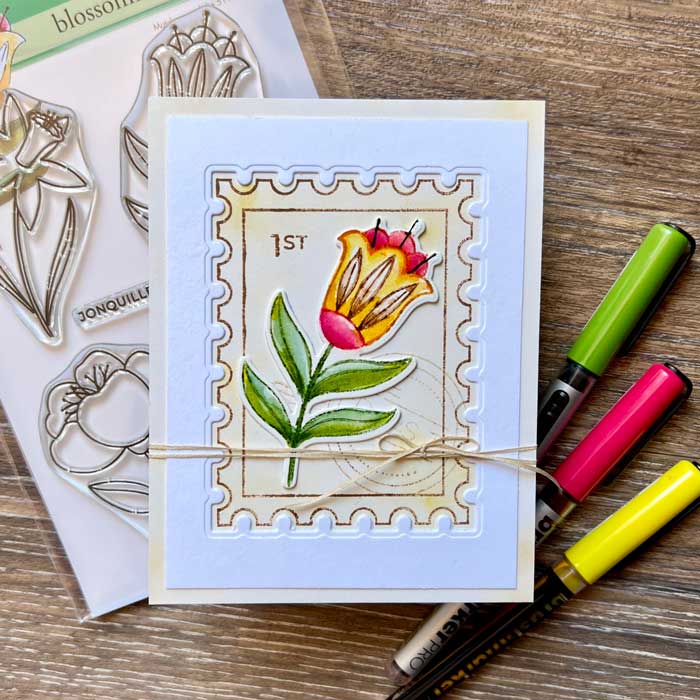
For the flower, we used a piece of watercolor paper and some Karin watercolor markers. Karin markers are fabulous and easy to use. You only need to rub on the color to the raised edges of the stamp, then stamp onto the paper. From there, you can urge the color from the edges into the center, using a damp brush.
If you need to add more color, you can either use the marker directly onto the flower for a more intense color, then spread the color with a damp brush or you can scribble some color from the marker onto your work surface and add a little water. Either way, the markers make coloring a snap! Once the flower was done and dry, it was cut out using the matching Blossoming dies.
The flower was mounted in the center of the Posted frame with a few foam squares and twine wrapped around and tied with a bow.
To finish, the whole assembly was mounted to one of the white card stock card bases!
Now on to the blue one… we repeated our steps as above but this time we cut a Hydrangea blue A2-sized panel and stamped it with the stamps in the Posted stamp set. We used Lost Shadow for that.
Next, we cut out a slightly smaller Whirly Pop blue (navy) panel. Then, using the Posted edged die, cut out the center just like before. It was mounted on top of the Hydrangea blue panel.
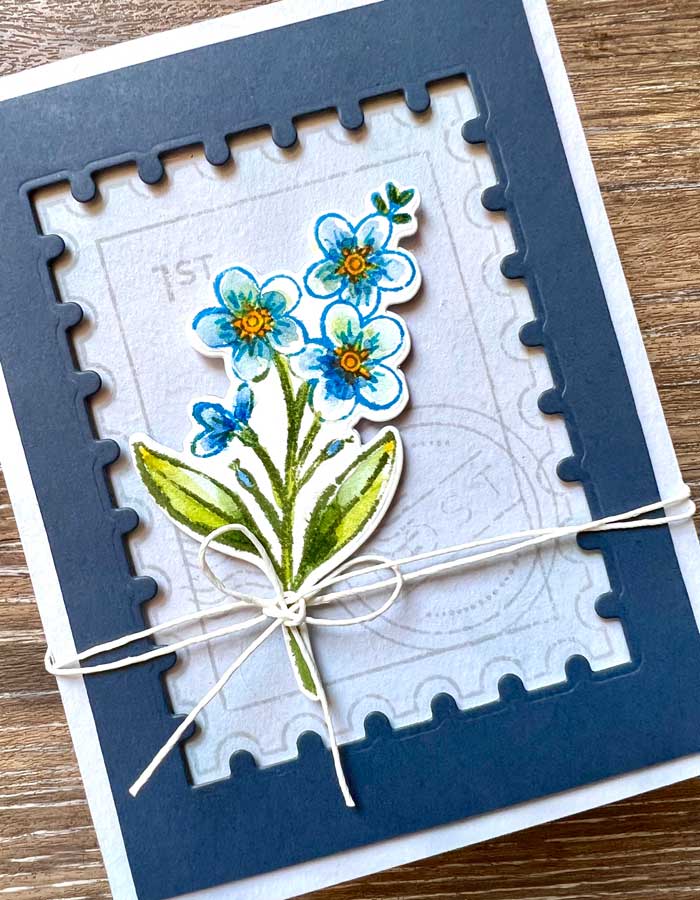
We chose another flower from the Blossoming stamp set. It was stamped onto watercolor paper using a few Versafine Clair inks, Shady Lane and Paradise. From there we could have used the Karin markers but decided to change it up a bit to show how you can use any inks, markers, and watercolors to color the flower.
We used Tombow markers to color. We scribbled a few colors on our work surface, then colored the flower with a damp brush.
When the flower was done, we mounted it in the center of the blue panels with foam squares. Again, we wrapped the panels with twine and tied a bow.
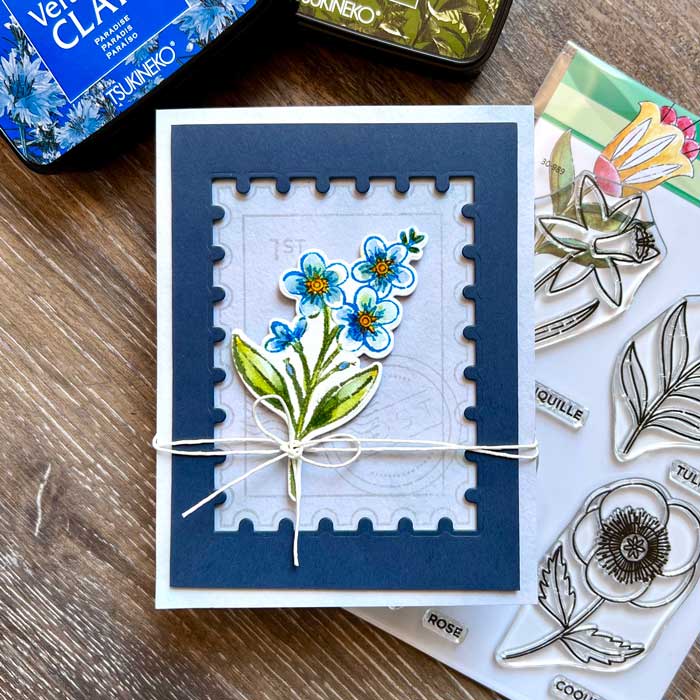
The whole assembly was mounted onto the remaining white card base to finish!
We are pleased with these two note cards and are thinking of making two more, using the remaining two flower designs for a matched set of note cards. Or, these cards can be easily used for any occasion by adding a sentiment… or not! ♥
Goodies Used: