Flowers-in-the-Round Card
Hello Everyone,
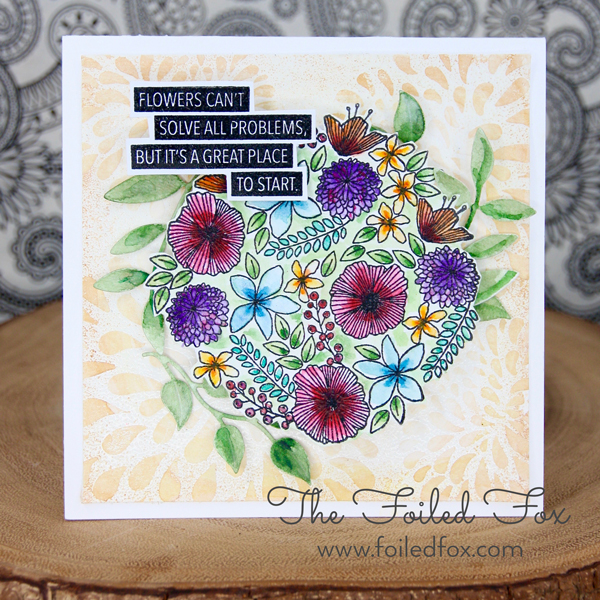
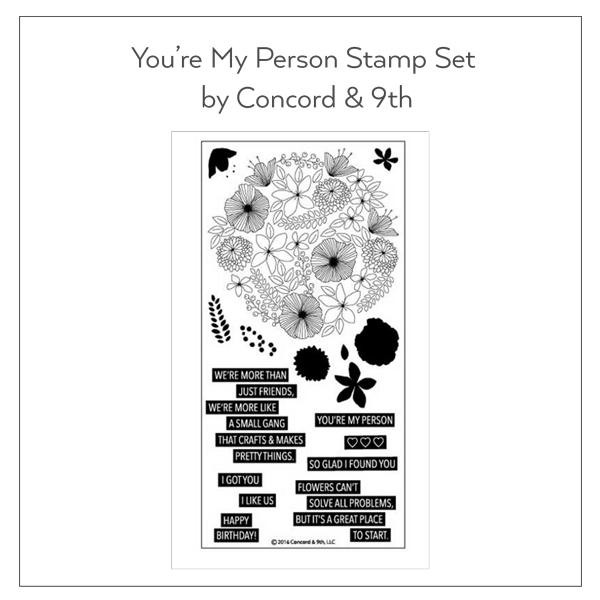
To start the day is a beautiful round bouquet of flowers from the Concord & 9th “You’re My Person” stamp set. This stamp set really caught my eye. I can never resist a wildflower-like bunch of flowers.

This stamp set is a real treasure trove of fanciful, free-flowing flowers. I just love it. It is so easy to create a stunning card with a huge impact in a short time.
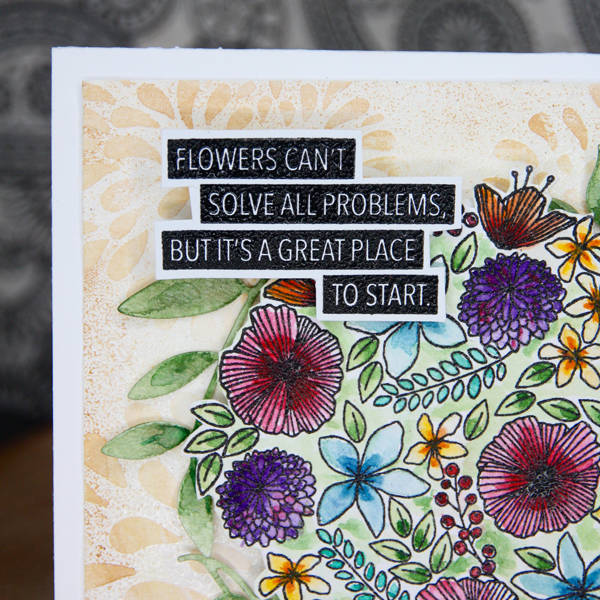
Starting off with a 5.5″ x 11″ piece of Neenah Solar White 110lb. card stock, folded to create the card base, I set that aside for later. Next, with a 5″ x 5″ panel of Canson XL watercolor paper, I stenciled the design from the Penny Black Patina stencil. I used the Texture Paste and spread it around the stencil with a palette knife. This gives the panel a wonderful dimension. The design on the stencil fits perfectly in the corners of the card panel, so I had very little positioning to do.
I gave it a few minutes for it to dry on its own, but of course, losing patience like I do, I continued the drying of the texture paste with my heat tool. Set this aside for extra drying time.
Using a piece of watercolor paper, I stamped the beautiful ball of flowers and sentiment from the stamp set with Jet Black Archival ink. Then, I heat embossed the flowers and sentiment with clear embossing powder.

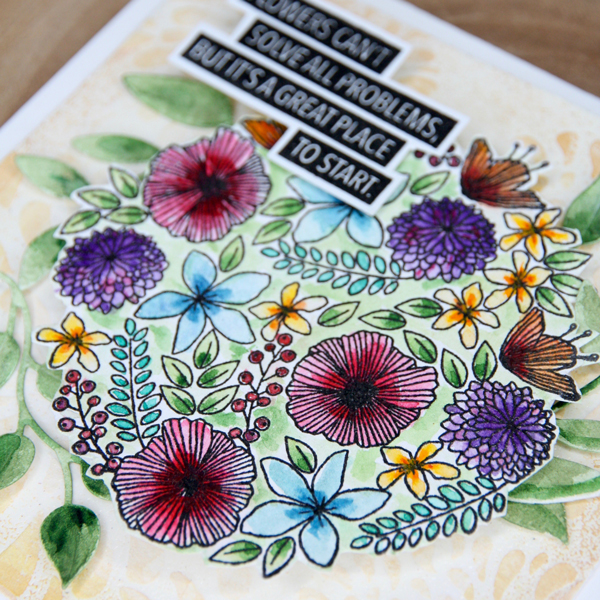
Now that the flowers are stamped and embossed, it is ready to paint. First, I moistened all the stamped flower area of the paper lightly with water and then started to drop color into the flowers from my watercolor palette. I am a sucker for the red burgundy and blue flowers together, so it is no surprise that’s what I chose. It would be equally beautiful in any color scheme. I just happen to naturally choose the jewel tones. After all the flowers were painted and dry, I lightly colored the background with a soft green, then let dry again.
While the flowers were drying and after the stenciled panel was completely dry, I lightly moistened the entire stenciled panel (make sure it is completely dry before going forward) and lightly painted it with a honey colored watercolor paint that I had mixed up. Just add color until you reach your desired color tone. The stenciled, patterned area will naturally pick up more color than the background but to accentuate the stencil pattern, I lightly dabbed away some paint on the background.
After all was dry, I irregularly cut around the round of flowers, following the shapes of the flowers and leaves. I also cut around the sentiment.

With double-tack tape, I positioned the stenciled panel to the card base, added dimensional foam tape to the flower round. I started to position the flower round and it was at this point that I felt it needed something extra so I die cut, with watercolor paper, 4 sprigs of leaves using the Penny Black Leaves Creative Die Set and lightly watercolored them with 2 colors of green.
Now, I was ready to stick everything in place. I positioned and adhered the flower round, while tucking the leaves under the dimensional tape of the flowers to hold them in place. Adding a bit of dimensional foam tape to the sentiment, I pressed the sentiment in place.
That was all there was to it. It is ready to send to a friend in need of a bouquet of flowers.

Supply List:
Sorry, the comment form is closed at this time.


August 15, 2016
Maggie B
This card is simply beautiful! I love the jewel toned color scheme you chose and the painted texture paste subtly hanging in the background. This card is just gorgeous….thanks for sharing.