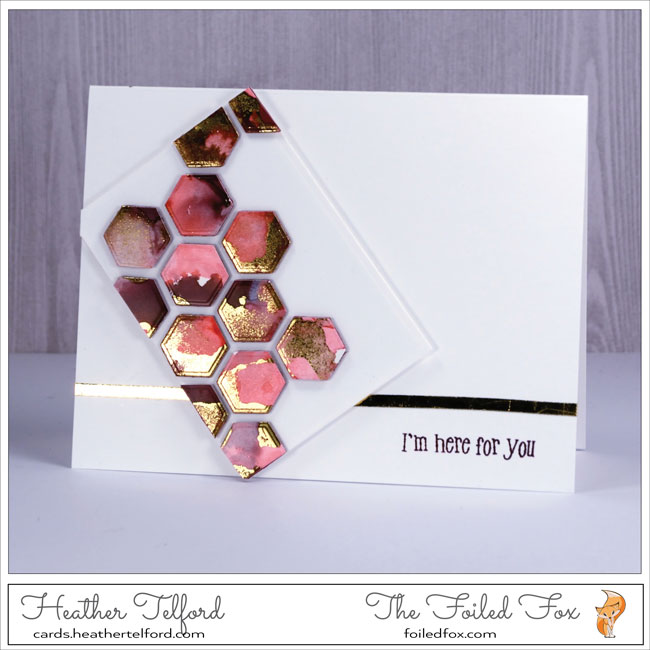
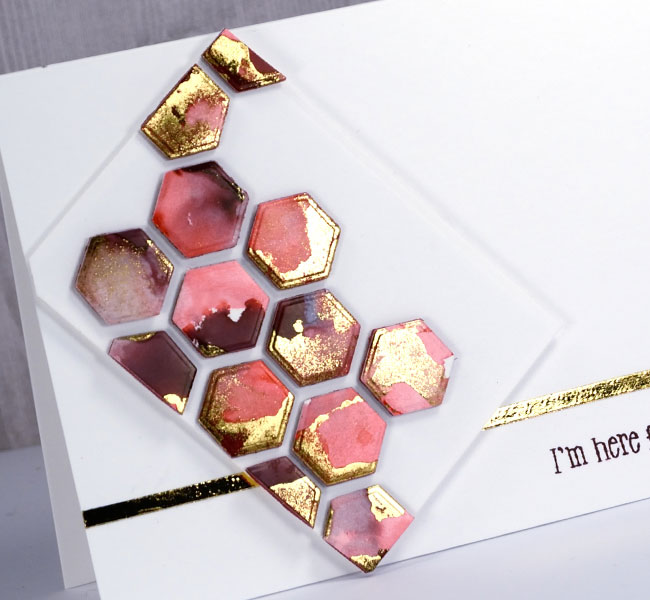
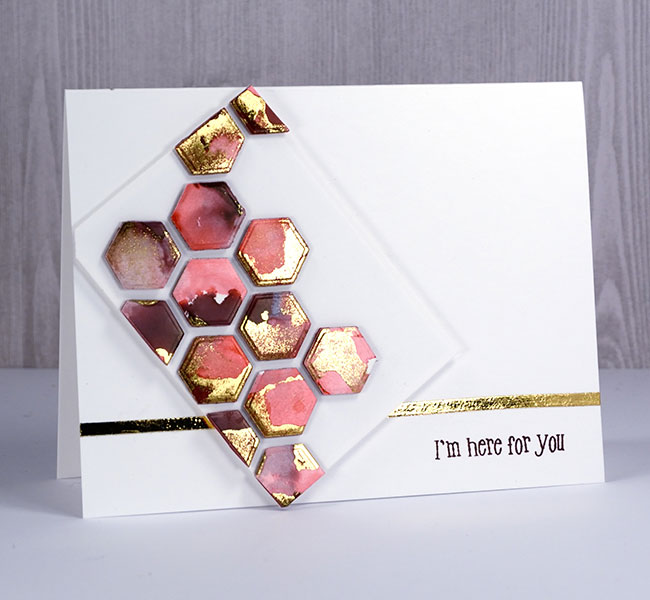
Foiled Hexagons by Heather Telford
HI Everyone,
Have you heard? Heather Telford and The Foiled Fox are hosting a SPARKLE card challenge! We are encouraging all of you to get your SPARKLE ON and whip up your favorite sparkly creation! Enter by clicking the BLUE FROG BUTTON at the end of this post.
To inspire you and help get the creative juices going, Heather is featuring her own sparkle magic today.


Go ahead! Enter our card challenge for a chance to win prizes! Click the blue button below for instructions and to submit your creation(s)!!

Supply List:
 Neenah |
 Yupo |
 Tim |
 Tim |
 Alcohol |
 Gold |
 Heidi |
 White |
 Stick-It |
 Double- |
 Spellbinders |
 Neat & |
 Penny |
 My |
 Tombow |
Sorry, the comment form is closed at this time.

March 14, 2018
Cynthia Johnson
I love the bright gold touches on the alcohol ink! Beautiful card.
March 21, 2018
Mirella Rogan
LOVE LOVE LOVE IT!