Fresh Floral Wreath
Hi Creative Friends,
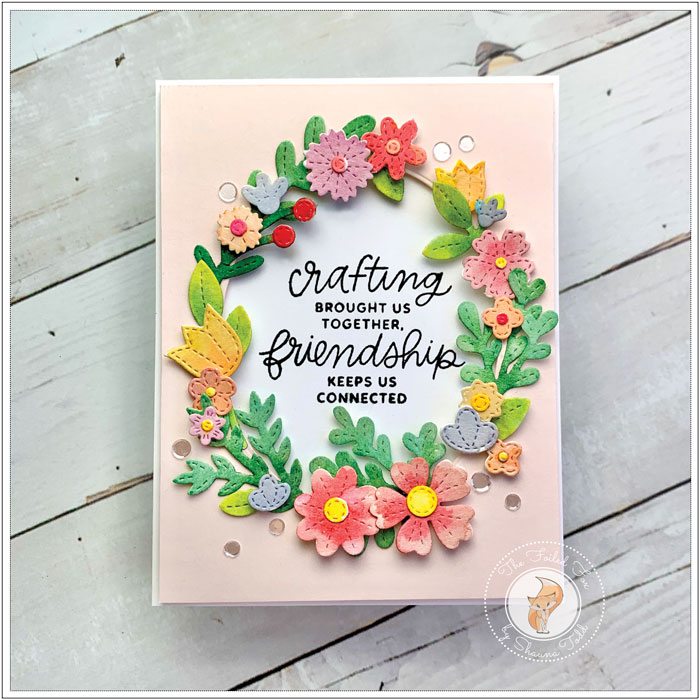
I am sharing a cheerful wreath filled with flowers and leaves. I used the brand new Spring Foliage die set by Pretty Pink Posh. This set has so many different flowers and leafy bits that one cutting of the die set will give you all the pieces you need to make this wonderful wreath.
As I mentioned, I started out by cutting out the entire set of the Spring Foliage die set. I used watercolor paper for this so that I could simply paint the colors I wanted. To make it easy, I used a variety of distress inks for all the coloring.
So, to get started on the coloring, I left all the cut-out flowers and leaves in their negative spaces for now and spritzed the whole panel with water, then with distress inks, I smooched the different colors onto my mat (using it as my palette) and started painting.
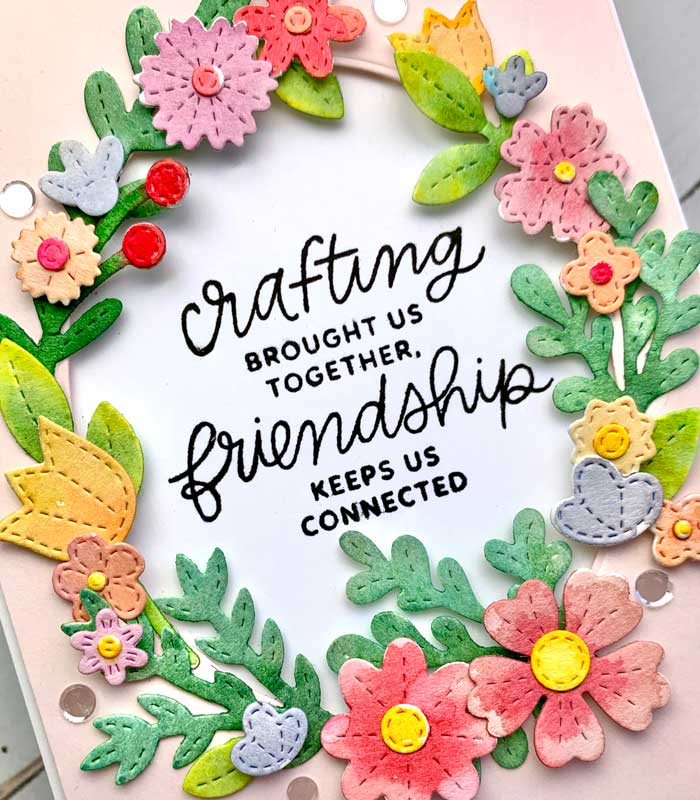
The flowers were painted using different colors of distress inks (see supply list below) and the leaves with a combination of Crushed Olive, Bundled Sage, Rustic Wilderness, and a splash of Salvaged Patina. I didn’t use all these leaf colors on one leaf, of course. For the smaller leaves, I used Crushed Olive and Rustic Wilderness and for the larger leaf sections, I used the Bundled Sage and Salvaged Patina. When finished, I set all the pieces aside to dry.
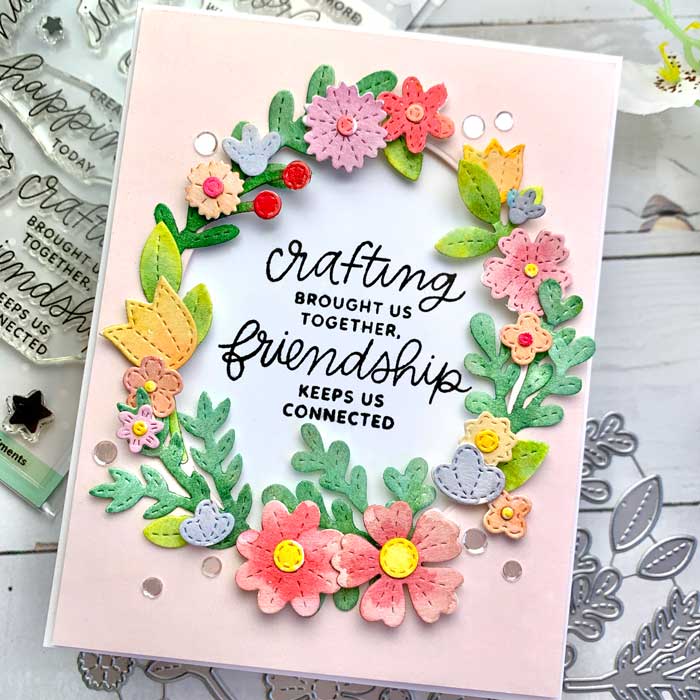
In the meantime, I created an A2-sized white cardstock card base, an A2-sized white card stock panel, and a slightly smaller panel of Pale Rose, a soft pink cardstock. From the Pale Rose panel, I cut out an oval using the Hero Arts Infinity Oval set.
I placed the pink oval panel over the white cardstock panel and lightly traced the oval onto it. This gave me a good reference point on where to stamp the sentiment. I used one of the sentiments in the new PPP Crafty Sentiments stamp set. There are many cute sayings in this set. It is a real keeper!
Once the sentiment was stamped with Versafine Black Onyx ink, this panel was mounted to the front of the card base. Then, the Pale Rose panel was next. It was adhered to the front using foam tape so that it popped up a bit. Then, using the oval cut out as my guide, I started arranging all the foliage pieces at first, then added the flowers on top. When I was satisfied with the arrangement, I glued down the green foliage and added the flowers with a bit of foam tape.
To finish, I added a few clear confetti for a little extra sparkle! ♥
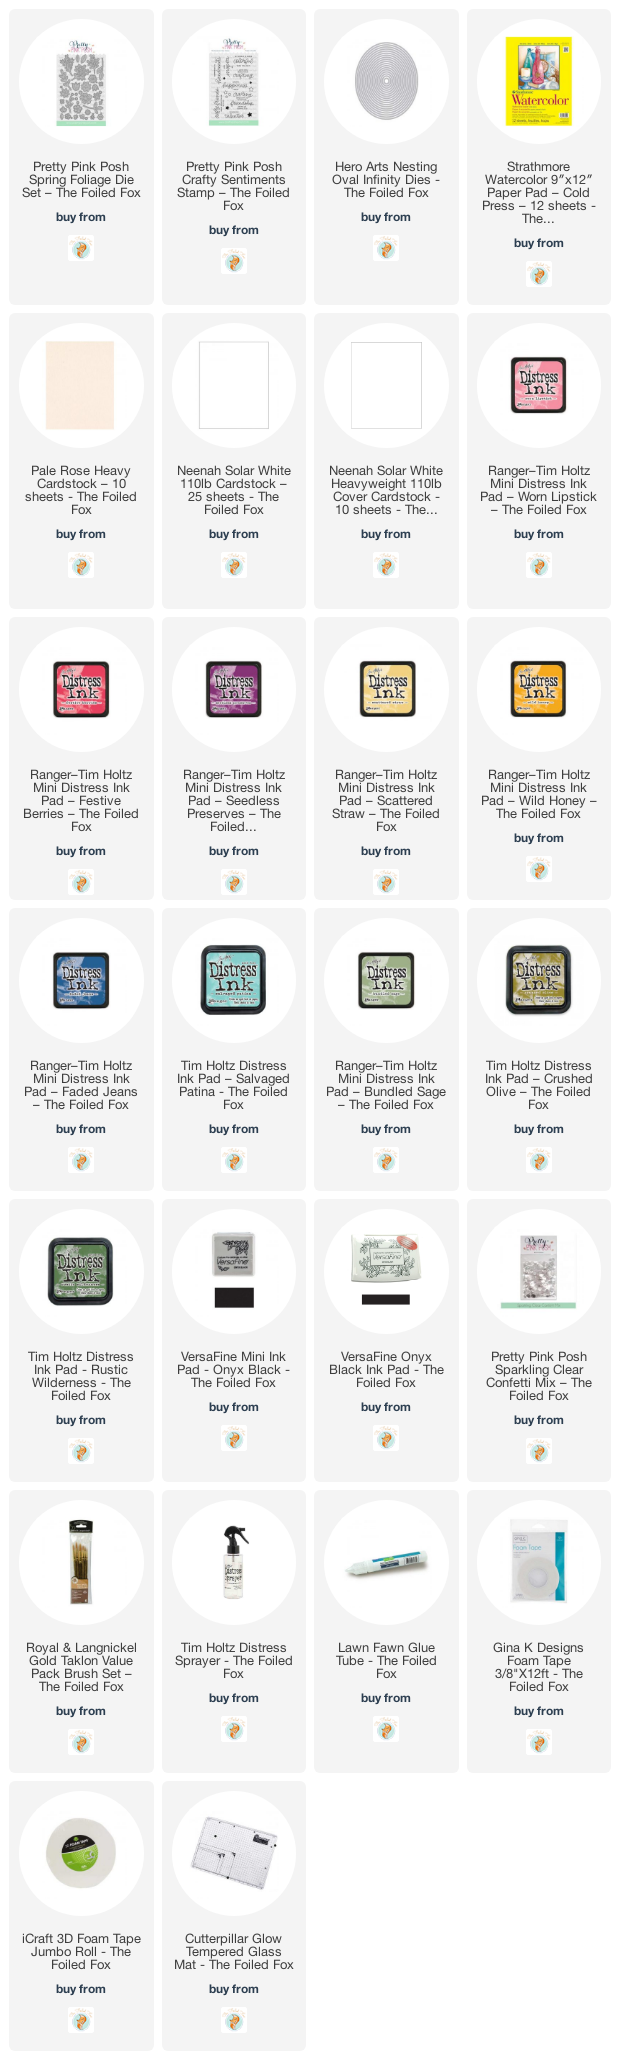
Goodies Used: