Gardenias
Hi Creative Friends,
We are sharing a lovely birthday card featuring the beautiful Into the Blooms: Gardenia die set. It creates two different blooms that are perfect for your floral card or other projects.

Before we get into the specifics of this card design, we want to remind you that you can still save 15% today on our Cyber Monday sale. Here is all the info you need to get you on your way to saving!

Ok, now on to the card design. This one starts by stenciling a pattern onto a white card stock panel. We used Delicata gold glitz ink and the Papertrey Ink Weathered Tile stencil. Once done, we cut out an arched window from this panel. Since we didn’t have our Spellbinders Essential Arches die set yet (arriving soon – can pre-order – click link in supply list) we created the arched window by first partially (about two-thirds) cutting a rectangle into the panel, then finished the arch by partially cutting a circle to complete the arch. You may want to practice this on a piece of scratch paper first. It really isn’t very hard but the Essential Arches die set would make it a snap! When done, we set it aside to work on the next step.
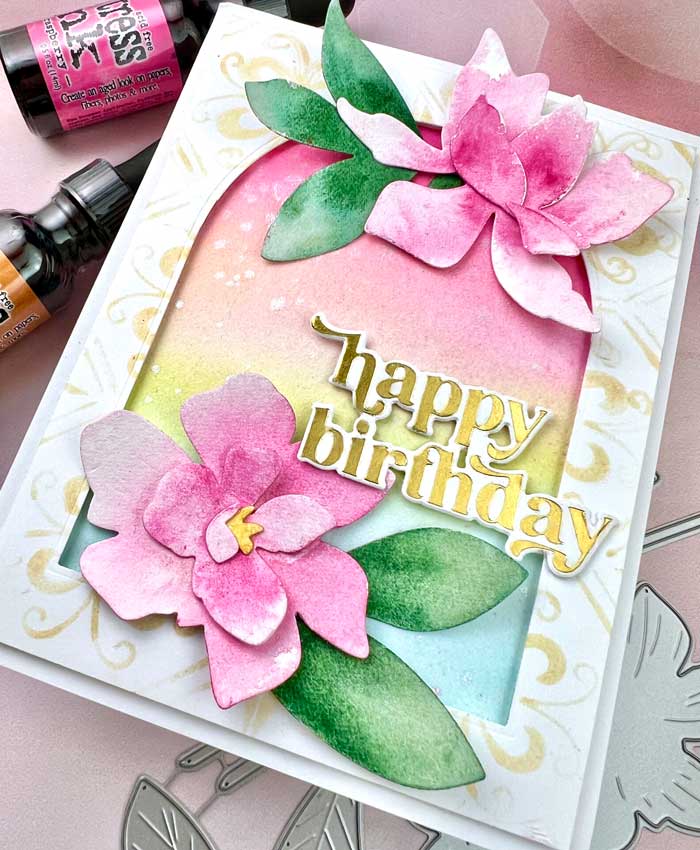
Using a watercolor paper panel, we added droplets of Picked Raspberry, Wild Honey, and Tumbled Glass distress re-inker ink to one edge, then held it vertically so the droplets started to stream down the paper. Next, still holding the paper vertically, off the work surface, we spritzed the paper with water. letting the ink run down the paper. We spritzed it until we reached the color saturation we wanted. We let it dry, then splattered droplets using a mixture of Perfect Pearls and water. It was set aside to dry again.
Next, were the flowers. Using the Into The Blooms: Gardenia die set, we cut out all the pieces from watercolor paper, then heavily spritzed the parts with water, then added a droplet of Picked Raspberry on each piece of the flowers. We spritzed again until we reached the color we were looking for.
We used the same technique on the leaves, using Peeled Paint distress re-inker ink.
With everything dry and ready to go, we started assembly with an A2 white card stock card base and a white A2 panel adhered to the top. Next, we added the color-graduated panel on top. The arched panel was next. It was popped up with some foam squares and adhered to the top of the card front.
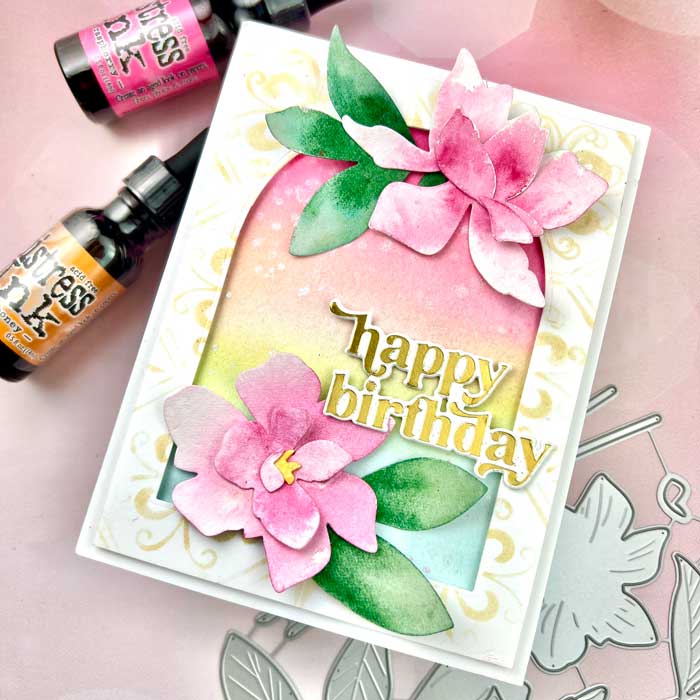
The flowers were next. They were assembled with a spot of glue, then added to the card front, along with the leaves. For our last step, we added a gold-foiled sentiment that we had in our collection of sentiments. It was made using a Glimmer hot foil machine, gold foil, and the Pinkfresh Perfect Sentiments hot foil plate and die.
That completed our card for today. We hope you enjoyed it… and we hope to see you next time. ♥
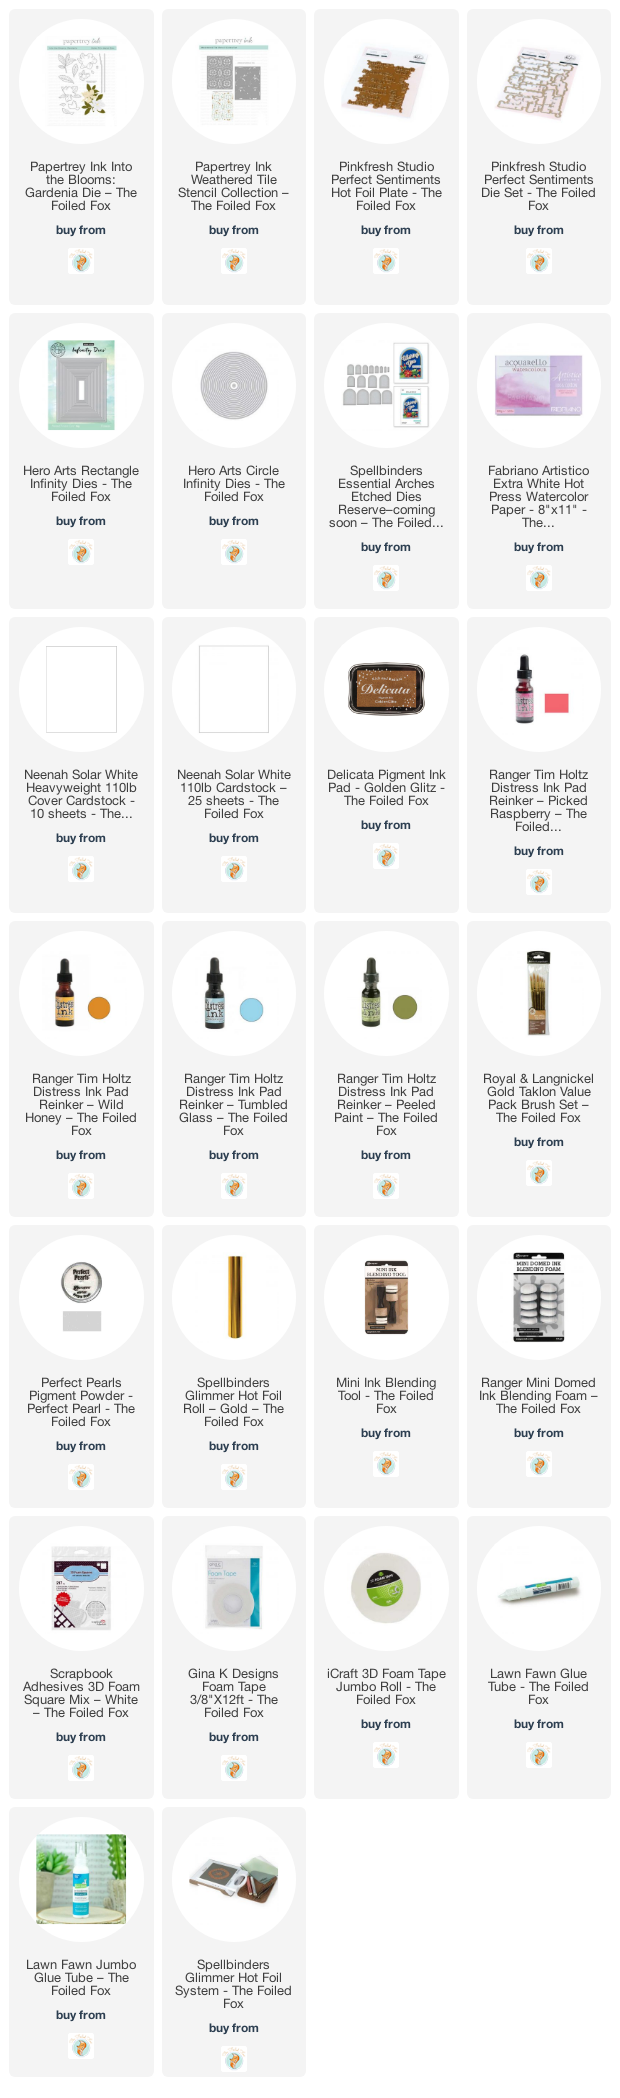
Goodies Used: