Graceful Butterflies
Hi Creative Friends,
We are sharing a card design that is bursting with Graceful Butterflies by Papertrey Ink. These lovely butterflies are all included in the same stamp and die set. Then, when you combine them with the charming Vintage Flair stamp and die set, it creates a beautiful motif. Take a look and let us know if you agree!
Don’t forget too… our Papertrey Ink SALE is still going on. Check out all the details at the bottom of this post but just so you know, you can enjoy 15% off all Papertrey Ink items *excluding some stand-alone dies. Use code: 15PTREY722 at checkout.
Then, more summer fun is in store for the next few weeks. Stay tuned for more exciting discounts on a few of our favorite brands.
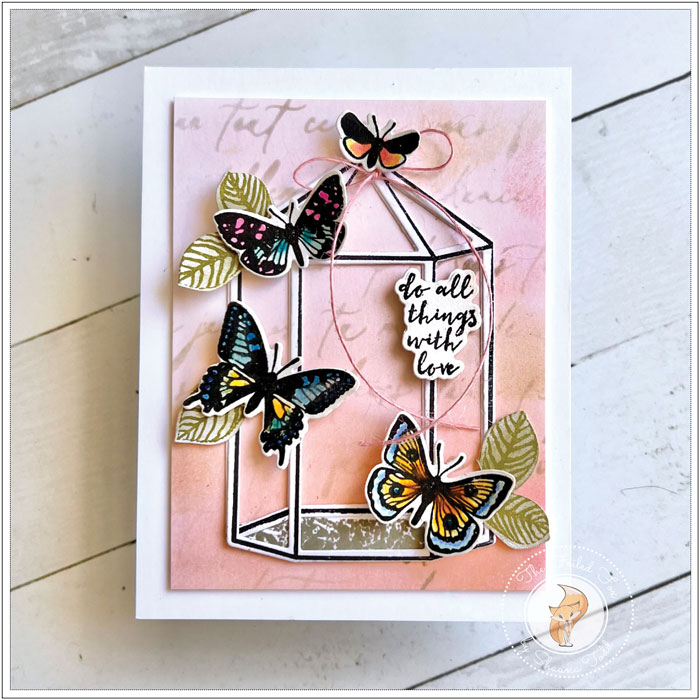
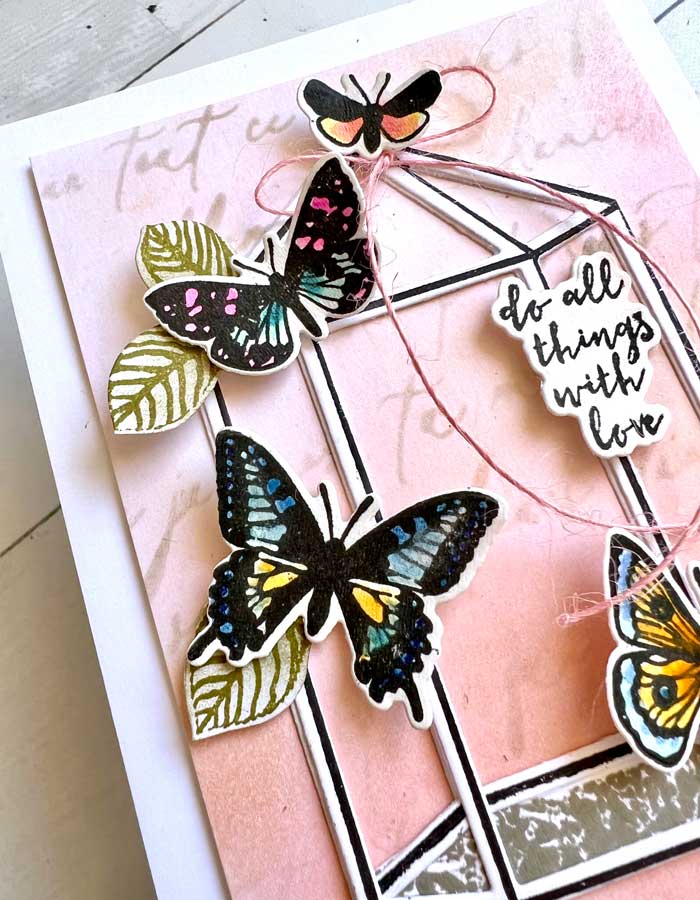
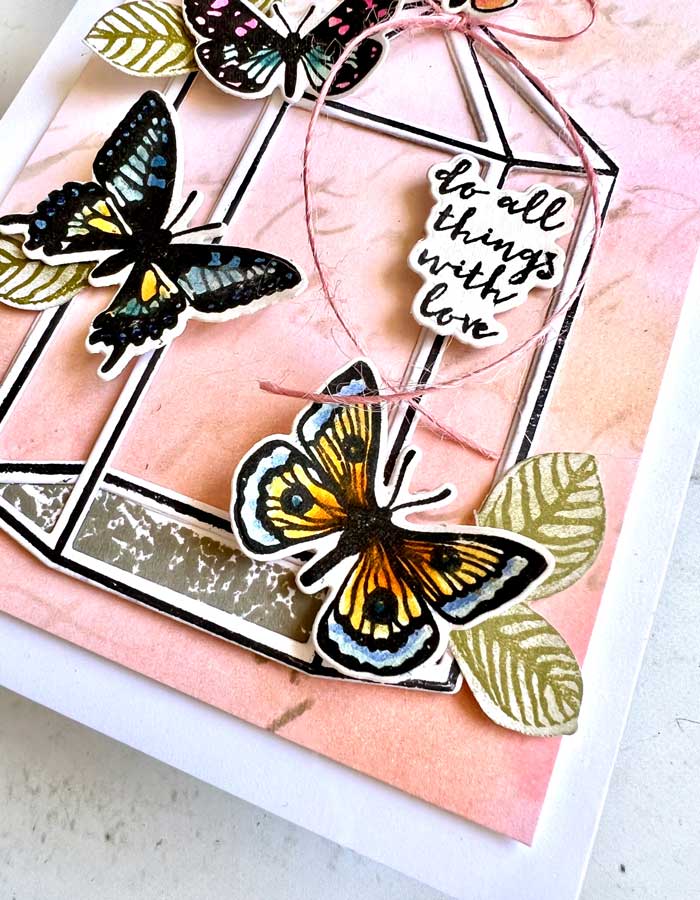
These pretty little butterflies were the first thing we made, along with the coordinating sentiments. We cut them all out of watercolor paper, and stamped them with Versafine Black Onyx ink. The butterflies were then colored with Tombow markers, then spread the ink with a damp brush.
Next, we created the background by blending Saltwater Taffy and Antique Linen distress ink onto a Bristol paper panel. We started first with Saltwater Taffy distress ink, then added Antique Linen. We made a slight gradation of color by making the bottom darker than the top. The script stencil (see supply list) was then placed over top. Using a blending tool with a dome pad, we blended on Pumice Stone distress ink to create the script accent.
On to the charming vintage ‘cage’. We stamped all the cage pieces with Versafine Black Onyx ink onto Neenah white card stock, except for the bottom. It was stamped using Pumice Stone distress ink. Then cut not only the stamped pieces but one more set using the coordinating die. The ‘cage’ was then assembled and the extra set was stacked, then glued onto the back. This gave it a little dimension!
We only had to make the leaves before we put everything together. These leaves came from the Vintage Blooms stamp and die set. They were stamped with Ripe Avocado ink, then colored in using a blending tool and using Spring Moss.
To assemble, an A2 white card stock panel was mounted onto the front of an A2 white card stock card base. The script panel was trimmed, then a layer of foam was added to the back so it popped up.
The vintage cage was glued in place, then the butterflies were arranged and adhered in place with a foam square on each. The leaves were tucked in place and the sentiment was attached with a foam square. To finish, a tiny bow was made with a pink string and added.

We hope you enjoyed today’s project. We hope to see you next time! ♥

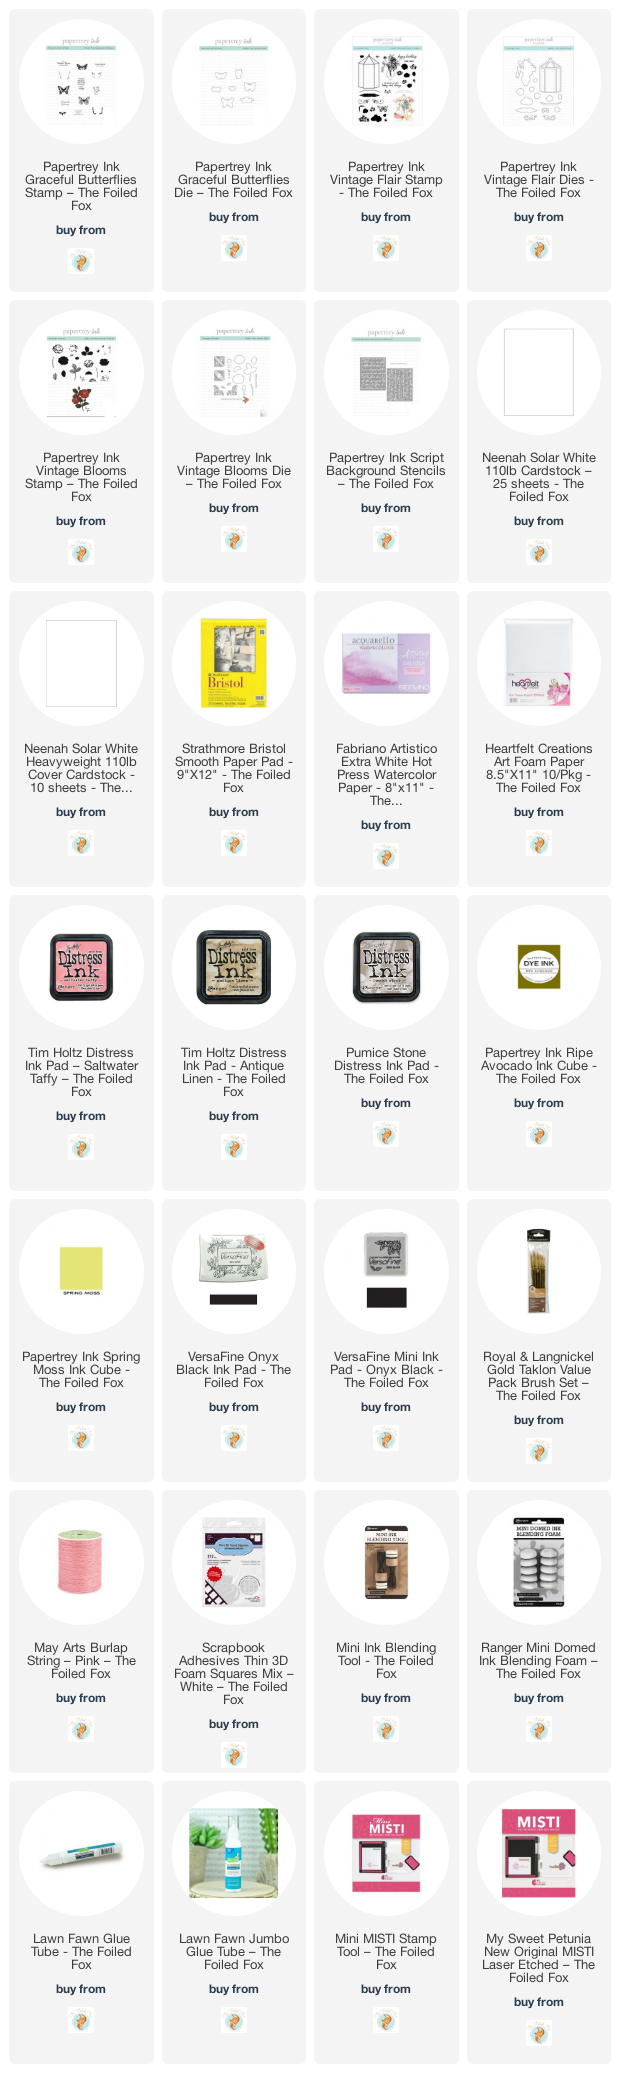
Goodies Used: