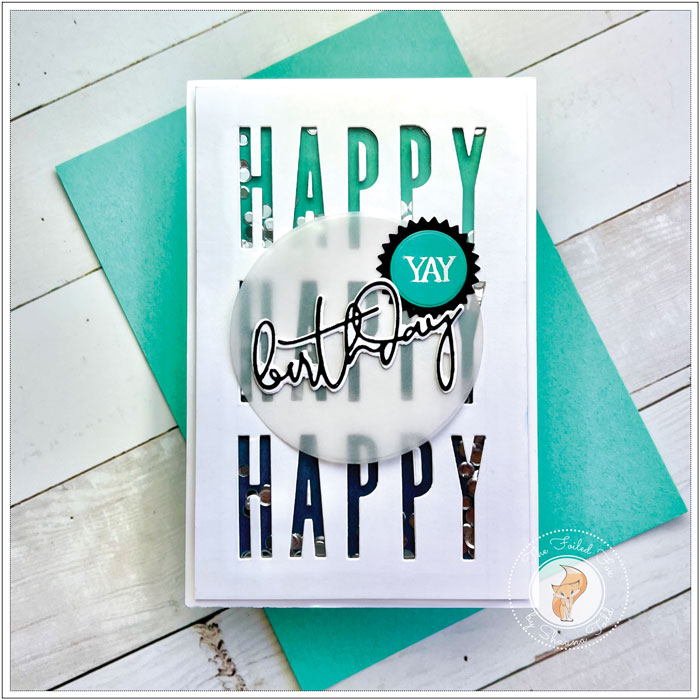
Happy Birthday
Hi Creative Friends,
I don’t know about you, but I am often in search of a suitable card design for either a male or female. In my search for ideas, I came across Laura Bassen‘s IG. She always has fun ideas so I took a page out of her book with this card.
This card will actually be for my son-in-law’s birthday but the cool thing about this design is that it can work for anyone and you can choose any color scheme you would like. For this one, I chose a gradation of blues.
To start, I made a white cardstock card base. This one was a bit larger than a typical A2-sized card at 6 1/2″ x 4 1/2″ when folded. I also cut a 6 1/4″ x 4 1/4″ white cardstock panel and a 4″ x 6″ panel of Bristol paper.
With the Bristol paper in hand, I blended on Peacock Feathers distress ink. I started at the bottom with a lot of ink and as I worked my way up the panel, I decreased the pressure so that I had a nice gradation of color. To make the bottom even more intense, I added some Prize Ribbon distress ink as well. I set this aside to dry.
Using the previously cut white cardstock panel, I prepared it by making a few measurements. First, I found the center, both horizontally and vertically, and made a very light line both ways. Then, using the H A P Y and B for a place holder for the other P, I lined them up on the horizontal line, making sure they were spaced equally apart. Once I had the spacing right, I carefully added strips of Spellbinders craft tape (I love this stuff-it never damages my paper when I pull it off) across all the letters, except the B. I removed it and then die cut the rest (H A P Y). After the center H A P Y was cut, I carefully peeled up the tape with the letters attached and cut the row above and then below the center H A P Y. When all three H A P Y’s were cut, I went back and cut the second P in each line. Whew! with that done, I was home free… I could whiz through the rest of the card.
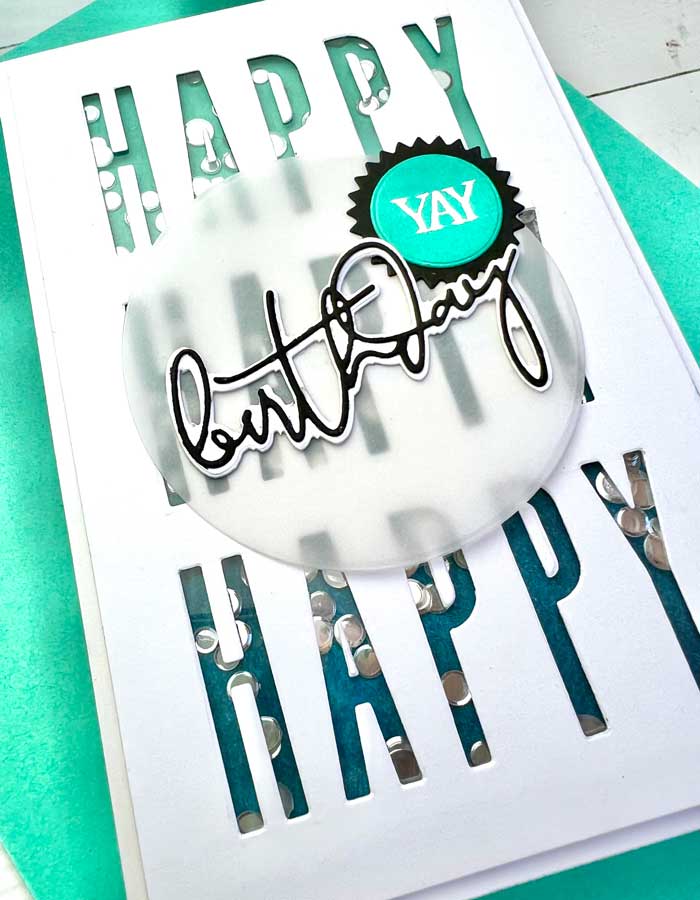
To make the shaker. I added a piece of acetate on the back of the HAPPY panel, then foam tape around the perimeter and in between the lines of HAPPY. Next, I added some PPP Sparkling Clear Confetti (see supply list below) in each section, peeled off the release tape on the foam, and placed the ink blended blue panel. This whole assembly was then added to the front of my card base.
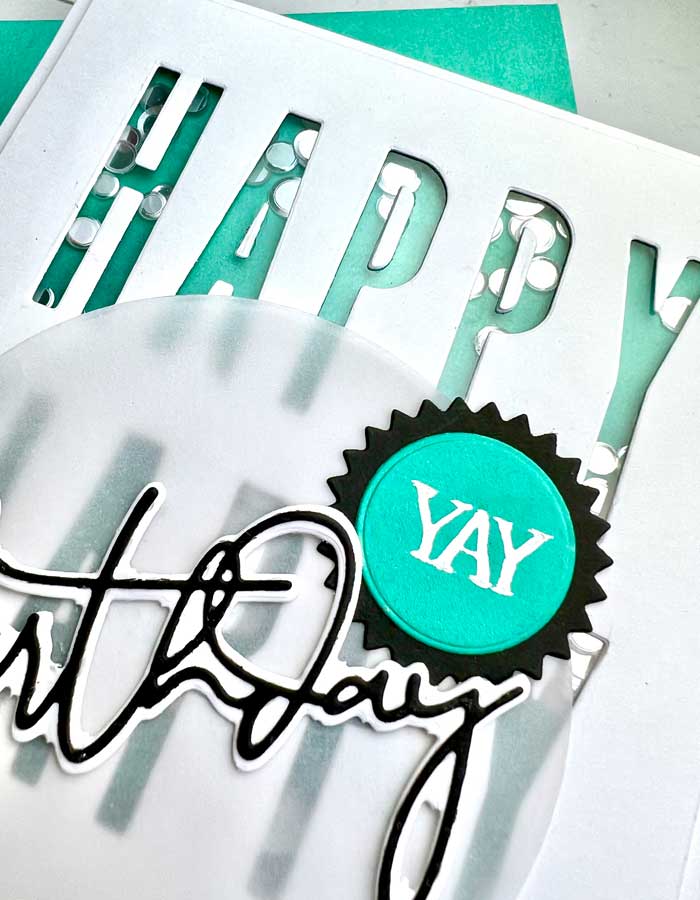
Next, I cut a ‘birthday’ from black card stock and the back layer with white card stock using the awesome Spellbinder’s set, Yana’s Layered Script Sentiment. I glued them together. I also cut a circle from 48lb. vellum, a black cardstock serrated circle from the Concord & 9th Hip Hip Hooray die set, and a Mint Julep circle to fit inside. I couldn’t find a YAY stamp in the right size so I lettered it on with Dr. Ph. Martin Bleedproof ink and a writing nib.
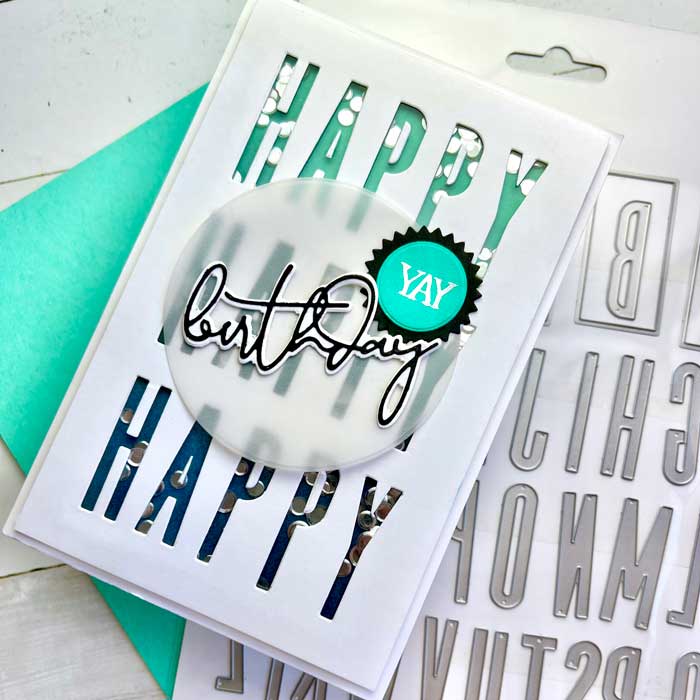
To finish, I mounted the script birthday onto the vellum circle, along with the serrated circle and YAY circle. This whole assembly was added to be the finishing touches to my card.
YAY! another card is ready to go for my busy June card-giving schedule! ♥
Goodies Used: