Happy Christmas
Hi Creative Friends,
I am jumping into the holiday spirit with another festive card design featuring more of the spectacular Spellbinders release. I had more fun with the Christmas Bird Poinsettia and Tweet Cardinal, and a few others.
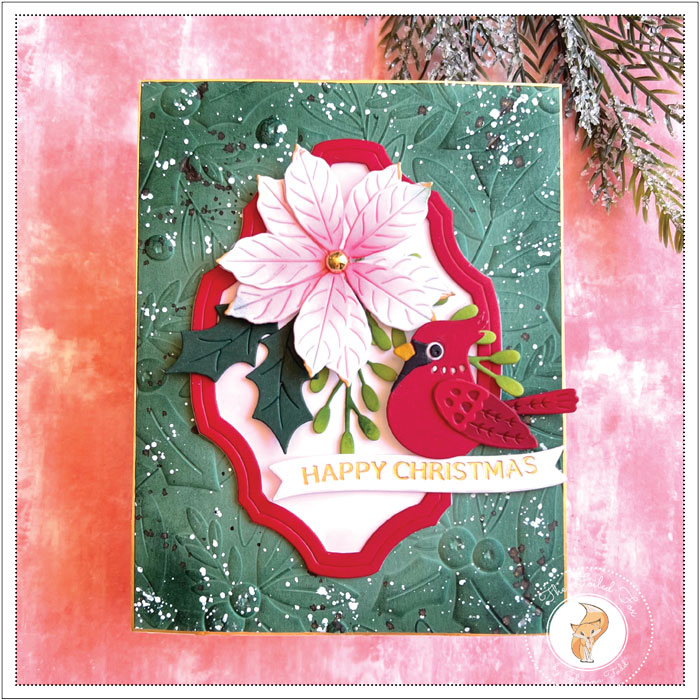
I started by creating the background. To begin I made an A2-sized card base, then cut another A2-sized panel from Eucalyptus cardstock. This cardstock has a dusty, sagey kind of color even though I know the picture on the website shows it a bit more minty in color. I love this color for backgrounds, especially for holiday cards.
To give the Eucalyptus panel a little more interest, I embossing it using the Spellbinders Holly & Foliage embossing folder,, then blended Pinefeather ink around the edges and splattered a little Sumi ink, Dr. Ph. Martin Bleedproof white ink, and a dash of gold Yasutomo ink. It was then set aside to dry.
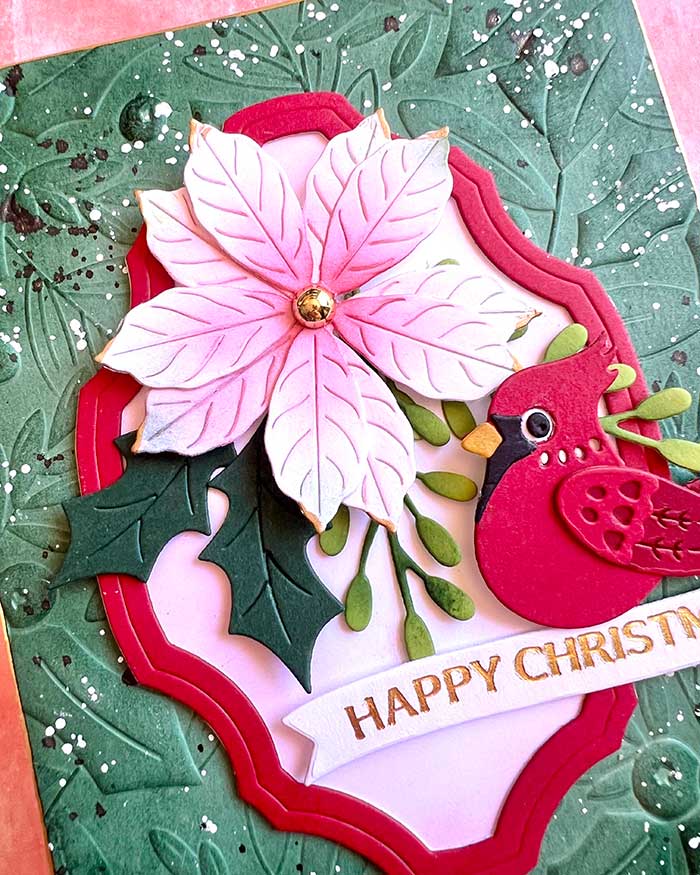
Next, I cut out a few elements from white and a few colored cardstock. If you had a chance to see our blog post last week then you know that I love the new goodies from Spellbinders. I am using again the Christmas Bird Poinsettia, this time the poinsettia flowers, holly, and a few sprigs and also the cute bird from the Tweet Cardinal. After cutting a few poinsettias, I blended on color using Worn Lipstick distress ink, then stacked and glued together the flower.
The red cardstock frame was next. I cut two, stacked, and glued them together, then traced (and cut out) the shape onto a piece of white cardstock so I had a backing to the frames. This white cardstock backing was lightly blended with Worn Lipstick around the edges.
With the embossed panel dry, I trimmed the edges, mounted a gold foil panel behind, then mounted everything onto an A2-sized card base. I added the frame with this backing on top. The flower and foliage were added next.
I could have declared the card finished at this point but decided to add a sweet little cardinal. So, using the Tweet Cardinal dies. It just took a few bits of red, white, and black cardstock and cut out the pieces and assembled.

For the sentiment, I used the new Mistletoe Greetings Betterpress sentiment set. You can either hot foil or use ink and the Betterpress system when using ink to make these sentiments. You can also make a bunch of sentiments at one time since this set is loaded with them and they also have the matching dies. I chose to gold foil my sentiments using the Spellbinders Glimmer system.
I hope you enjoyed this card design and it gave you a bit of inspiration to make your own! ♥