Harvest Wishes
Hi Creative Friends,
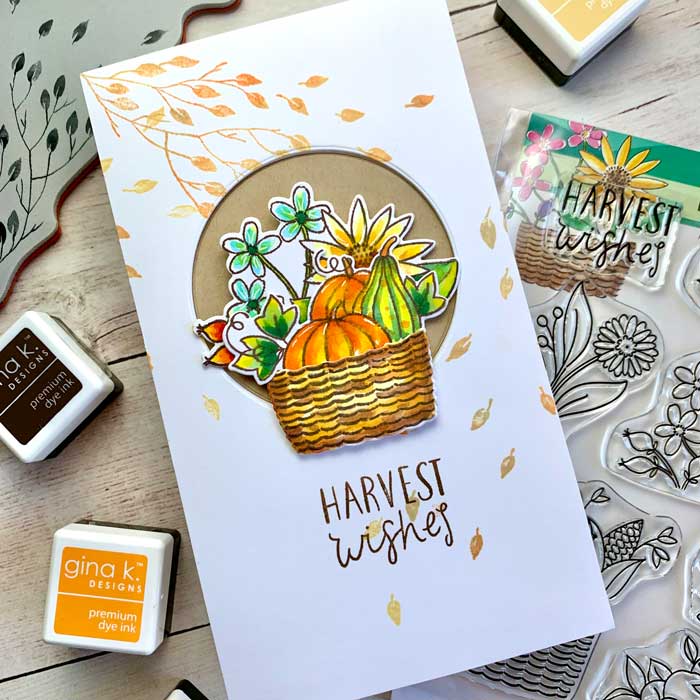
Here we are in September, the beginning of Fall so what better way to ring in the season than a festive Autumn Harvest card design. This one features a few new stamp sets by Penny Black. The first one is the graceful and willowy Windswept and the second is the Basket Builder with its many options.
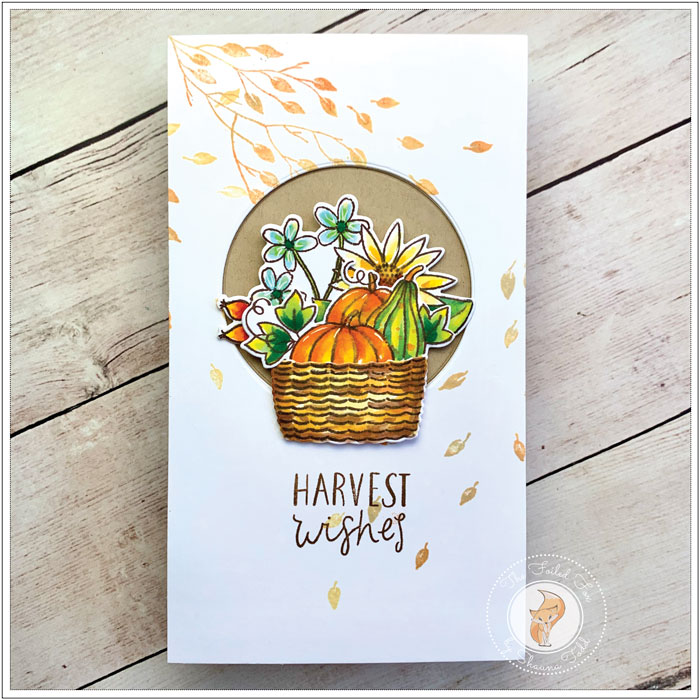
I started by creating the background on a slimline white card stock panel. With the panel placed in my stamp positioner, I placed the Windswept cling stamp with the start of the branch in the upper left corner and the leaves reaching toward the bottom of the panel on a slight diagonal. I then inked the stamp with three colors of Gina K Designs ink: Sandy Beach, Sweet Corn, and Sweet Mango and lightly stamped the panel. Then, I carefully removed the stamp and gently placed it again to cover a little portion of the left side, inked it with the same inks, and stamped it. My final stamping was on the right side with the leaves, a little lower than before and pointing toward the center. This created an illusion of the branch trailing down with only a few leaves near the bottom.
With the panel done, I set it aside to let it dry completely. In the meantime, I cut out the basket, the flower top, and the pumpkin top using the Basket Builder die set by Penny Black. I then stamped each of these pieces with the coordinating stamps using Gina K Designs Charcoal Brown ink.
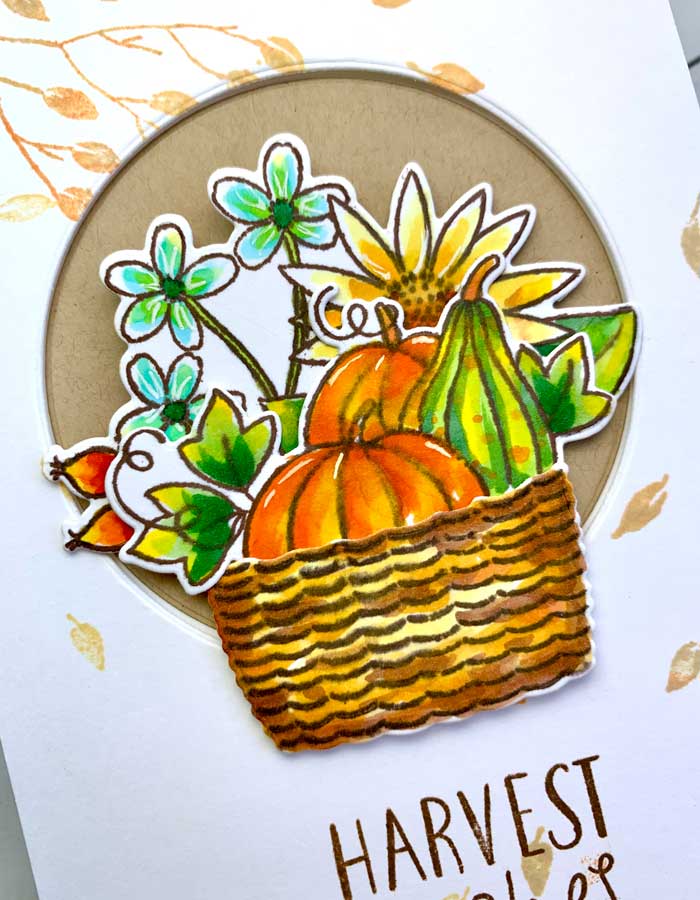
I know it might seem silly to fill the basket with two of the toppers but I wanted a full harvest basket. So, with both toppers and the basket on my work surface, I colored each piece with Copic alcohol markers. You can check out the colors in the supply list below.
With the coloring done and set aside, I went back to the background panel. Using a circle die from the Hero Arts Infinity Circle die set, I cut a circle out of the panel. Next, I chucked the panel back into my stamp positioner and stamped the sentiment using the permanent Ranger Coffee ink for a crisp imprint. Foam tape was then added to the back of the panel.
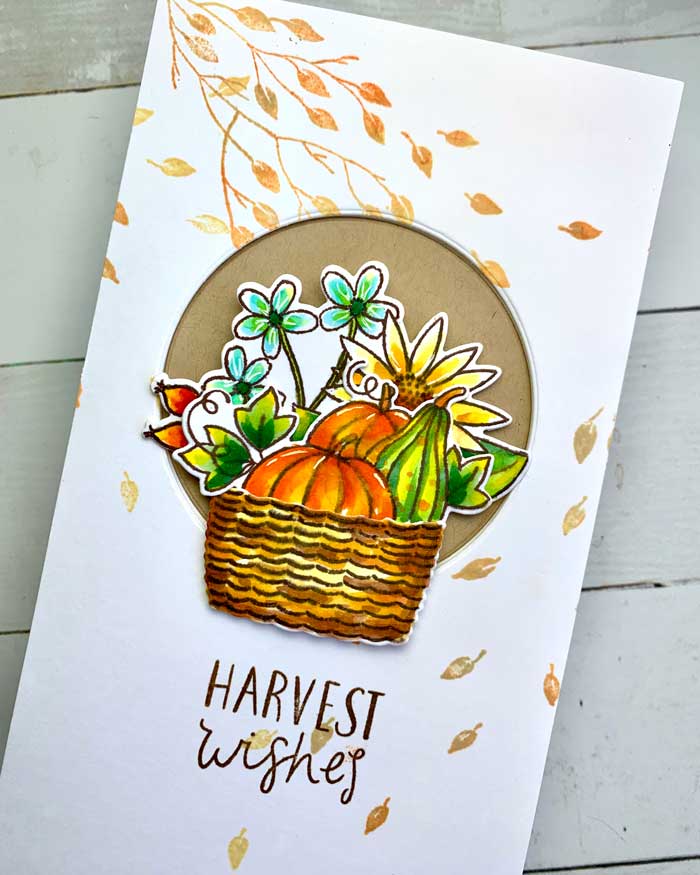
Before I was ready to mount the panel onto a slimline white card stock card base. I mounted a piece of Desert Storm cardstock on the front of the card base so that when the leaf panel was placed over top it would cover the open circle cut earlier.
The last step was to mount the flower topper behind the pumpkins, add some foam tape to the grouping and to the basket. Both of these pieces were then pressed into place to complete the card.
I hope this card design provided some inspiration to you so you can make your own creation. Give these stamps a try, they are really quite wonderful and a pleasure to work with! 🍂
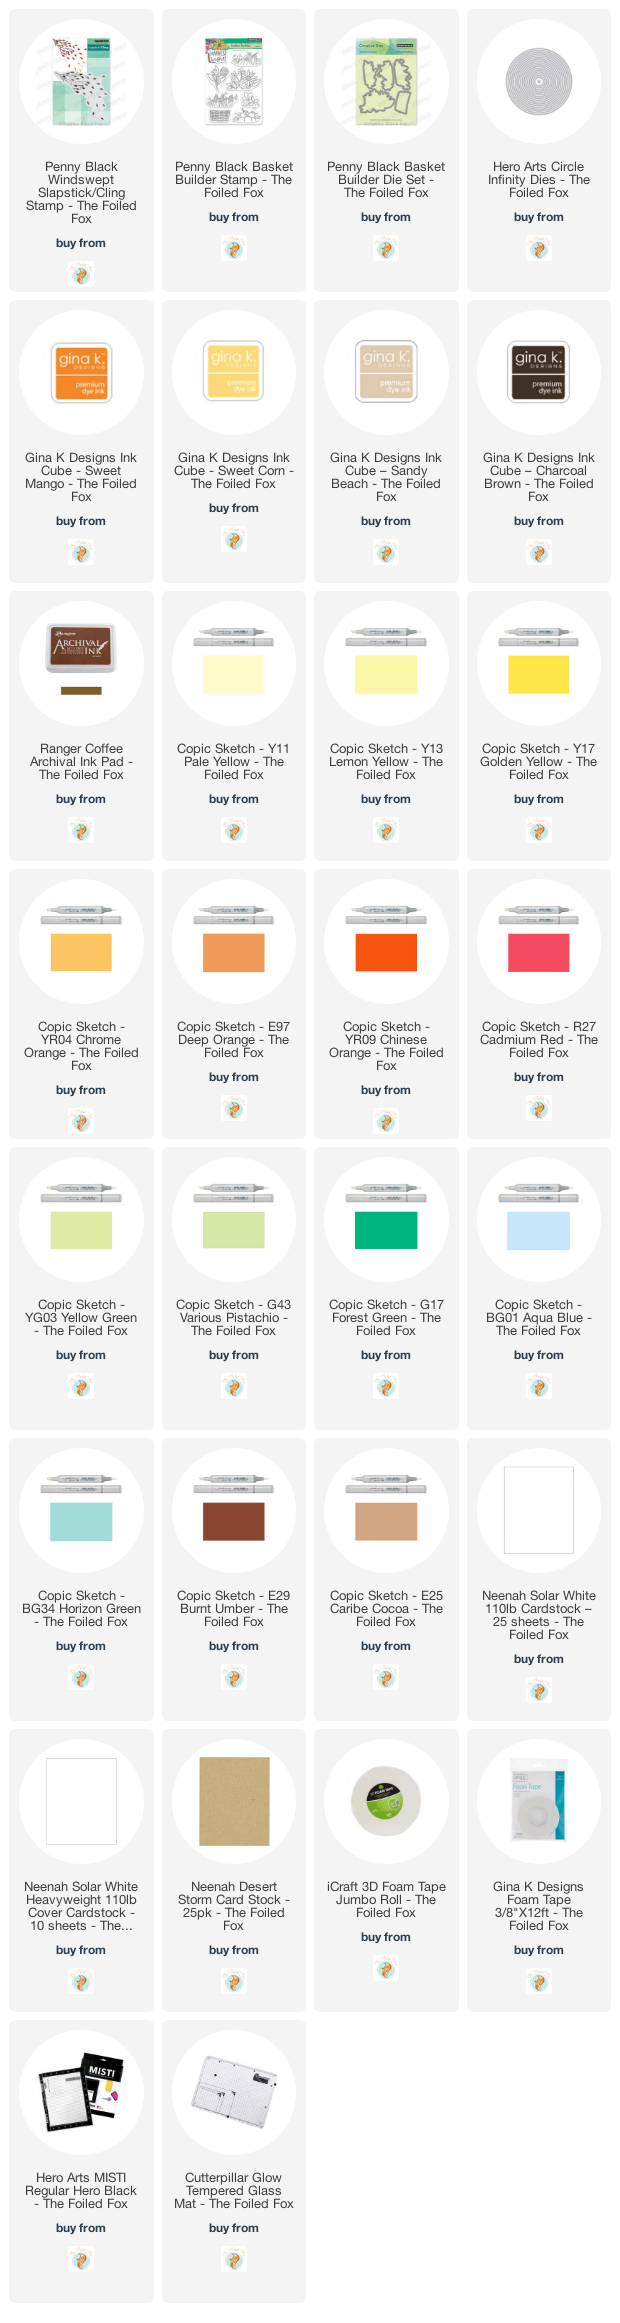
Goodies Used: