Have Some Spooky Fun
Hi Crafty Friends,
I am back, as promised, with a how-to video for this fun and spooky Halloween card design. For some silly reason, I love to make Halloween cards. I think it is the vibrant colors and moody scenes you can create and this design has it all!
Watch the video below for all the details on creating a dramatic Halloween card. It all starts with the background.
As you saw, I used a cold-pressed watercolor panel (hot-pressed watercolor paper would work too), a few Brusho crystal watercolor paints, and a brush.
If you have used Brusho paints before then you know they are perfect for a project like this. They can produce super vivid colors. But if you don’t happen to have Brusho or other crystal watercolors, no worries… use any watercolors you have on hand.
Before I began to add color, I painted a round circle for the moon with liquid masking fluid. I love Pebeo Drawing Gum but I have listed Winsor & Newton masking fluid in the supply list below in case you like that better. Either one works great! Since I would be applying a lot of water to the panel, masking paper wasn’t a good option so masking fluid was the answer.
Once the moon was dry, I began my painting. I brushed on a nice, wet layer of clear, clean water over the entire watercolor panel, then worked my way up from the bottom.
From my Brusho set (you can buy individual colors but it is really nice to start off with a set), I selected Dark Brown, Yellow, Orange, Purple, and Alizarin Crimson (but Scarlet from the set is good too). Check out the video for all the ins and outs of coloring the background.
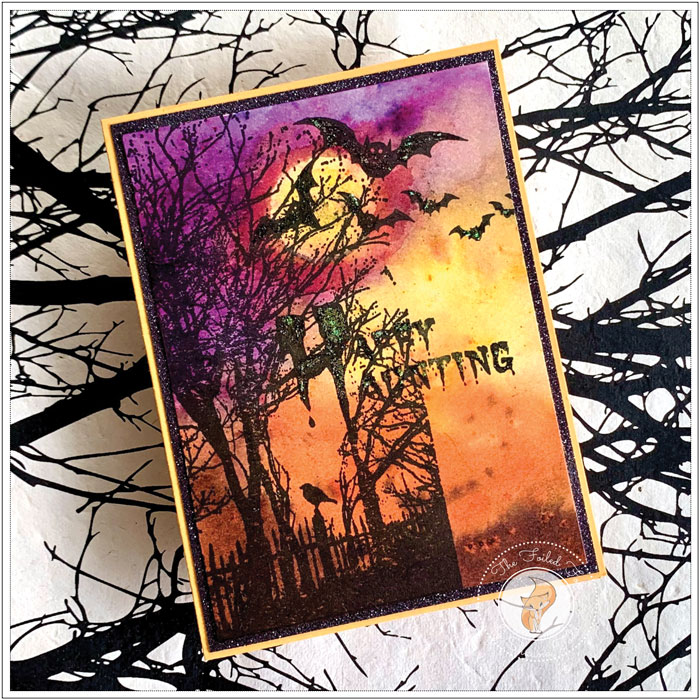
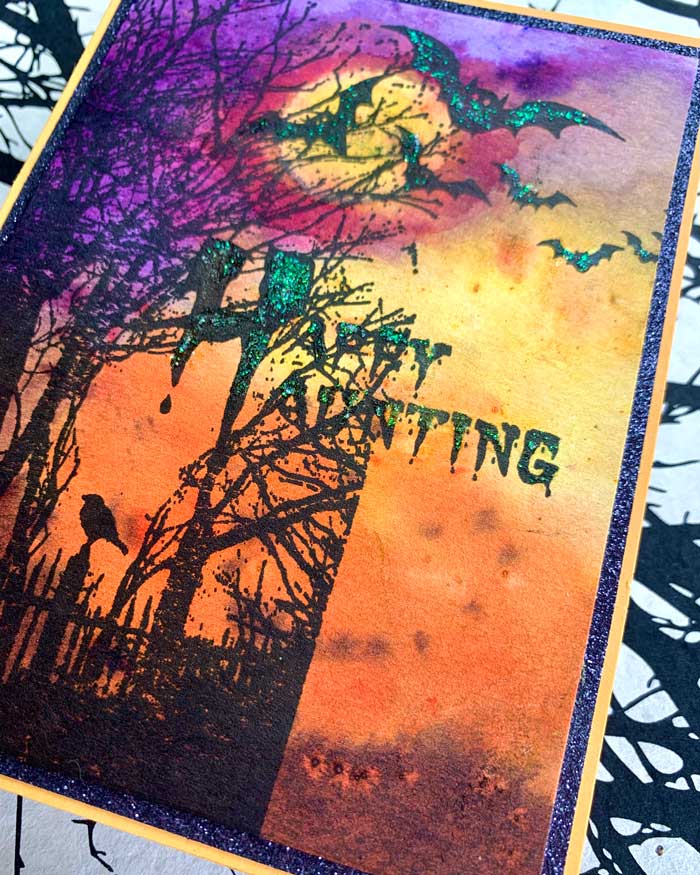
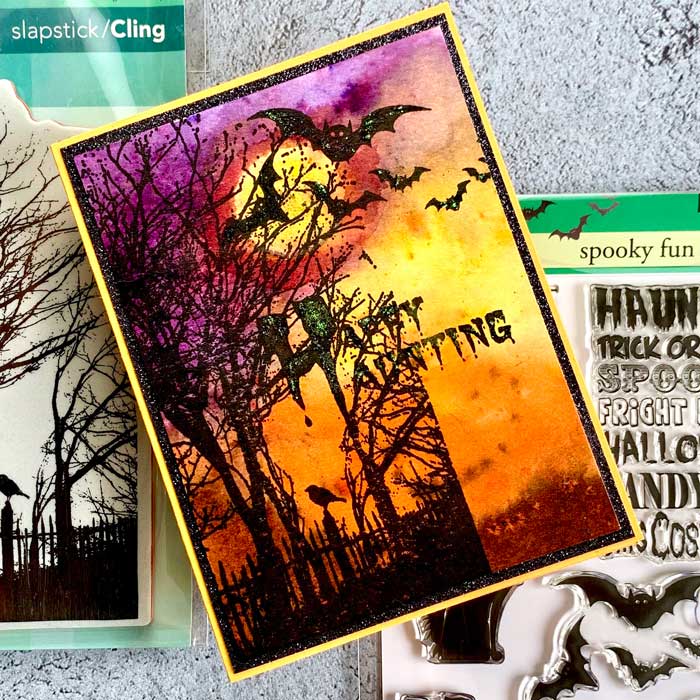
After drying the background, I used a stamp positioner and stamped on the Peaceful Moments image using a waterproof ink like VersaFine Black Onyx ink. I stamped it a few times to get a good impression. I then switched to the Spooky Fun stamp set and stamped the Happy Haunting and bats.
To complete the card, I used a Summer Sunrise cardstock card base and applied a black glittery panel. Next, I added the spooky background.
The final touch was to add little glittery bits by applying some Moonstone paste to the top of the letters and a little on the bats.
Now we are ready for some spooky fun! 🎃
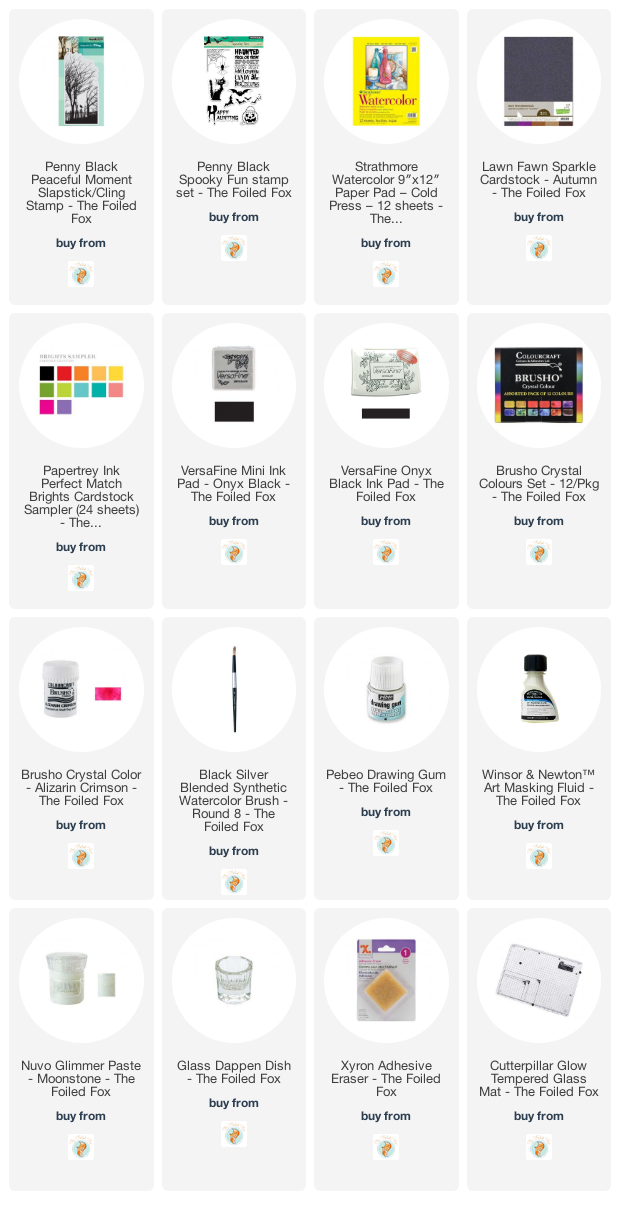
Goodies Used: