Hello Daisies
Hi Creative Friends,
I am loving the new Simply Graphic stamps and dies we now have available in our shop. I chose a few more Simply Graphic goodies to make this sweet card design. I used the Daisies die and Liberty background stamp. Daisies always give a project a cheerful outlook, don’t you think?
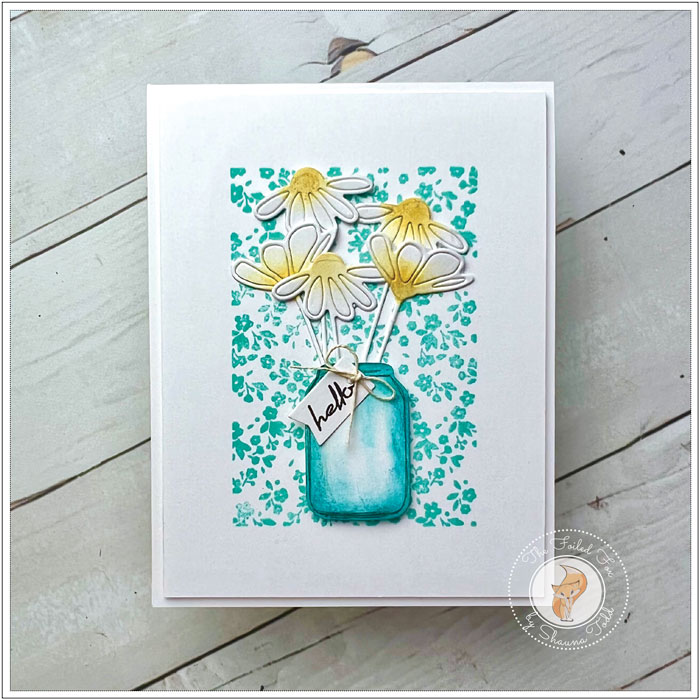
This card design has just a few essentials. First, was an A2 white cardstock card base, and second, a slightly smaller white cardstock panel. The white card panel was mounted into my stamp positioner with the adorable tiny floral printed Simply Graphic Liberty stamp mounted onto the door of the positioner so that it will be in the center of the panel. It was then stamped using Gina K Designs Sea Glass ink.
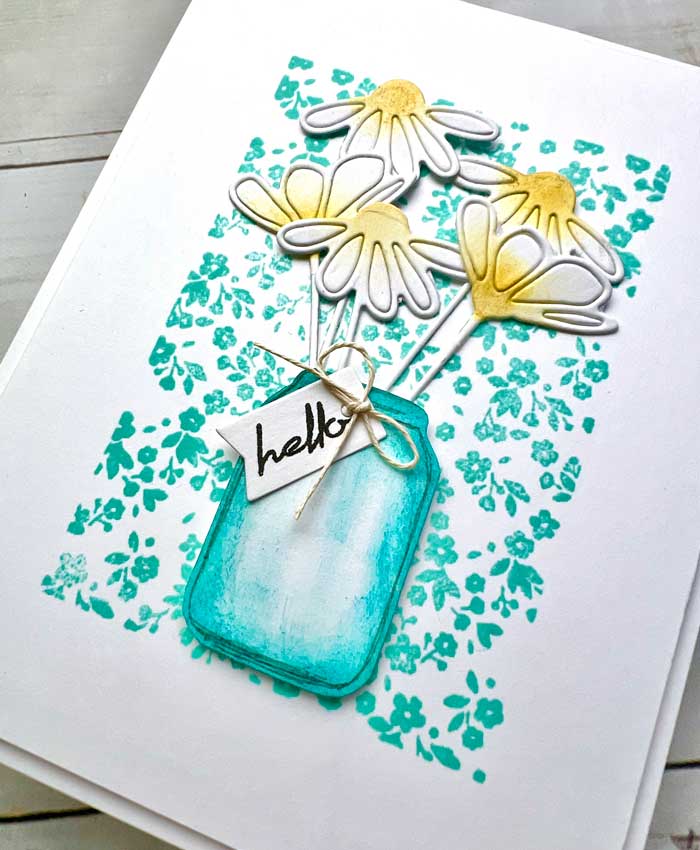
With the background done, I moved on to die-cutting the daisies and the tiny tag from white cardstock. I colored the flowers by simply brushing on a little Wild Dandelion ink (see supply list below) in the centers, leaving the outside of the petals white.
Next, I cut out a rectangle from white card stock approximately the size I wanted the ‘vase’ to be. From there, I slightly notched one of the short ends to make the shape of a jar or vase and rounded the corners at the other end. It’s just that simple!
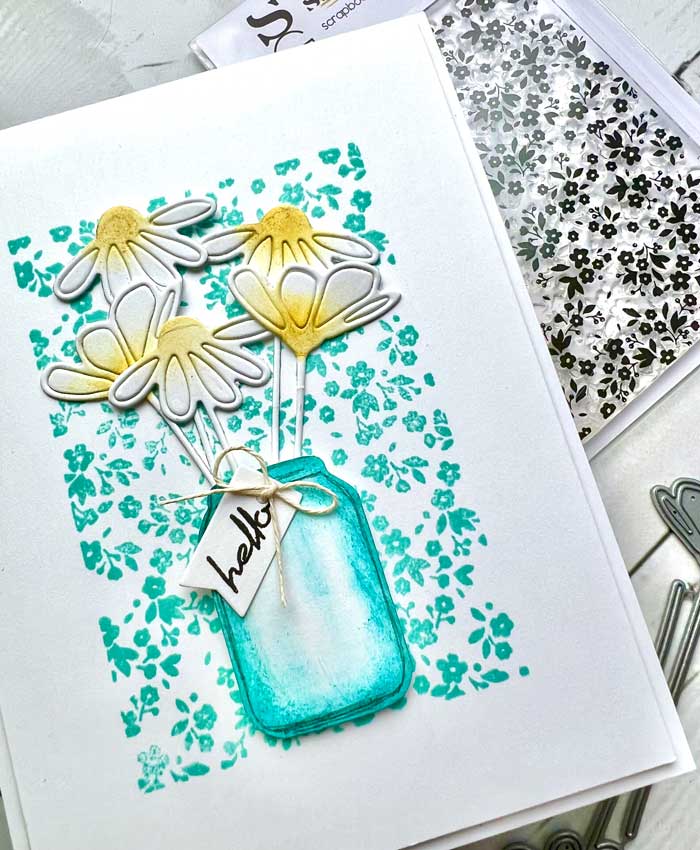
Using Sea Glass and Tranquil Teal ink, I blended on a little color. To give the vase a little more definition, I drew a thin line around the perimeter with my pencil.
I was ready to assemble. I added a panel of foam to the back of my Liberty stamped panel, then adhered it to the front of the card base. Next, I added some foam squares to the vase and mounted it and the flowers to the front.
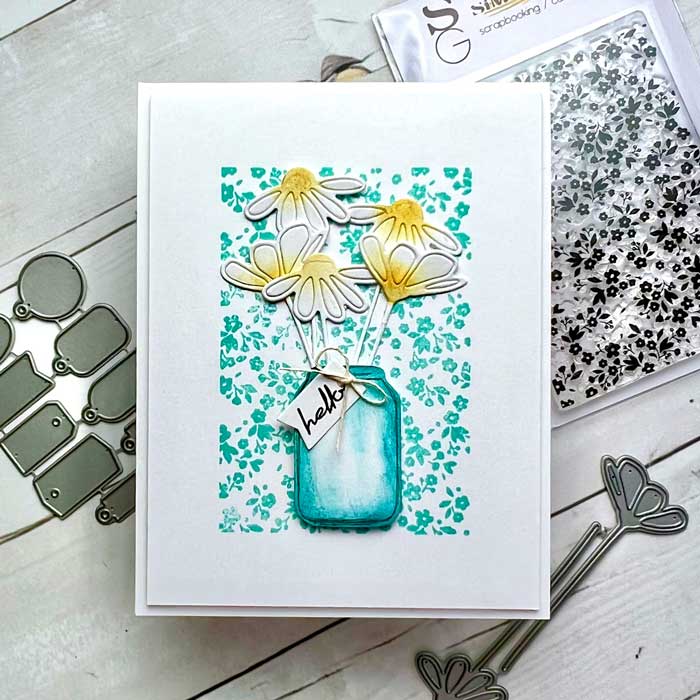
The little cut-out tag was stamped with ‘hello’ using Versafine Black Onyx ink, then added to the vase. A tiny twine bow was added to complete the card. ♥
Goodies Used:
Sorry, the comment form is closed at this time.

June 13, 2022
Patt H.
Love this adorable card! So pretty!
June 13, 2022
Shauna Todd
we are so glad you like it!