Hello Friend
Hi Creative Friends,
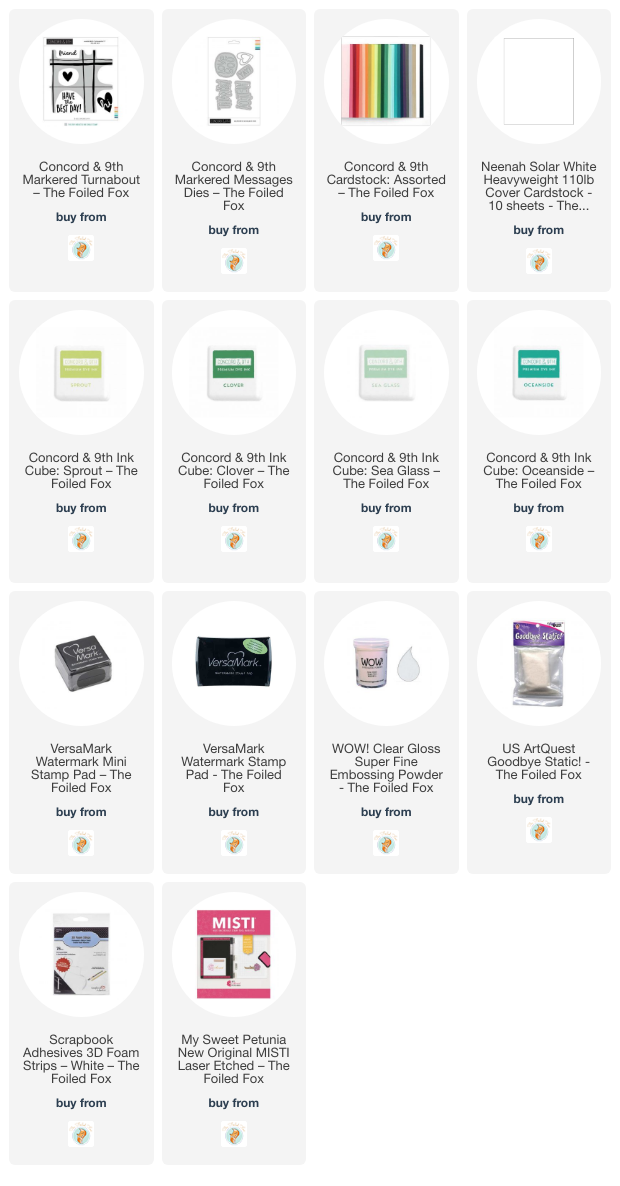
We love ourselves a super fun plaid so we couldn’t wait to use the new Concord & 9th Markered Turnabout stamp set. Then, we used the companion die set called Markered Messages. Together, this complete set makes some awesome and easy card designs that will surely bring a smile to the recipient’s face.
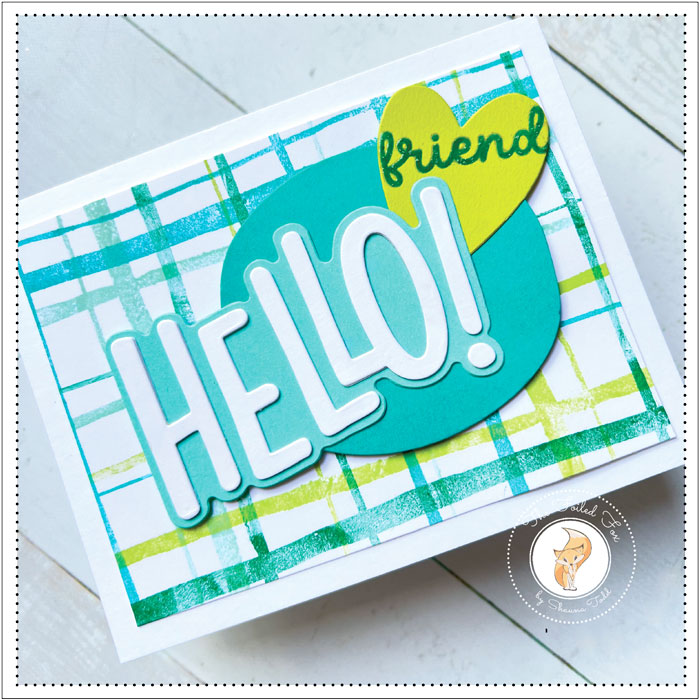
We used the Concord & 9th paper pack with the matching inks to make easy work of this card. When you have coordinating paper and ink it takes out all the guesswork of what coordinates with what! We love it… that way you don’t get decision fatigue when making a card- hooray!
So, starting with the background, the Markered Turnabout stamp was mounted along with white cardstock into a stamp positioner. Whenever we use a turnabout stamp, we use a square panel that matches the stamp size. In this case, it was a 5.75″ square panel. We align the stamp to be perfectly in the center of the panel. Another thing to do to ensure the perfect stamping of a turnabout is to position the paper so you can place it in the exact spot as before when you make your quarter turns. If you haven’t used a turnabout stamp before, here is a video with some tips on how to get the best results – click here.
Once everything is in position, I started to create the plaid. I chose four coordinating colors, one color for each turn. It doesn’t matter what color you start with but I generally start with a dark color, then for the next turn I chose a lighter color. This procedure is repeated for the remaining two turns. The colors I used were Oceanside, Sea Glass, Sprout, and Clover (see supply list).
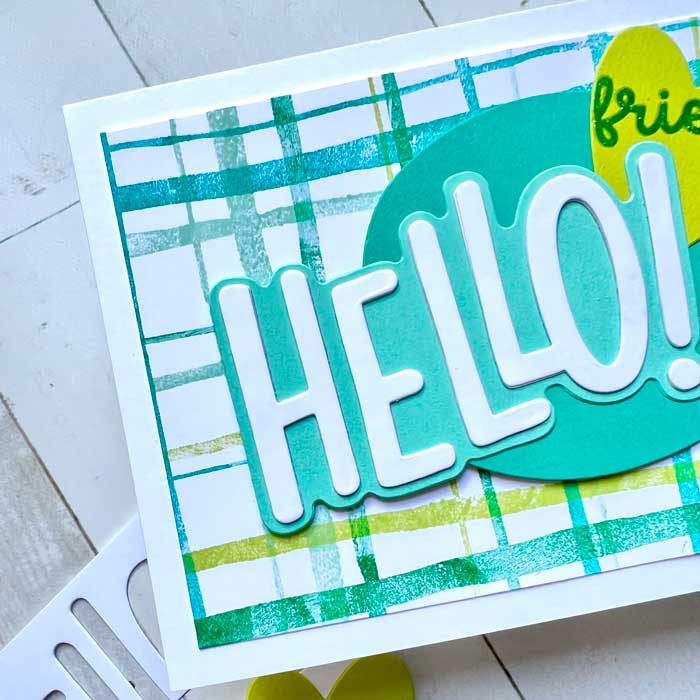
With the plaid background done, I set it aside and cut out the roundish bubble, Hello, the Hello shadow, and heart. As I mentioned before, I used the matching paper pack. By the way, this is an awesome paper pack. It is packed full of luscious heavy card stock.
For the heart, I stamped ‘friend’ on it using matching green ink, then clear heat embossed it to make it pop!
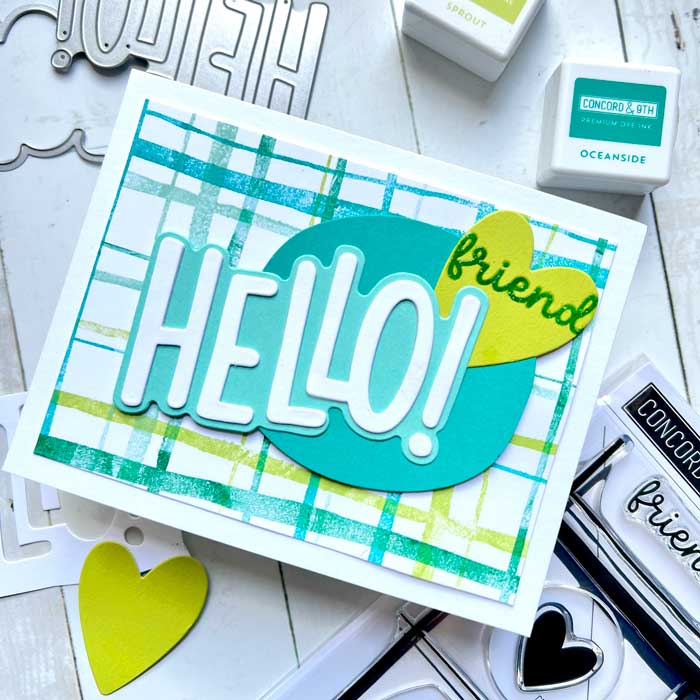
The assembly was a snap. Using an A2 white card base, I mounted an A2-sized white panel to the front. Next, trimmed the plaid to be slightly smaller than the panel and mounted it on top.
The bubble, Hello shadow, and white Hello letters were mounted on top of the plaid panel and the heart was tucked in and securely with a foam square… and that was all there was to it! It is done and ready to mail! ♥


