Hello Pumpkin
Hi Crafty Friends,
I am popping in with a fun Autumn card design filled with loads of pumpkins from the charming Hello Pumpkin stamp set by Papertrey Ink, an Ink To Paper Collection. I used only the stamp set for this project but I highly recommend getting the die set too. It makes awesome pumpkins on their own, not mention there will be other projects coming up using the stamp and die set together.
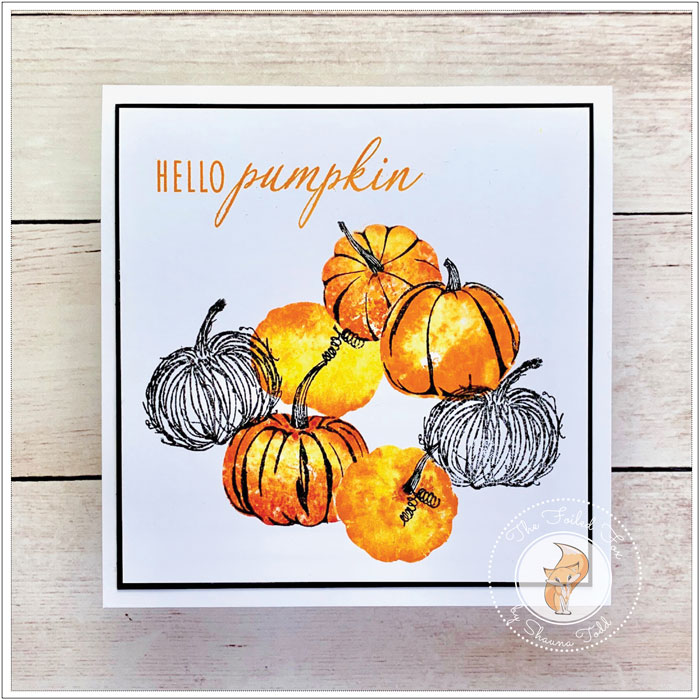
This design is packed full of pumpkins, all from the Hello Pumpkin stamp set. These pumpkins were randomly placed… sort of. I first stamped them onto a piece of copy paper that was the same size as the card front. That way I could arrange them and know which ones would be in front of another before attempting the real thing.
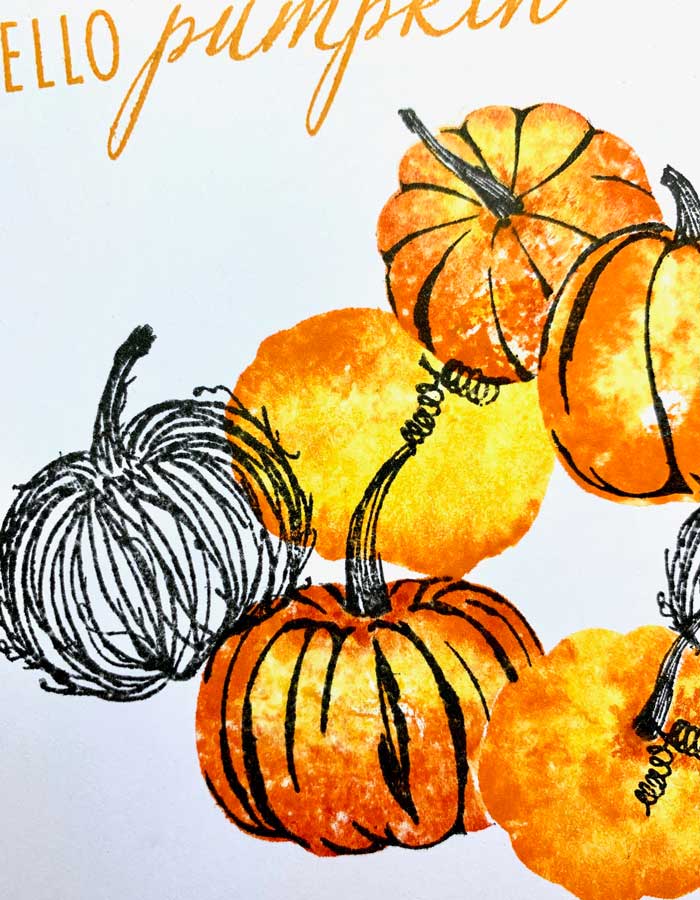
Once the positioning was decided, it was just a matter of stamping the pumpkins that were in front of another first, then masking them. Masking is done by stamping the pumpkin image onto masking paper (see supply list), cutting it out precisely on the outer stamp line, without any border, then placing it over the stamped pumpkin. Now I could stamp the other pumpkins around it without marring the ones in front. It also gives the appearance that some pumpkins are in the back of others… it’s like magic.

Ooops, I am getting a little ahead of myself. So first, I used a piece of square-shaped Bristol paper and a combination of pumpkin-y colored ink: Bright Buttercup, Summer Sunrise, Orange Zest, Terracotta Tile, and True Black for the layering stamp and twiggy pumpkins. Then stamped away, stamping the pumpkins in front first, masked them, and then stamped the ones in back.
Oh, just in case you didn’t know, I used Bristol paper because it is white in color and it tolerates small amounts of ink, making it perfect for doing some light ink blending and still matches well with Neenah white card stock. So, with that in mind, I added a few different colors of ink on the stamp at one time, then spritz it with a tiny bit of water so the colors could blend, then stamped.

Once all the pumpkins were stamped, I placed the card front in my stamp positioner and stamped the sentiment “Hello Pumpkin”.
All that was left was to adhere the front to a slightly larger black cardstock panel and then added the whole thing to a larger card stock card base.
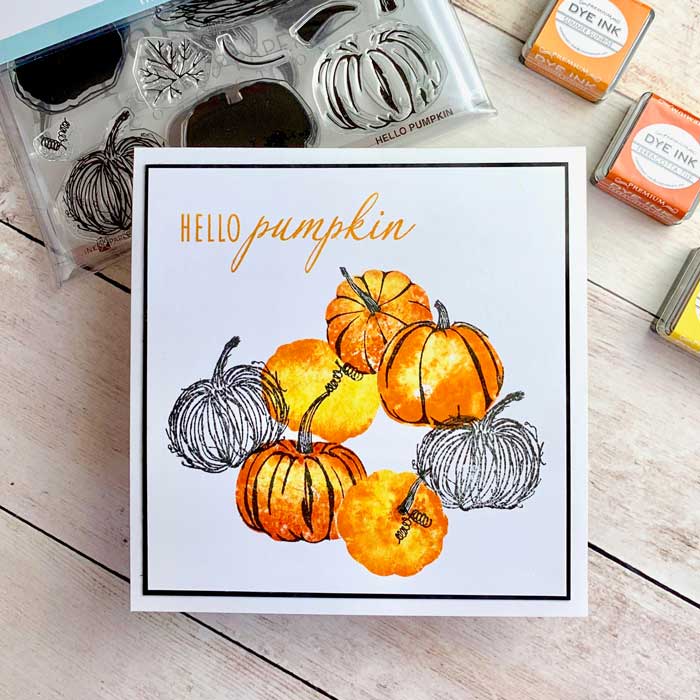
And there we have it! I love the result. I hope you do too! 🎃
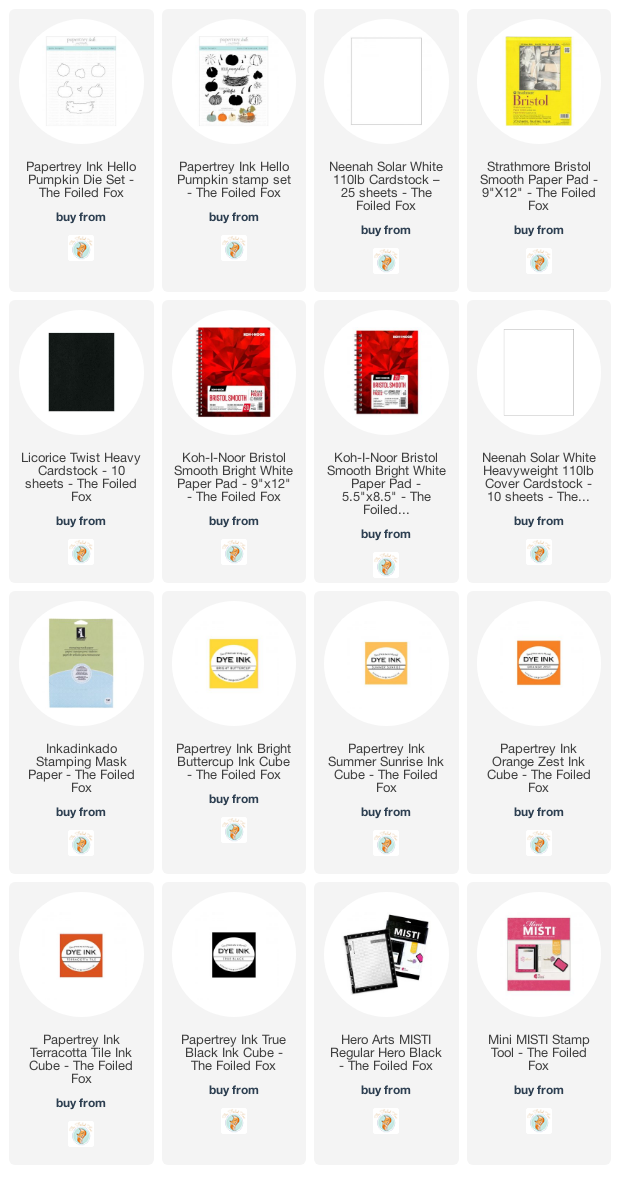
Goodies Used:
Sorry, the comment form is closed at this time.

August 31, 2020
Irene M Gebe-Norris
This is so gorgeous and just a little bit different. Love it.
September 2, 2020
Shauna Todd
Thanks so much!