Hugs And Flowers
Hi Crafty Friends,
I am sharing a flower-filled card design sure to send hugs to your loved one. What is even better, the flowers I am used are roses… my all-time fav! The flowers are from the lovely Enchanting Roses stamp and die set by Papertrey Ink – Ink To Paper.
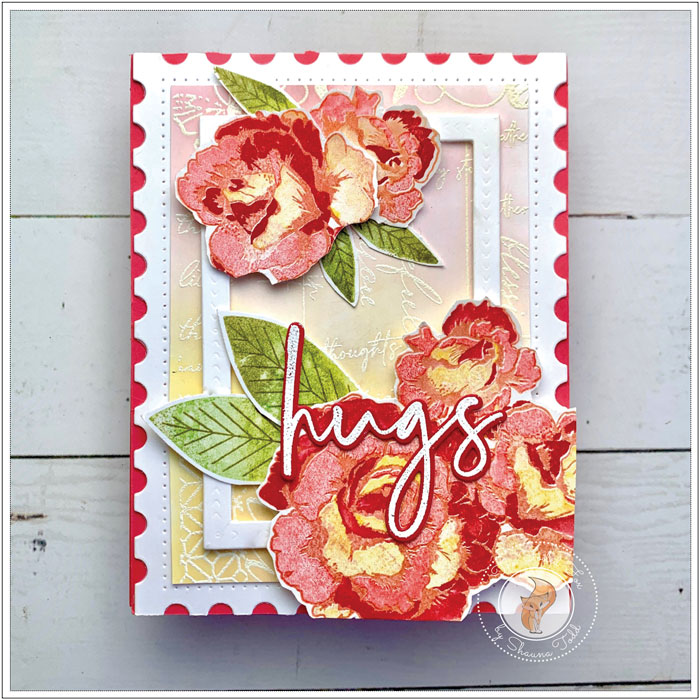
This card design features a few layers. The first layer is a Berry Sorbet card stock card base and the next layer was cut from white cardstock using the Papertrey Ink Border Bling: Postage frames and mounted on top.
For the third layer, I created a decorative one, using Papertrey Ink’s Vintage Flair Print stamp. It was stamped with Versamark ink onto white card stock, then white heat embossing. To add a bit of color to the panel, I blended on Scattered Straw distress ink for the bottom half and Spun Sugar distress ink for the top. Once done, I trimmed it to fit just inside the pierced border on the postage frame layer and stuck it down with double-stick tape.
To add one more layer of frames, I cut a medium-sized Skinny Vees frame (smaller one in the set) from white card stock, applied foam tape to the back, and mounted it on top of the decorative Vintage Print layer.
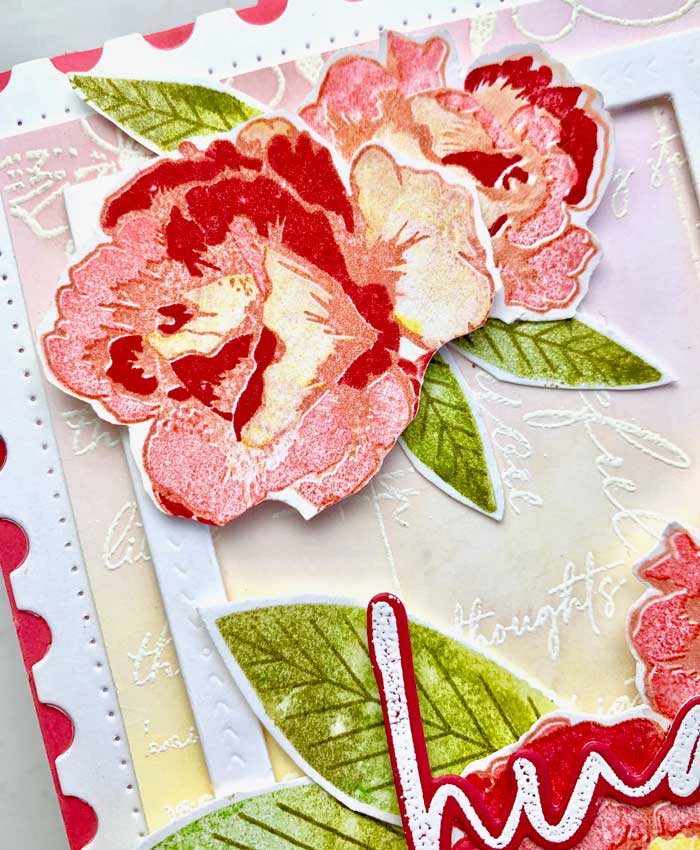
Next were the roses. Using the Enchanting Roses stamp and die set, I cut two sets of flowers and leaves out of Bristol paper, then mounted everything from one set (both the negative and positive parts of the cut-outs) into a stamp positioner with a little repositionable tape (see supply list below). The negative part holds the flowers in place while the flowers were stamped in stages to accommodate the different shading and detail layers.
To stamp the flowers, I always start with the largest stamp first, then work my way through the layers. I stamped this first layer with a combination of Berry Sorbet and Melon Berry inks (see supply list below), spritzing and stamping until I got the desired color.
The next layer was placed in position and stamped with Pure Poppy and a little Lovely Lady to soften the red. The final layer was added to the stamp positioner and stamped with Harvest Gold and a touch of Melon Berry. I repeated the steps with the second set of cut-out roses.
Hint: If all this sounds confusing, no worries… check out this video where I demonstrate this technique with these very same flowers
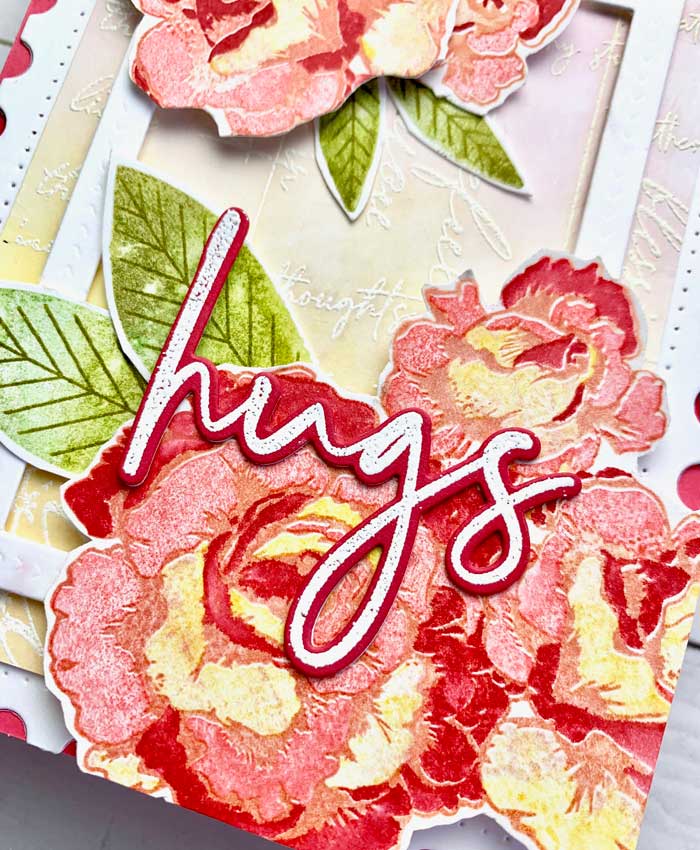
The leaves were stamped the same way as the roses. I used a combination of New Leaf, Ripe Avocado at the base, and a bit of Spring Moss at the tips, spritzed and stamped them. The leaf veins were stamped using Ripe Avocado.
With the flowers complete, I started my flower arranging on top of the card front. To balance out the flowers, I cut apart the flowers in one set and used the two smaller flowers at the top of the white frame and the large triple flower cluster was mounted at the bottom. They were applied with foam tape. The remaining part of the cluster was trimmed off even with the card front.
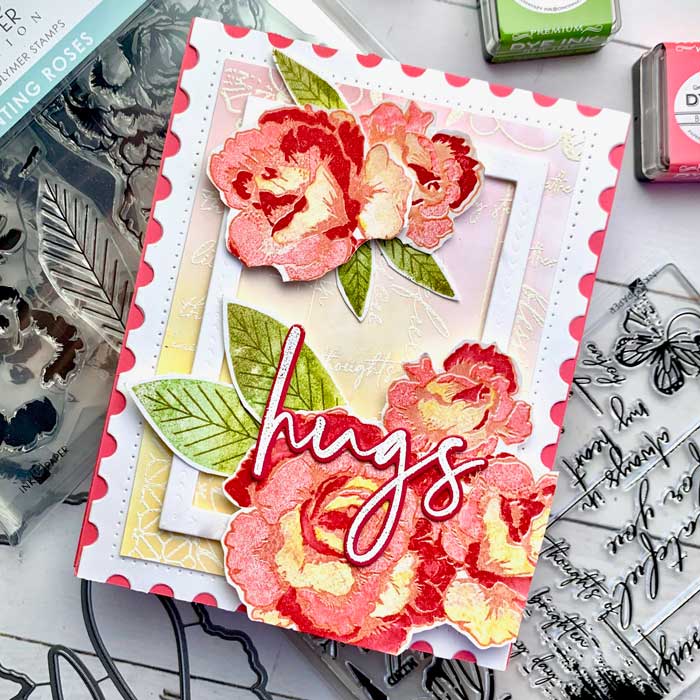
To finish, I cut out two ‘hugs’ from the Perfect Pairs: Essentials die set, one from white card stock and the other from Pure Poppy card stock. The Pure Poppy one was stamped and white heat embossed using the coordinating ‘hugs’ stamp from the Perfect Pairs: Essentials stamp set. The two layers were stacked and glued together, then mounted onto the card front.
And there we have it.., all done. I am happy with the results. I especially like the postage frame layer and the flowers. I hope you enjoyed it too! ♥
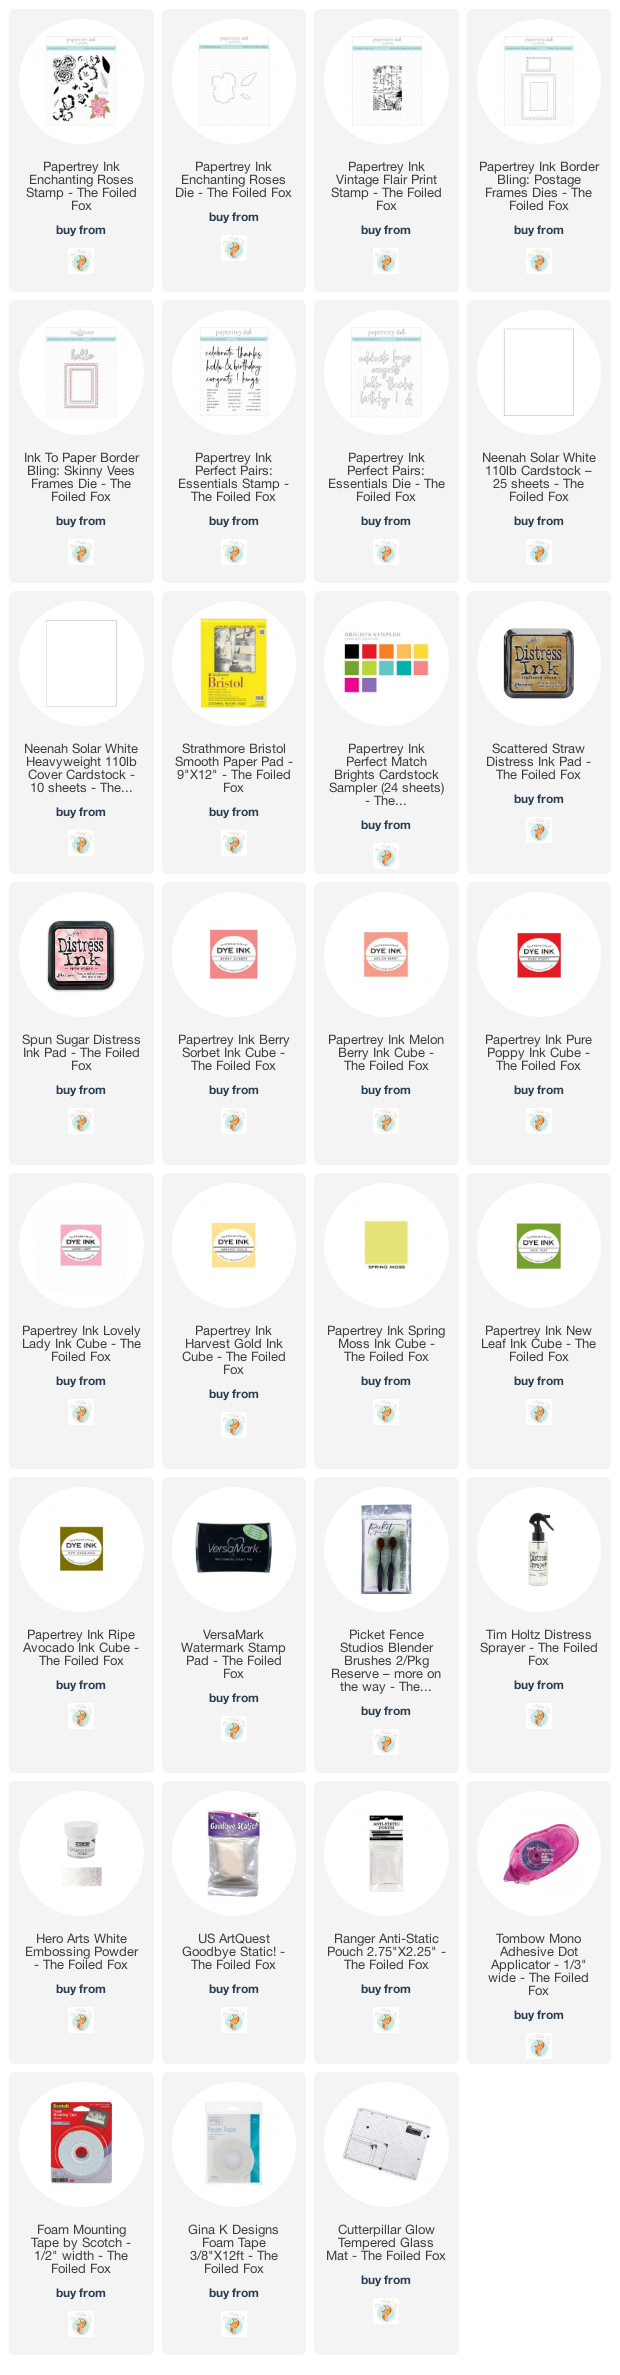
Goodies Used: