I Miss Your Smile
Hi Crafty Friends,
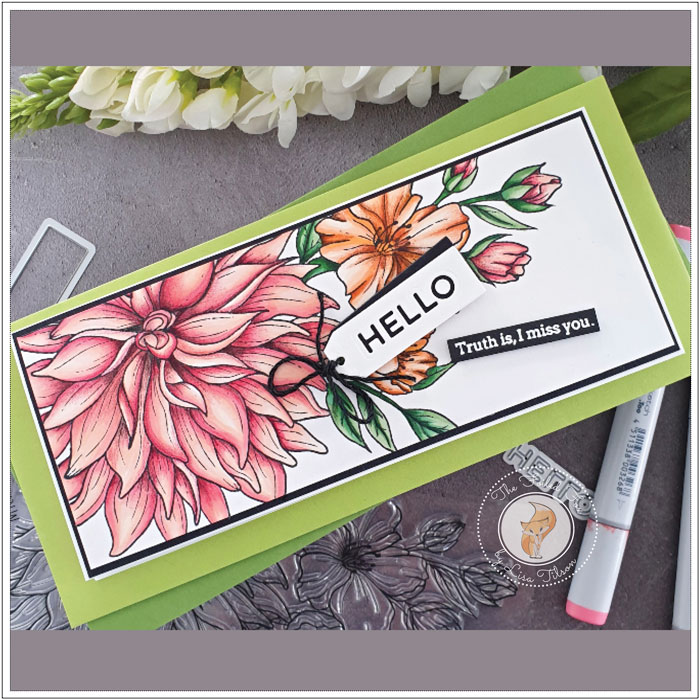
Lisa Tilson of Your Card Trip is visiting us today and she is sharing a gorgeous slimline card featuring the Miss Your Smile stamp set by Pinkfresh Studio. Lisa, as always, has done a brilliant job creating an awesome card design. Take a look below for more.
Hello there everyone, it’s Lisa here today to share a card with you that is really all about the colouring. For today’s card, I decided to give my Copics a workout – it’s been a while since I used alcohol markers on a floral card, at least not on one with such a big image.
I fell in love with the Miss Your Smile set which was designed by Emily Midgett for PinkFresh Studio and so that is the set I am using today.
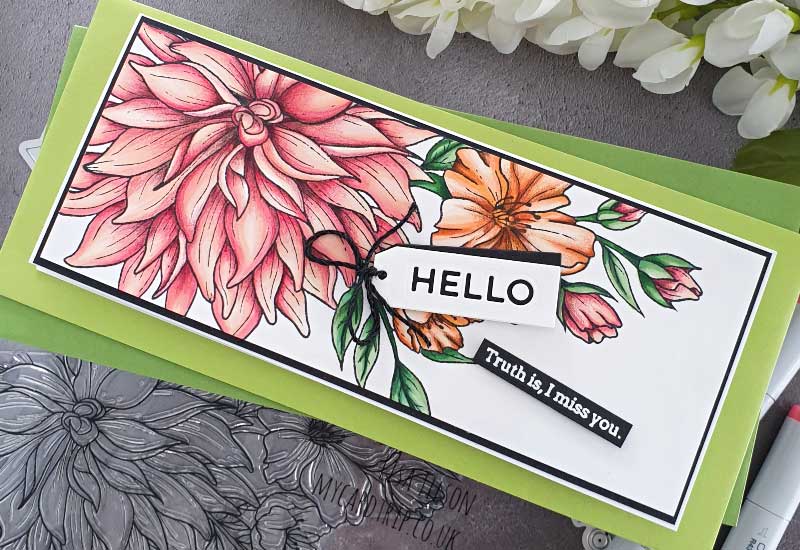
Isn’t it just such a gorgeous image? The beauty of this set is that you can also buy a set of layering stencils to use with it – which is ideal for those who don’t want to colour the image and I’ll have a card to share with you soon using those stencils.
To start, I stamped the image onto a panel of Neenah 110lb Solar White cardstock using Memento Tuxedo Black Ink and the MISTI. I double stamped to make sure that the image was crisp. I then went ahead and took a selection of Copic markers and spent a couple of hours colouring it in. The markers that I have used are listed below in case you are interested.
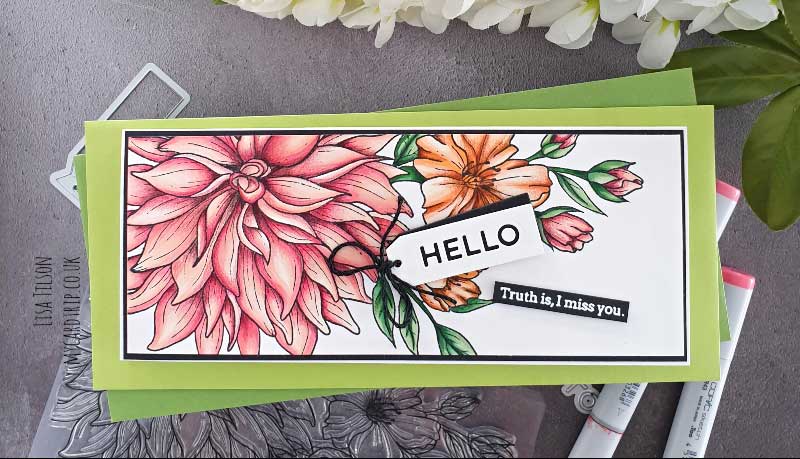
When I had finished the Copic colouring, I added some pencil detail over the top. This is where I really think you can add a lot of depth to your colouring. So, to add depth to the big flower, I used a deep pink pencil on the petals and a black pencil in the crevices. Using black can be a little nerve-wracking, but as with all colouring, go lightly and build it up until you are happy with how it looks. Using a light hand is the way forward here I discovered!
For the smaller flowers, I used a brown and black pencil to add depth, and for the leaves, I used a dark green pencil.
My panel was trimmed down and matted onto some black cardstock which I then adhered flat to a Neenah 110lb white card base which measures 8.5” x 3.5”. I stamped a sentiment from the stamp set onto black cardstock using Versamark Ink and then added Hero Arts White Detail Embossing Powder and heat set. The sentiment was trimmed out with a MFT Skinny Strips Dienamics, foam tape was added to the back and I set it to one side.

Next, I took one of the tag dies from PinkFresh Mini Tags With Fillable Words die set (such a cute tag set!) and die cut one tag from black cardstock and one from white cardstock. I then took the “hello” die from the same set and positioned it onto the white tag and then ran that through the die cutting machine. The white tag was adhered on top of the black with a little Multi Medium Matte and I made sure it was set at an angle, just to add a bit more interest. Then I took some black twine and made a little bow for the top of the tag. I popped some foam tape onto the back of it for dimension. Both sentiments were then added to the card to finish.
Copics used: Large Flower (R43, R32, R12, R11, E00), Smaller Flowers (YR14, YR02, YR00, E00, E000), Leaves (G28, G07, YG45, G24, G21)
Learn more about Lisa:
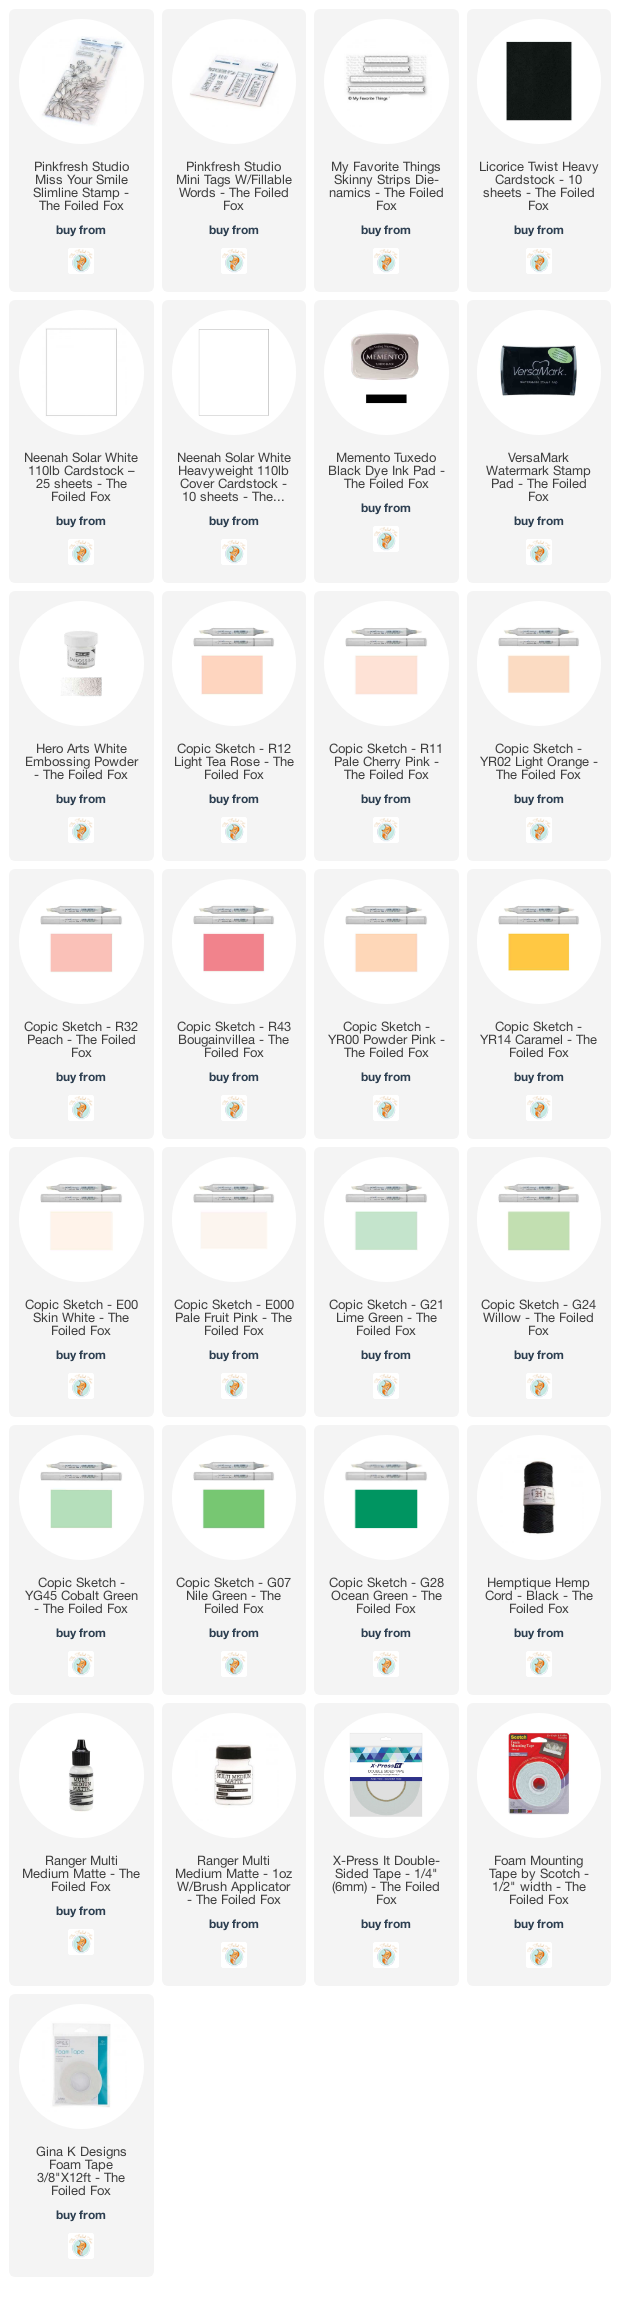
Goodies List: