Illustrious Beauties

Hello Everyone… and a happy Thanksgiving to our U.S. friends
I have a project for you today that is filled with Fall colors which are perfect for Autumn and this Thanksgiving week. It features one of my favorite stamps, Illustrious from Penny Black.
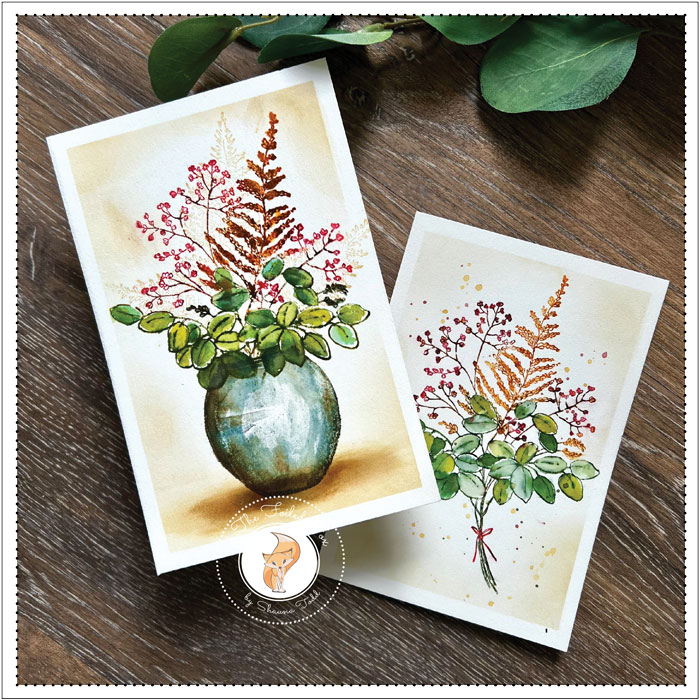
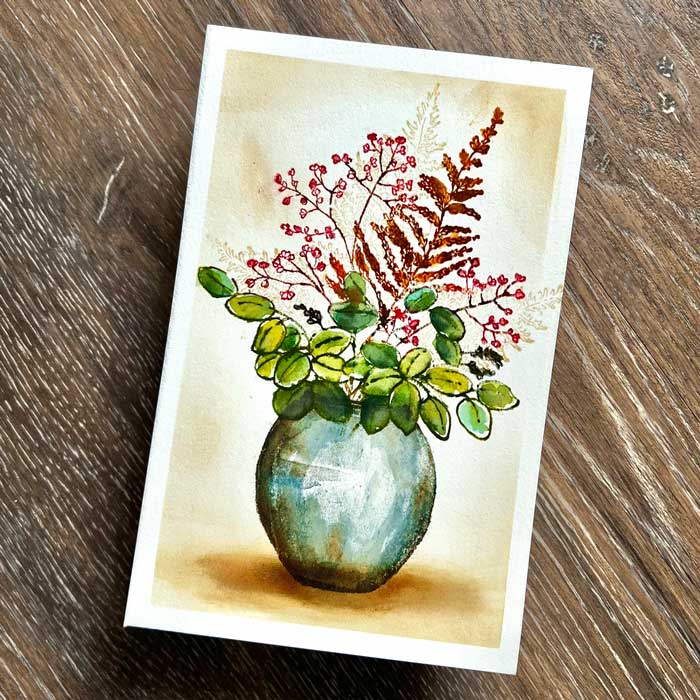
As you can see, I actually made two very similar cards, one with a vase and the other without. I love them both but you decide your favorite.
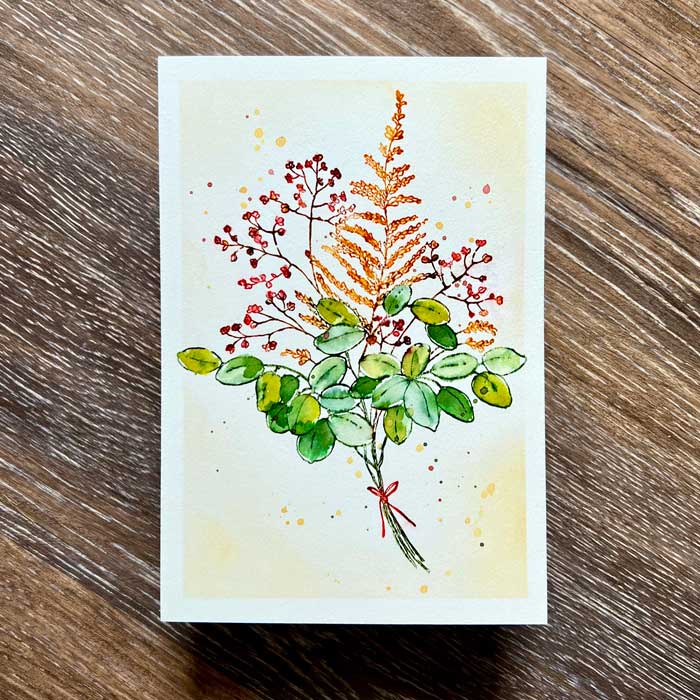
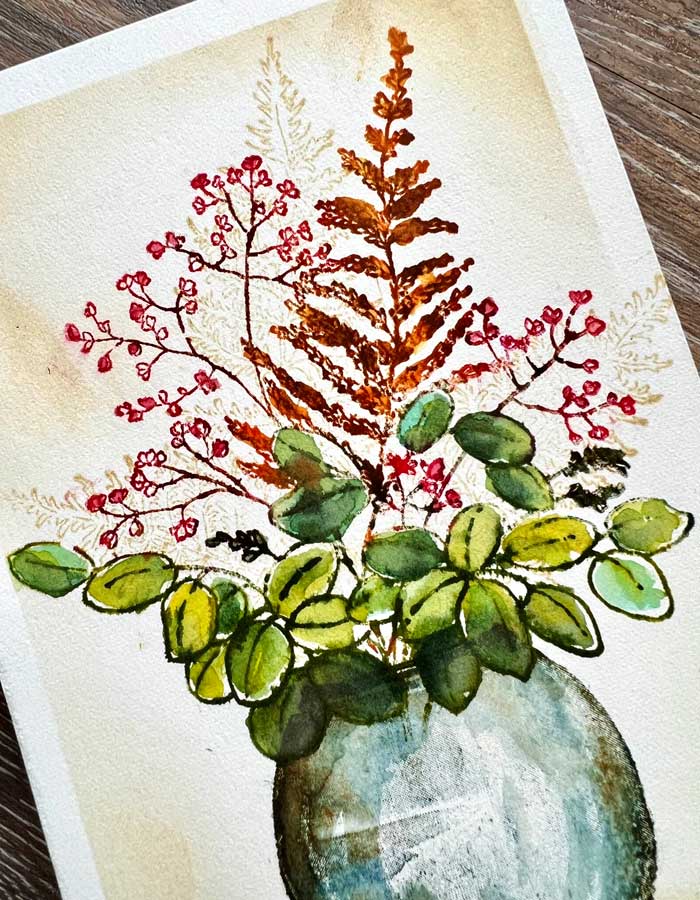
Whether you are creating one or the other it follows the same steps… more or less… so let’s start with the one without the vase.
First, I taped my Fabriano hot-pressed watercolor paper inside my stamp positioner. I used Pixie tape but Purple tape will work too(both in the supply list below), or any low tack tape for that matter. My fave is Pixie tape but you use what works best for you!
I taped one-quarter inch in on all sides, then centered the Illustrious stamp within the panel. I made sure the stamp was firmly mounted on the door of the stamp positioner. This is important because I will not move it while I do all the coloring.
I started coloring the large wheat-like piece in the center. I used Wild Honey and dashes of Crackling Campfire distress inks. I also used a brown Tombow pen to color the center ‘vein’ of the fern to give it more definition. Whenever I do projects like this one, I like to lightly spritz the stamp with water after I have applied ink and before I stamp. This allows the inks to just slightly blend with each other.
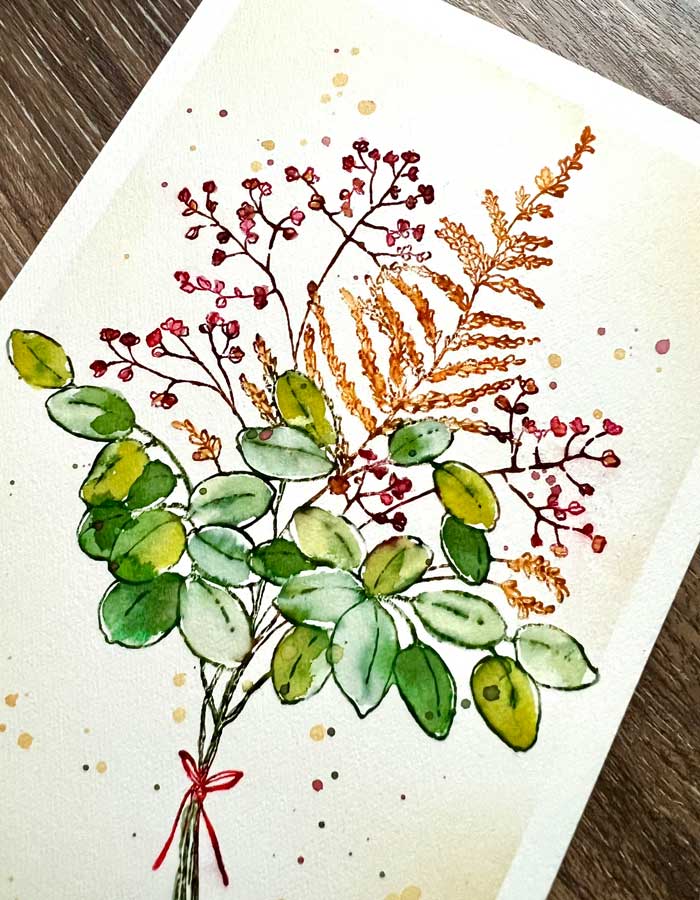
Next, I colored the small, little buds (similar to Baby’s Breath). I used Picked Raspberry and a touch of Aged Mahogany here and there, with the stems colored again with my Tombow brown marker. As usual, I followed the sequence: ink, spritz with water, then stamp, repeating these steps until I was happy with the result before I moved on to another area.
I saved the leaves for last. These were colored with a combination of green distress inks. I love using Crushed Olive, then following up with Peeled Paint and a little Evergreen Bough. For the stems, I used a green Tombow marker and a pinkish-red marker for the bow.
With all the coloring done, and my watercolor paper still taped down, I very lightly blended on Antique Linen distress ink to the edges and then splattered little droplets of Antique Linen distress ink.
To finish, I carefully peeled off the tape and mounted the panel to a white cardstock card base.
This finished the first card, the only thing different in the second card was of course….the vase. So, I began this design with the watercolor panel mounted the same way and mounted the vase in the stamp positioner. I stamped it using distress inks. I started with a light stamping of Speckled Egg distress ink, then added a combination of Evergreen Bough, Faded Jeans, and Vintage Photo distress inks to the edges. It is important to stamp the top portion of the vase very lightly since the leaves of the Illustrious will overlap. I also added color to the vase in tiny steps so I wouldn’t over-color it.
Once the vase was done, I made one more addition before stamping the Illustrious stamp. I very lightly stamped a few fronds from the Fresh Fern stamp with Antique Linen just to have a very light hint of them. I didn’t even stamp all the fern fronds, just the upper portions.
Next I mounted the Illustrious stamp and used the same distress inks and technique as before. When done, I added the Antique Linen to the edges and added a shadow using Vintage Photo ink to the bottom under the vase.
I didn’t add a sentiment to either panel. Sometimes I just like to enjoy the art of the stamp alone but a sentiment could work too.
I hope you enjoyed these projects. You will have to let me know which you liked best! ♥
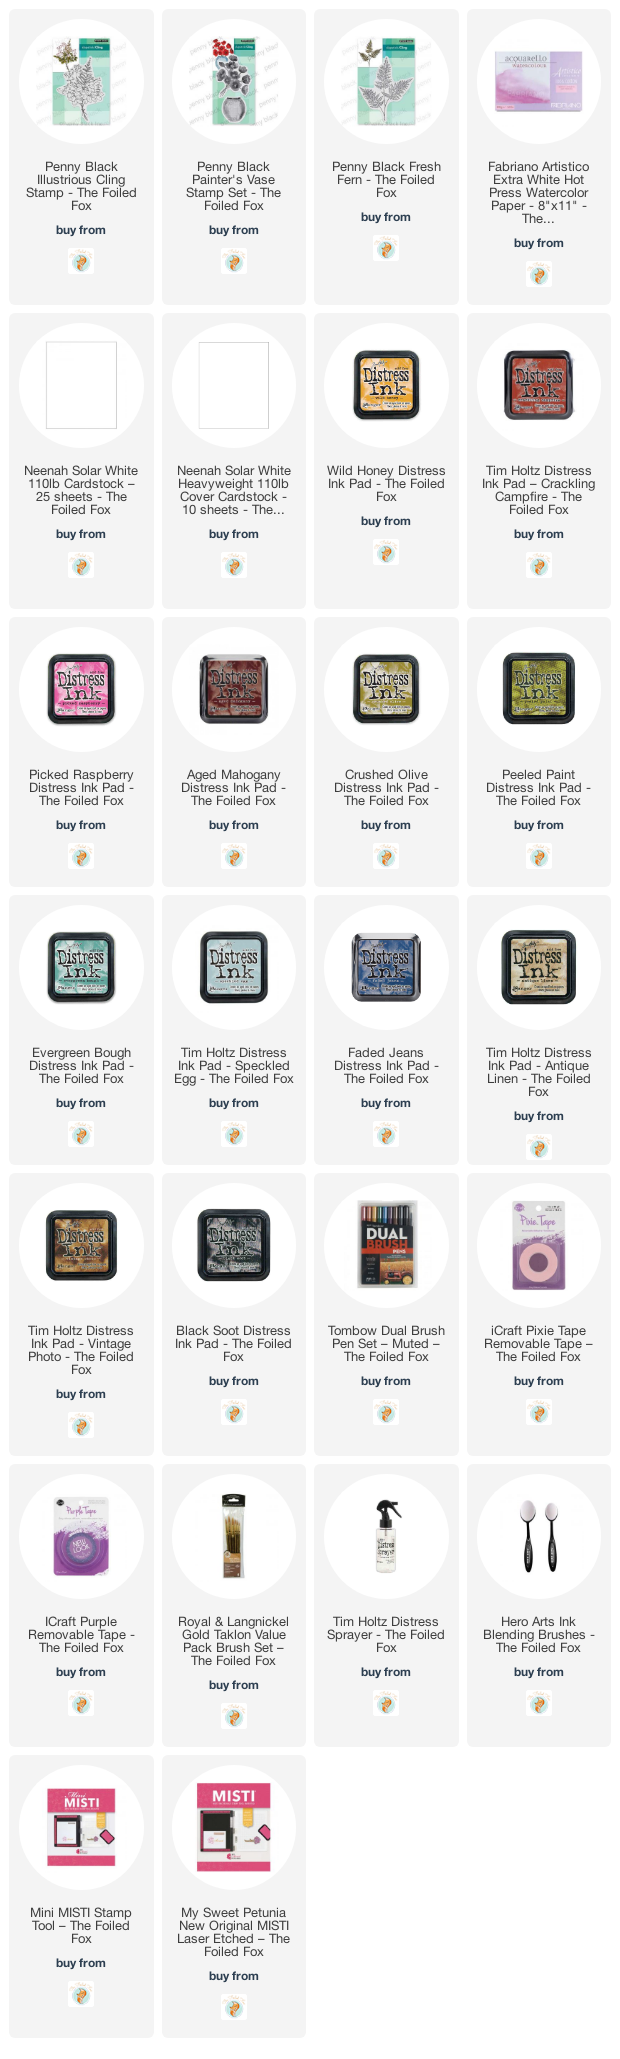
Goodies Used: