Kindly Deliver
Hi our creative friends,
I am sharing two card designs today, both using the new Honey Bee Stamps Vintage Mailbox die set, along with other mail-centric stamps and dies you can find in their new release (and in our supply list below).
I am a total sucker for mail-type goodies so I was very excited to use these new sets. You can make soooooo many wonderful projects from the coordinating stamp and dies set in this latest release.
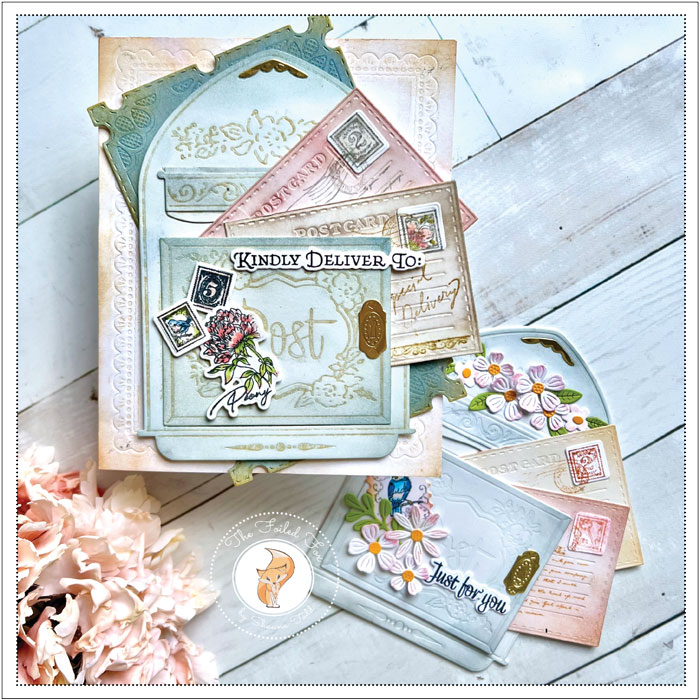
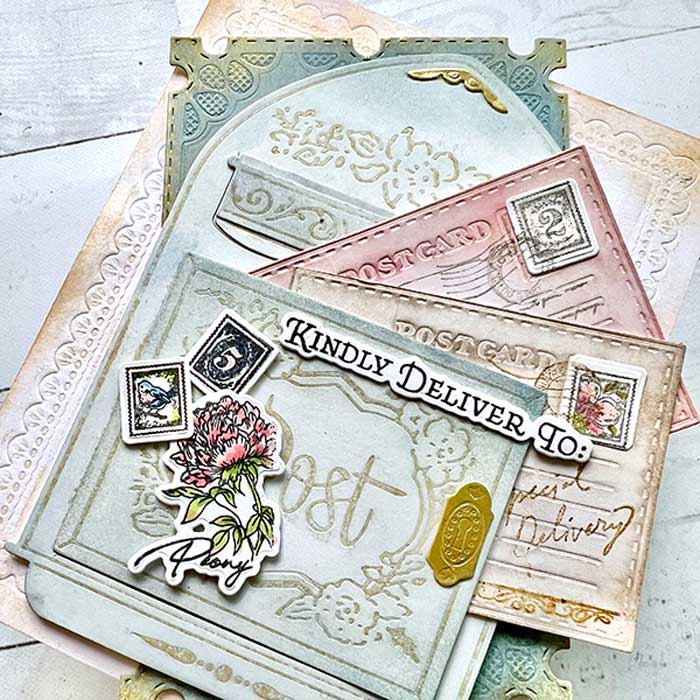
Each of these two cards uses the Vintage Mailbox A2 card base. For this first one, I cut out all the pieces from the set from Bristol paper, then inked and blended the whole thing using Speckled Egg distress ink and Stormy Sky on the edges. I also cut out a card base by using the main Vintage Mailbox die and a folded piece of white cardstock. To cut the mailbox-shaped card base, I made sure that the fold of the cardstock was just barely inside the left-side cut line on the die. That way, when it went through my die-cutting machine, it cut out the exact shape, while still maintaining the fold, thus creating a mailbox-shaped cardbase.
To decorate the mailbox, I cut out some small flowers using the Spellbinders Mini Blooms die set and added hints of Worn Lipstick pink with yellow centers and green leaves.
Also included in this release is the Postmarked stamp and die set. This set is packed full of perfect mail-centric goodies. I created a stamp with a bird for extra ornament using this set and also cut out gold foil accents.
To complete the card, I cut out two postcards and matching stamps using the Mini Postcard die and elements from the Postmarked stamp and die set.
The whole mailbox with the postcards was mounted onto the mailbox-shaped cardbase created earlier. The sentiment was created by using the Mailbox Memos stamp and die set.
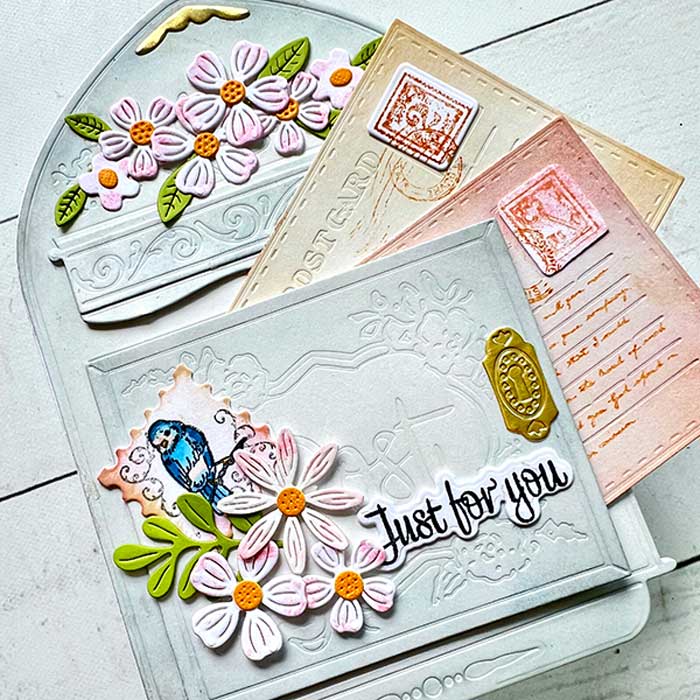
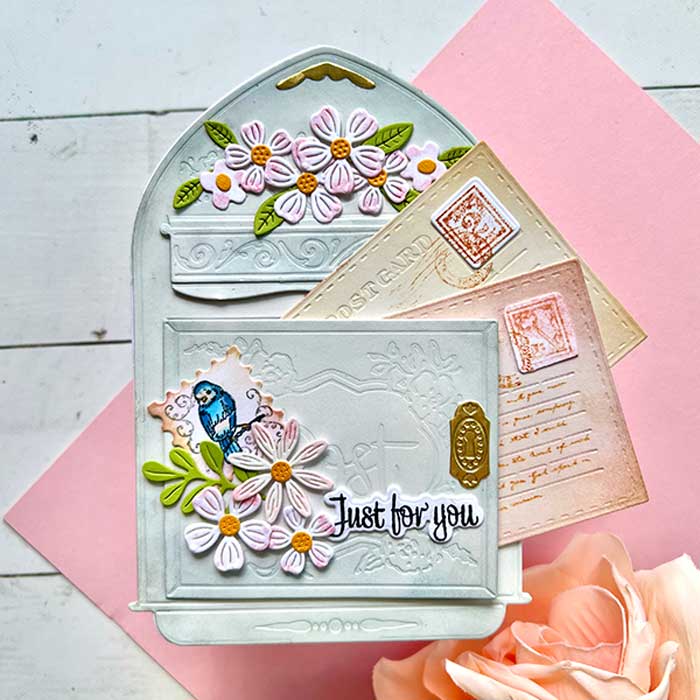
Moving on to the next card, I used the same Vintage Mailbox die and bristol paper but this time, before I cut out the pieces, I carefully rubbed on Delicata Golden Glitz ink to the raised areas on the die, then cut out the pieces. By adding the ink before cutting, it impressed the gold ink into the pattern areas on the mailbox. I followed up by ink blending the mailbox pieces using the same Speckled Egg and Stormy Sky as before.

I made two postcards and stamps just like before but this time I made a few more stamps and a little flower ornament from the Postmarked stamp and die set.
Before mounting the finished mailbox, I created a 4 1/2×6″ card base when folded and a matching 4 1/2×6″ panel from white card stock. The panel was embossed (rather than cut) by using the rubber mat for my die-cutting machine and one of the dies from the Lace Heart Layering Frames. The panel was then colored with first Antique Linen distress ink, then Vintage Photo on the edges.
To add a little more drama, I made a panel using the smaller die in the Lace Heart Layering Frames set and ink blended on a combination of Speckled Egg and Stormy Sky, then added Golden Glitz ink to the edges.
To put it all together the scallop-y panel was mounted to the same-sized card base and the decorative edged panel was added next. To finish, the completed mailbox was added along with a sentiment from the Mailbox Memos stamp and die set.
Thank you so much for joining me today. I hope you enjoyed it. You will have to let me know if you have a favorite!
By the way, if you would like to see the full Honey Bee Stamps release, check out our video here. ♥
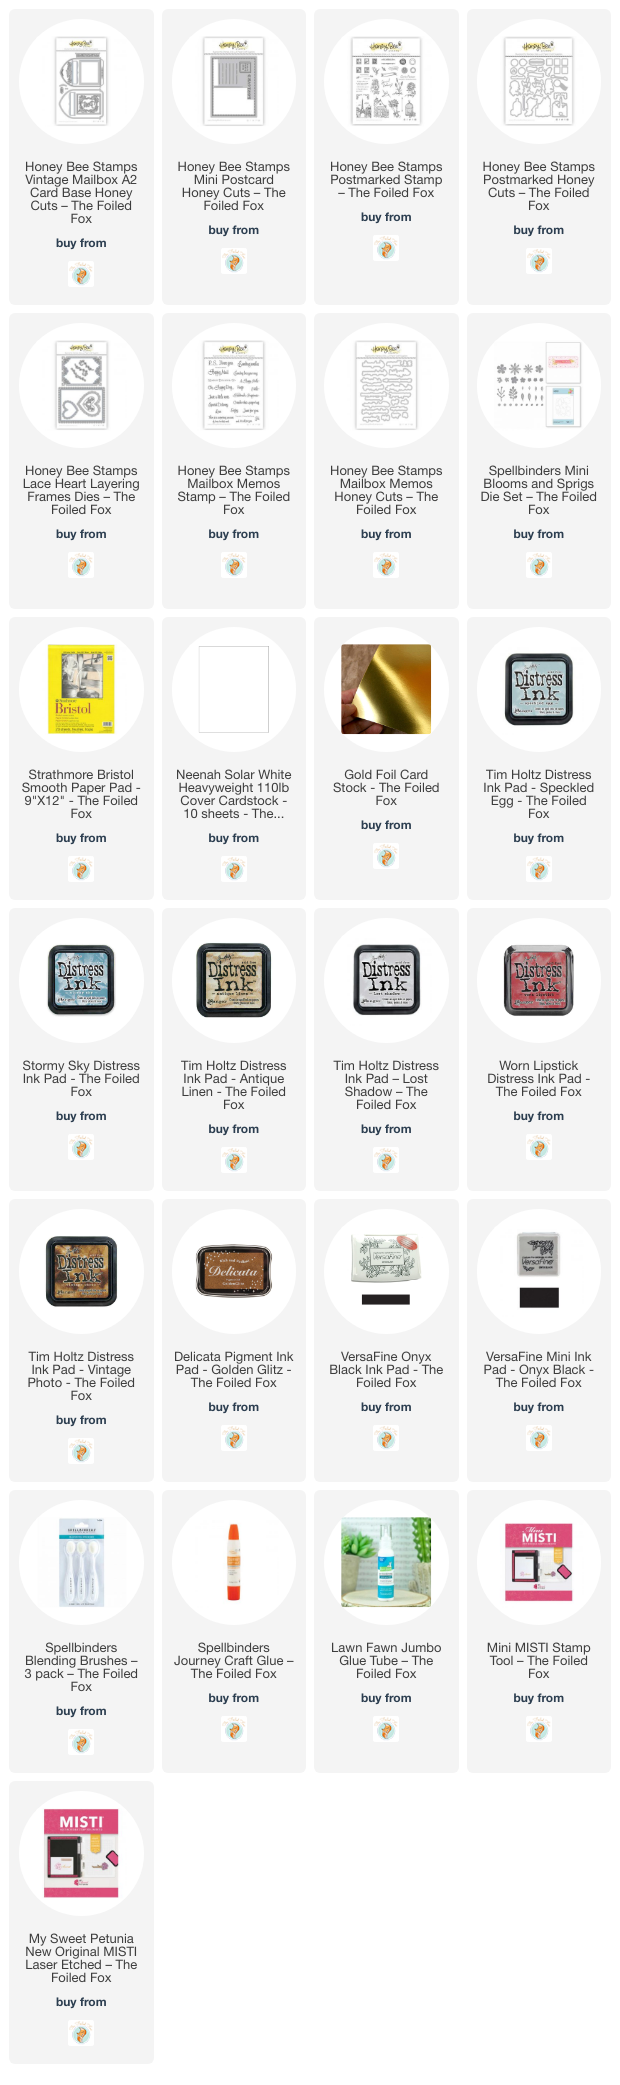
Goodies Used: