Magical Holiday Season
Hi Creative Friends,
I look forward every holiday season to the sweet spirit of Christmas. That means indulging in the nostalgia of elves, reindeer, and dear old Santa Claus. This year it is made simple by the latest release by Purple Onion Designs! This release is filled with all the makings for a perfect Santa holiday.
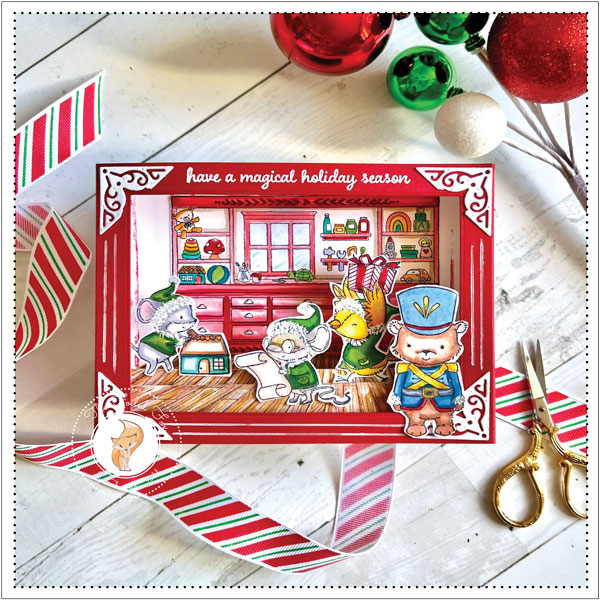
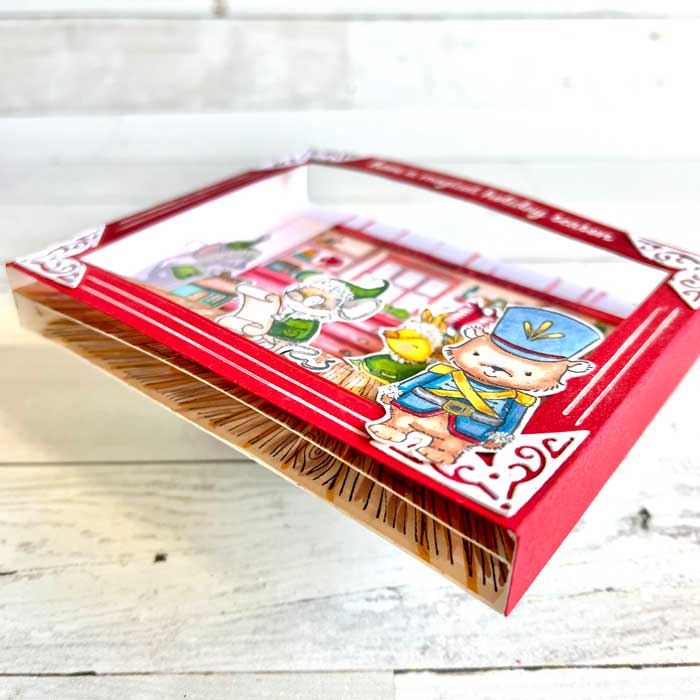
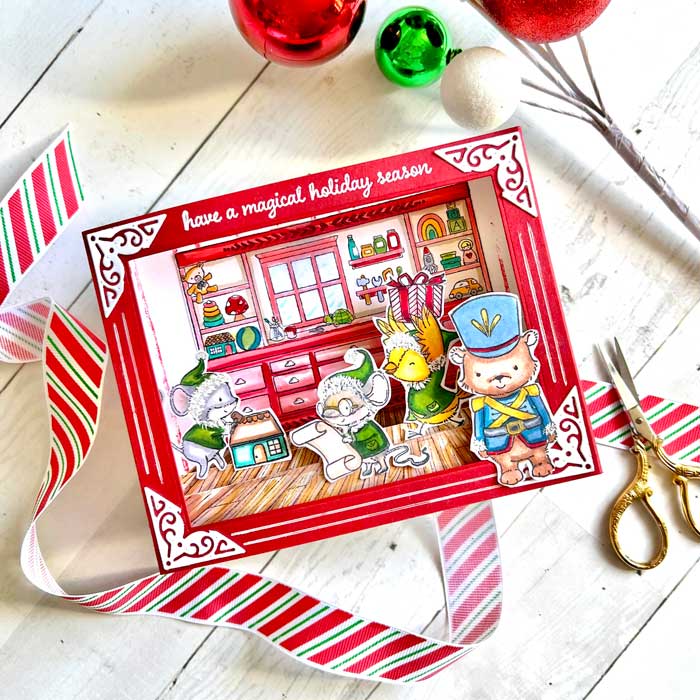
You will undoubtedly see more fun projects from me using this new release but to start out I have created Santa’s workshop. This workshop was made as a pop-up dimension card.
So, to begin, I stamped the Toy Workshop, Chippey, Sugar, Zippity, and Graham stamps onto Neenah white card stock, using Memento Tuxedo Black ink. I also stamped a second Toy Workshop floor (just the floor).
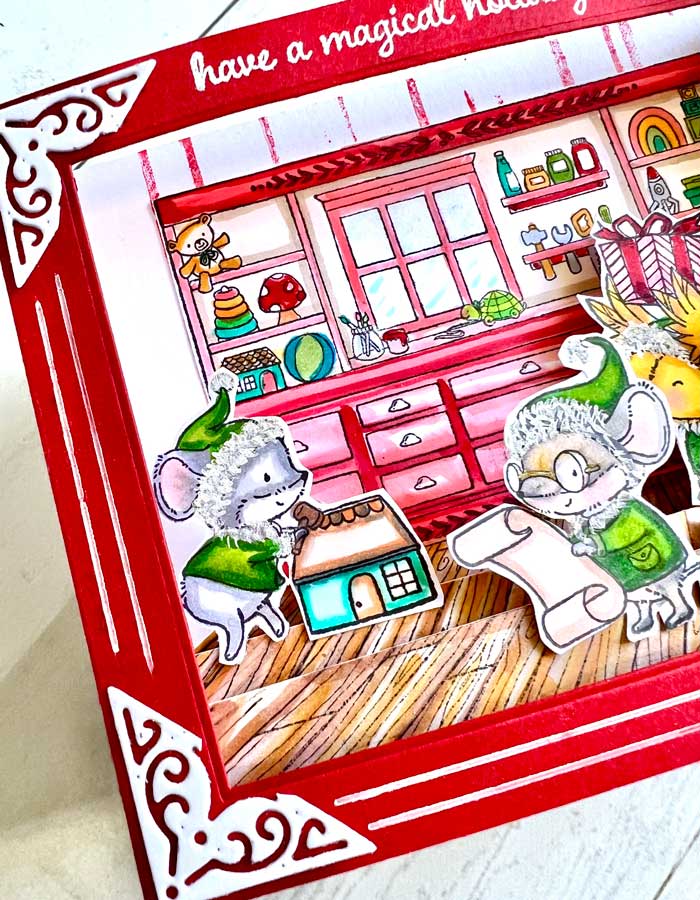
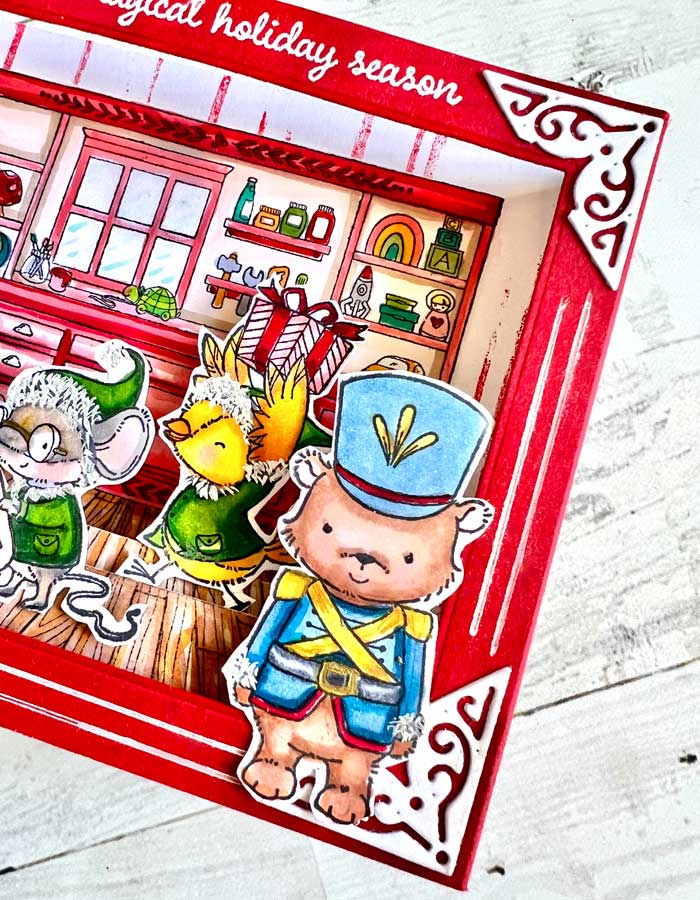
With all my little characters and background stamped, I colored them with Copic alcohol markers. I chose a few pinks and reds for the shelving and drawers and dressed the elves in green. I also made sure to color the floor and the extra floor I stamped too. When done, I cut out all the pieces (but NOT the extra floor piece – we will save that for later) and set them aside while I made the ‘shadow box’.
Making the shadow box is really very simple. It takes way longer to describe each step than to make it!
I simply cut a 4.5″ x 7.25″piece of heavy white cardstock (110lb.) and another the same size from Peppermint red paper. I scored each of these panels at .75″ and 6.5″ on the long side. I then stamped a red stripe pattern on one side of the white panel. This would serve as my inside walls. By the way, in hindsight, I wished I would have used a more prominent stripe so you could see more of the wall pattern. I think a closer diagonal or stripe would have been better! Before, I set these panels were set aside for a moment, the ends were folded to make a crisp right-angle ‘wall’ on each of the score lines.
Next, I cut the extra ‘floor’ in two 6.25″ long strips with one strip 3/8″ higher than the other. Before cutting, you may have to extend the floor on each side by adding a few lines. I simply did this with my ruler and a fine pen (Pigma Micro 01). I extended the floor lines and colored them in with my markers. Next, I made a score line on each side of the strip, 1/4″ in from the end of each side, and folded them over to form a 1/4″ tab. Double-sided tape was added to one side of each tab.
Now, with the red panel in hand, I used a rectangle die from Hero Arts Infinity Rectangles and cut out the center. This will serve as my ‘window’ into the toy workshop. The ends were then folded over at the 3/4″ score lines to form a very short wall and double-sided tape was added to one side of each of the two short walls.
The front of the red panel was then decorated by cutting four corner pieces using the Vintage Blooms die set (see supply list) and white cardstock. To add to the design, I drew two lines with my white gel pen in between each of the corners. I also stamped a sentiment from the Snow Grove sentiment stamp (see supply list below) with Versamark ink and white heat embossed it.
With all the pieces prepped, I got started with the assembly. The workshop shelving and drawer panel were mounted to the center back of the white-striped panel. The short ends were folded to form a right angle. The panel now looks like a U with very short side walls. Next, grab the taller floor strip, peel off the release tape to the double-side tape added earlier (remember, these are on the tabs of the floor strip), then mount the tab end of the floor strip to one side of the 3/4″ wall panel. Then repeat the step on the other side. This holds the walls up and creates a floor for the critters to mount on. Add the second floor strip exactly the same way but a little in front of the taller strip to create another floor to mount another level of critters.
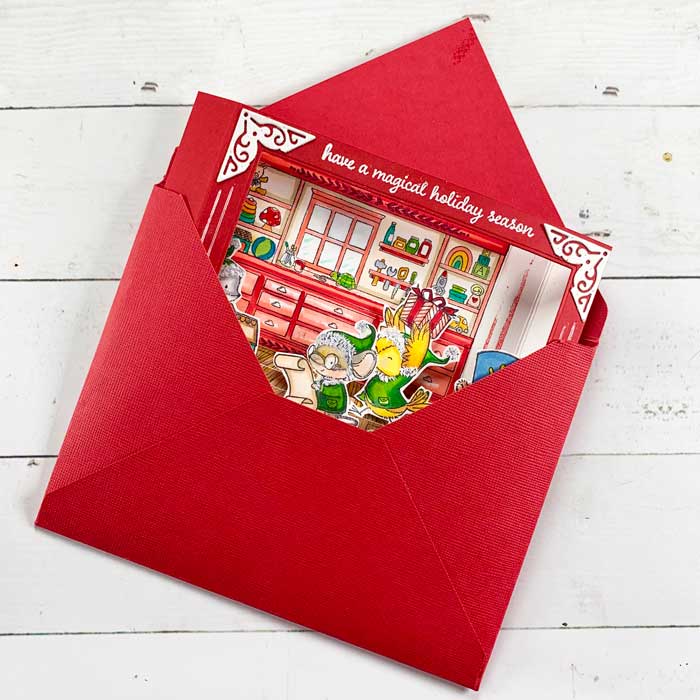
Finally, mount the critters with a spot of glue on the floor pieces and make an envelope with the handy Envelope Punch board … look how neatly this dimensional card fits in an envelope! ♥
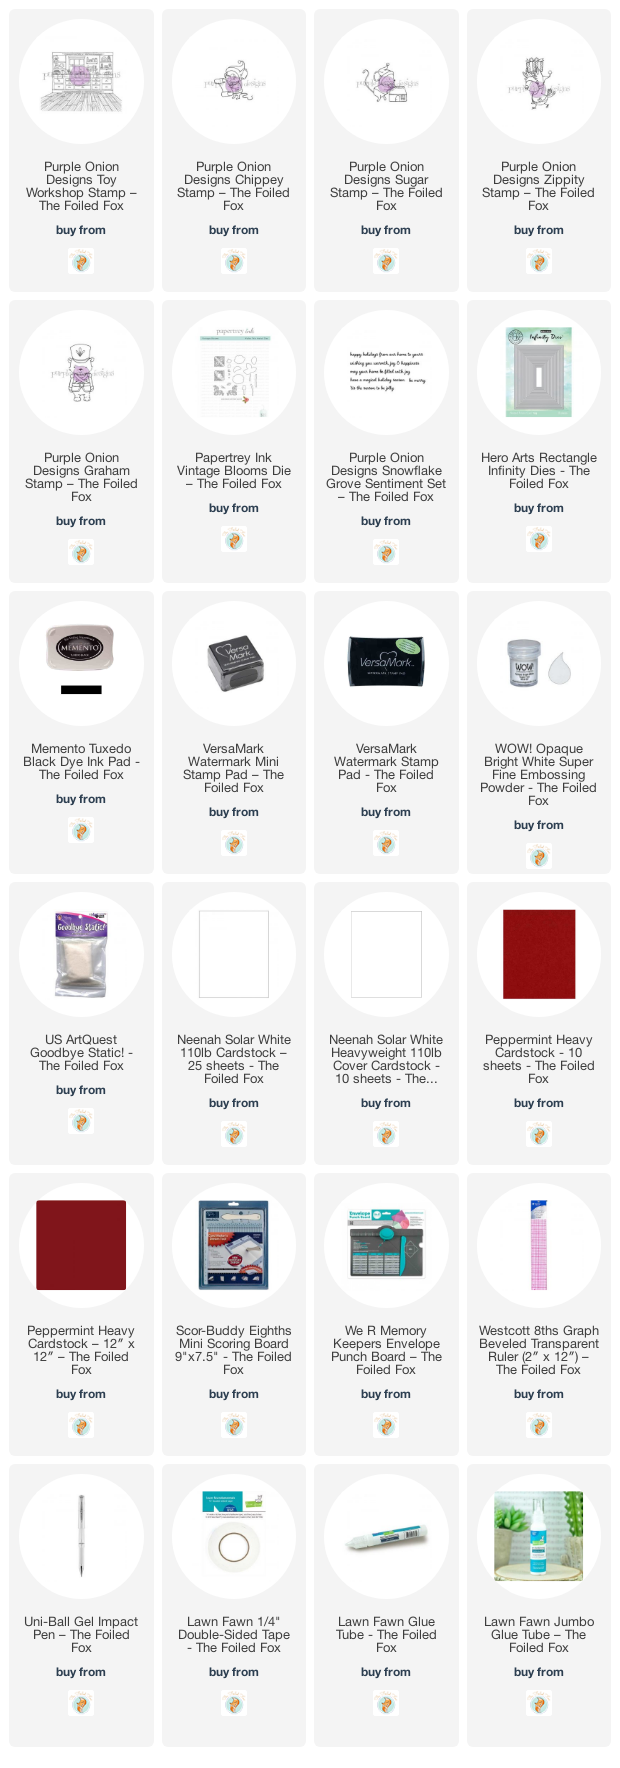
Goodies Used: