Poinsettia Garden
Hi Creative Friends,
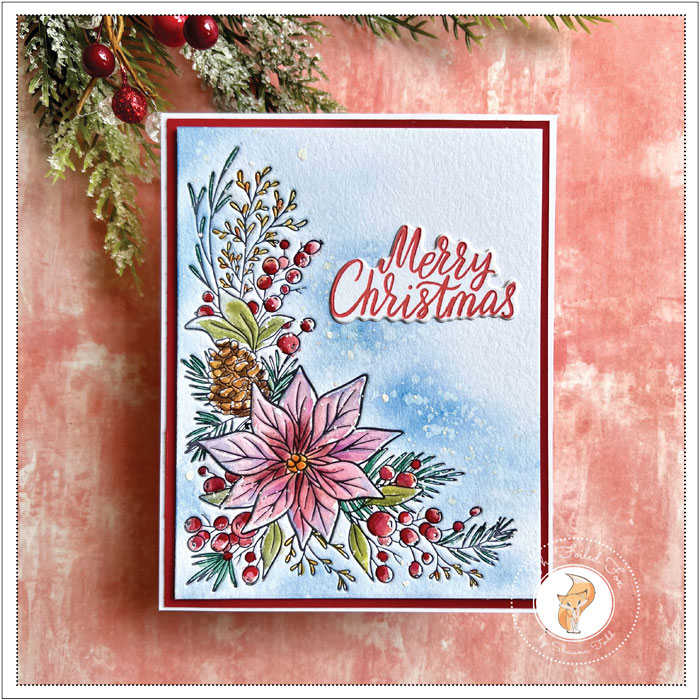
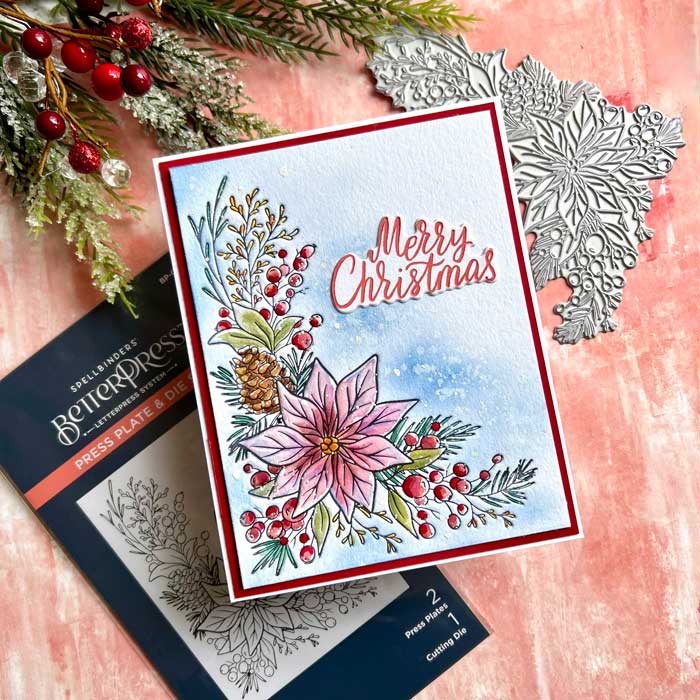
I am still making holiday cards and enjoying every minute of it. The season goes so fast that I am determined to soak in all the fun festiveness I can. So, today I am featuring a Spellbinders Betterpress project. I don’t think there is a faster project with awesome results than a letterpress one! This one features a beautiful floral corner with berries… my favorite! It is the Poinsettia Garden press plate.
I started with a Spellbinders BetterPress cotton panel. As you know, you can use whatever cardstock you have but I must confess, I love the Betterpress panels. This one is the double-weight, though any will do.
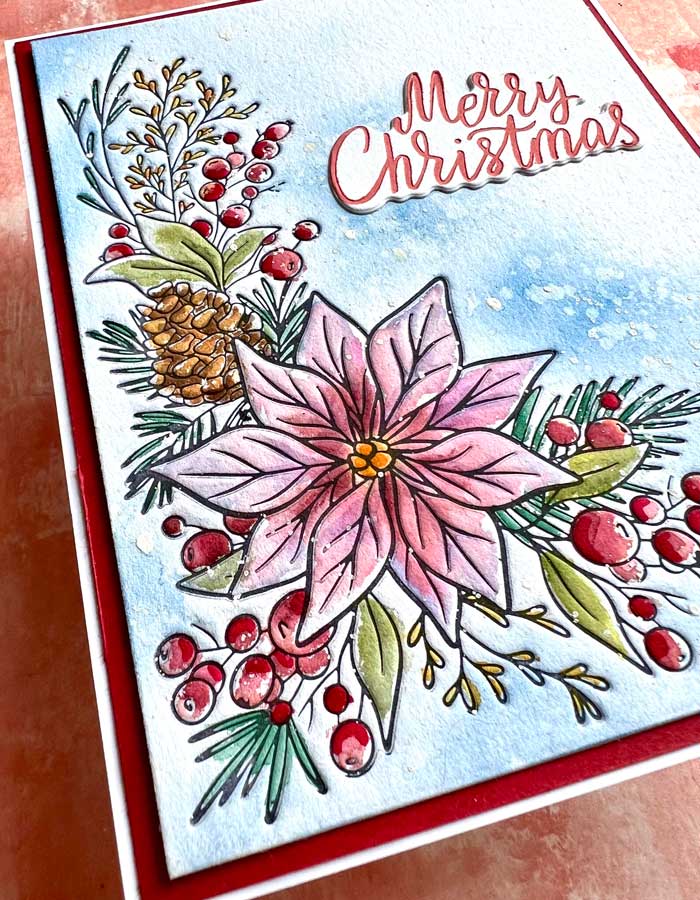
First, I set up the floral plate on the Betterpress magnetic platform and mounted the panel on the magnetic plastic top. I inked it well with black Betterpress ink and ran it through my die-cutting machine. Then, I removed the floral plate and replaced it with the Merry Christmas one, mounted a piece of a cotton panel, inked the plate with Strawberry Betterpress ink, and ran it through the die-cutting machine. To finish the sentiment, I cut it out using the coordinating die in the set, then set it aside.
Next was the painting. I used several distress inks. You can see them listed in the order I used them but I will quickly give you a run down.
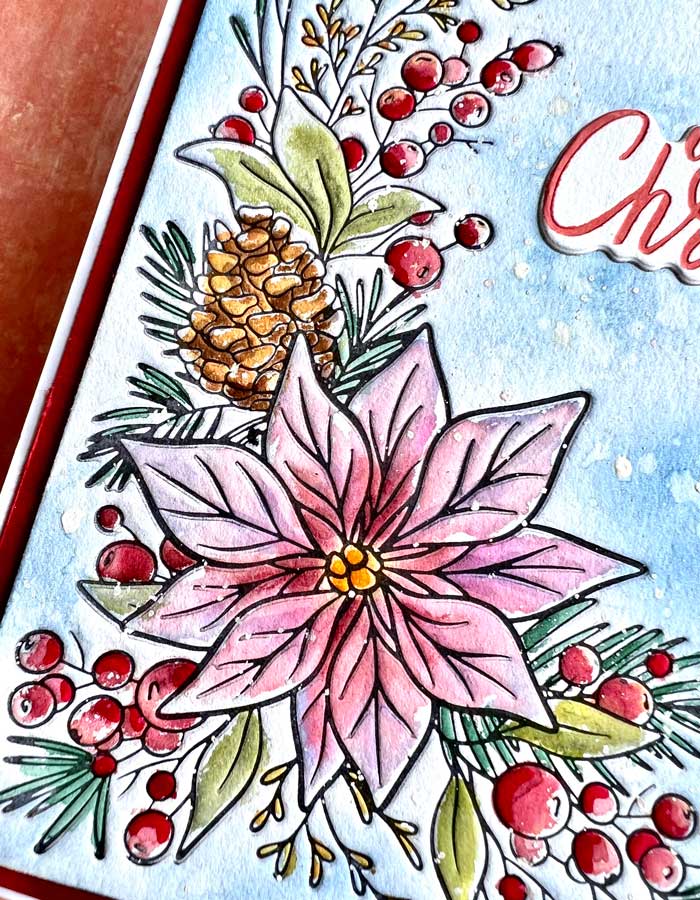
First, using a sponge dauber, I lightly rubbed on Prize Ribbon around the floral display. Once done, I splattered it with water and blotted it off. Now, I got down to painting. I used Worn Lipstick, Lumberjack Plaid, Shaded Lilac (on the tips), Festive Berries, and Aged Mahogany for the poinsettia. For the center of the flower, I used Wild Honey.
The berries were painted with Worn Lipstick, Lumberjack Plaid, and Aged Mahogany, and the broad leaves were painted with Iced Spruce, Peeled Paint, and a little Forest Moss for the shading. The pine needles were painted with Pine Needles green.
I used Rusty Hinge and shaded with Walnut Stain for the pine cone and Wild Honey for the tiny leafy flowers.
Tiny splatters of white paint were added.
With the painting done, I mounted it to a slightly larger Peppermint red cardstock panel, then onto a slightly larger white cardstock card base.
I mounted the sentiment…and VIOLA! I was done!
I hope you enjoyed this project and will give it a whirl! ♥
Goodies Used:

