Potted Pretties
Hi Creative Friends,
Penny Black has a brand new release – YAY! And as you would expect, it is filled with a wheelbarrow full of gorgeous stamps and dies. So, over the next day or so, look for more to be available on our website… and new projects too.
But for now, let’s start the parade of beauties by sharing a project using the cling/rubber stamp called Potted Pretties.
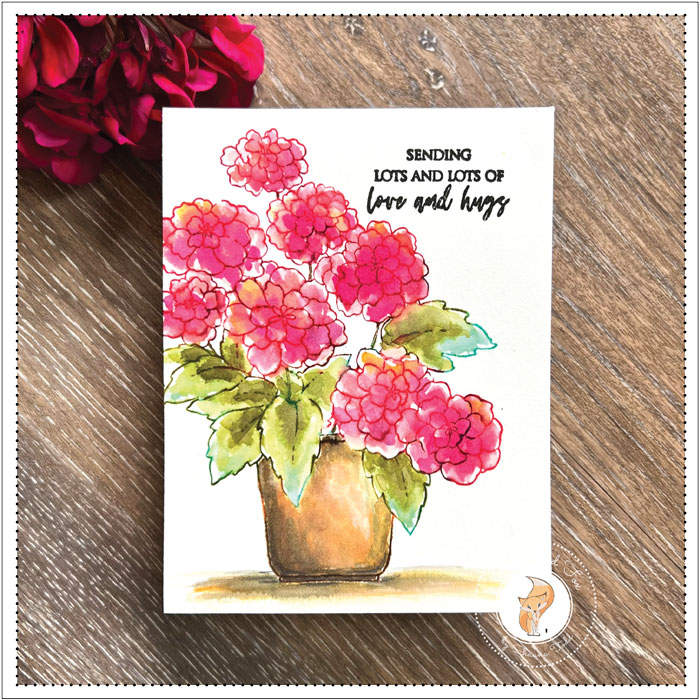
I had different ideas for this project but in the end, nothing seemed to beat a simple display of flowers. With this in mind, I started with an A2 panel of hot-pressed watercolor paper mounted into my stamp positioner.
I started by carefully inking the flowers with Festive Berries distress ink. For these kinds of projects, I like to use the mini distress ink cube so I have listed them in our supply list, along with the full-size ones, so you can choose which works best for you. But for me, the mini ink cubes can get into small areas and are easier to use.
After inking all the flowers, I spritzed the stamp with water and stamped it. Then, with a damp brush, I urged the ink from the outline toward the middle.

Next, I inked the flowers with a bit of Wild Honey, Picked Raspberry, and Seedless Preserves, spritzed with water again, and brought the color from the sides in.
To add more intense color, I brushed on Picked Raspberry and Wild Honey re-inker ink, along with a touch of Seedless Preserves.
When the interior of the flowers was all colored and I was happy with them, I inked the flowers again with Festive Berries and stamped them. This crispened up the flower outlines. By the way, if this technique seems confusing, take a look at this video where it is demonstrated.
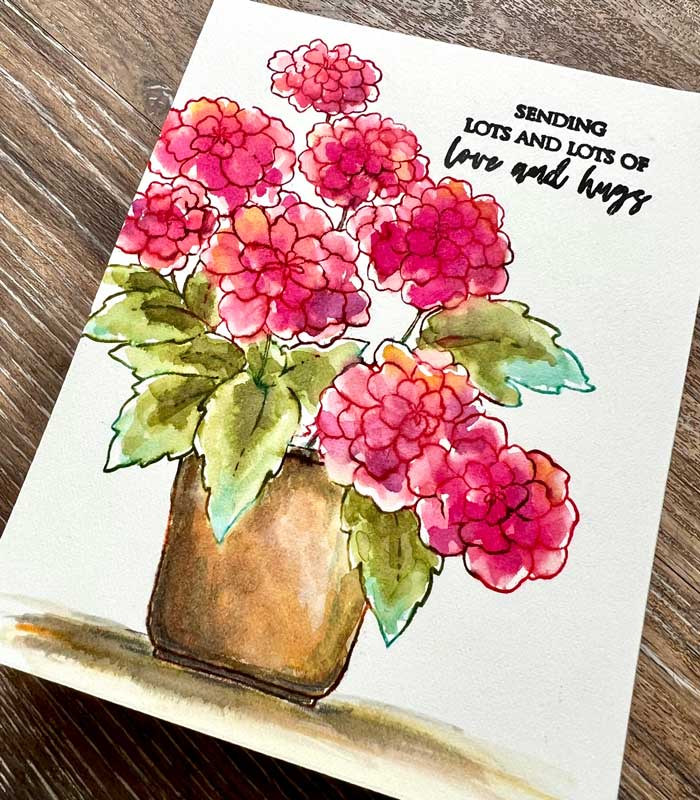
Next, were the leaves, I used the same technique as the flowers and stamped the leaves with Peeled Paint and a little Peacock Feathers on some of the tips. The leaves were then colored with Peeled Paint, Peacock Feathers, and Forest Moss re-inker ink.
Finally, it was time to color the pot, I inked the stamp with Ground Espresso first and brought the color inward with a brush. Then added Rusty Hinge and a bit of Black Soot distress inks. Then, using the same inks for the pot, I created a surface for the pot to sit on.
To finish the card front, I stamped a sentiment from the Delightful Days stamp set by Penny Black. I used Versafine Black Onyx ink to get a crisp impression.
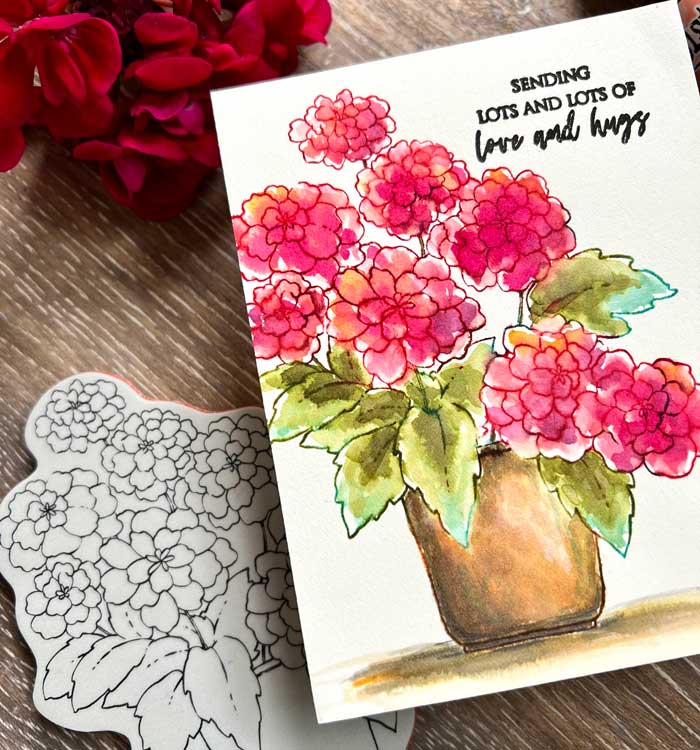
The floral card panel was mounted onto a cream A2-sized card base and my card was done!
I hope you enjoyed our colorful adventure today. I loved these pretty little flowers… I hope you did too! ♥
Goodies Used: