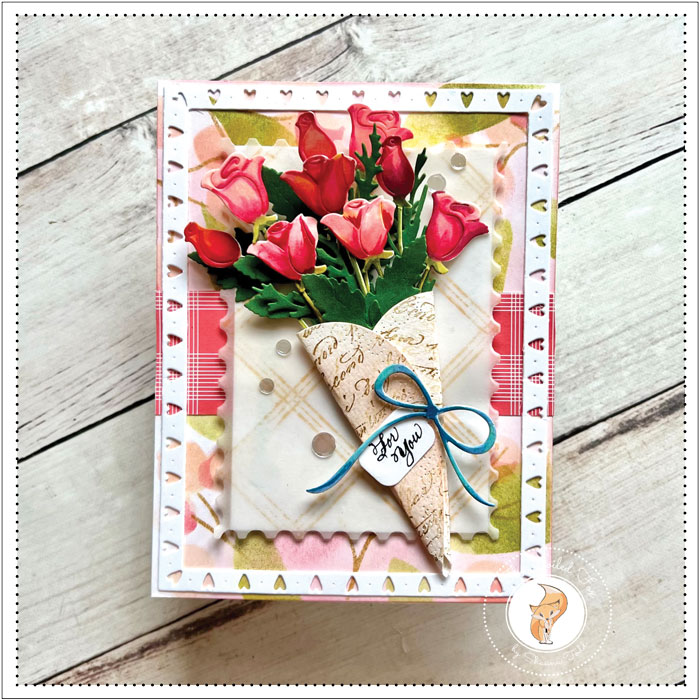
Roses, Just for You
Hi Creative Friends,
As many of you know, I love roses!! So, when I saw the beautiful Red Roses die set by Penny Black, I had to give them a try. The awesome thing about this die set is that it cuts out individual roses so you can create your own bouquet or use them one by one!
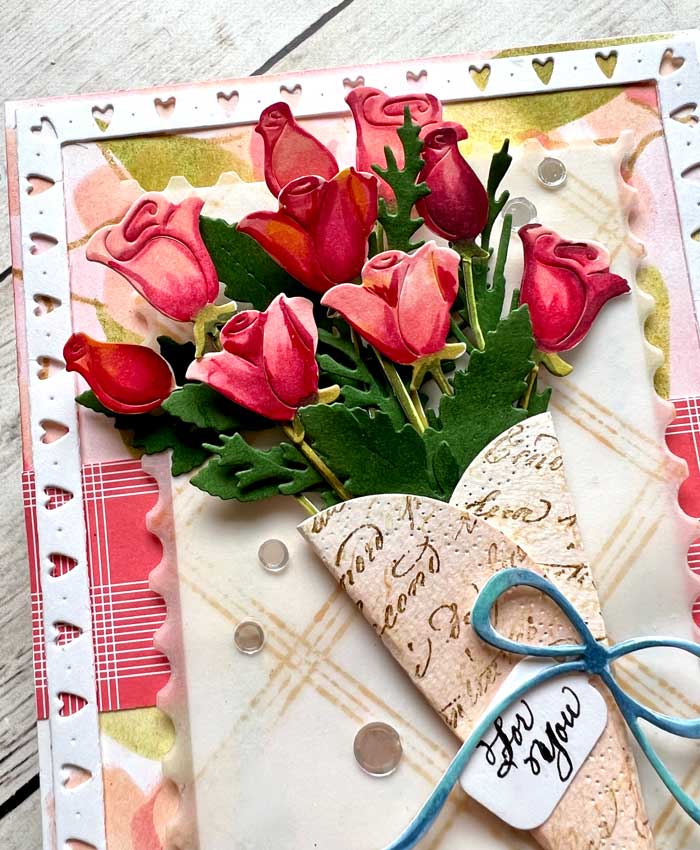
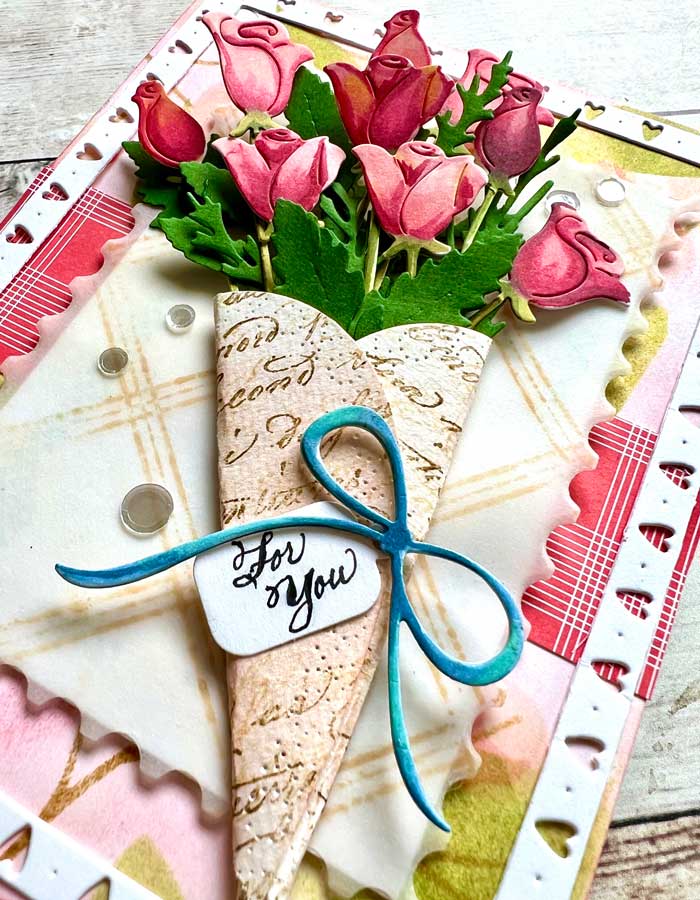
This card design starts by making roses. They were first cut out of white cardstock, then colored with alcohol markers. I used these Copic markers: R20, R32, R 46, R56, YG03, YG95, and G99. The bow is part of the die set too so I colored it with a few blue markers, namely BG32, B95, and B97.
Next, I created the wrapping around the roses. For this, I cut out a heart using a heart die and white cardstock, then blended on Antique Linen distress ink, then warmed up the color with just a smattering of Worn Lipstick distress ink. Using the Script background by Penny Black and Cocoa Bean ink, I lightly stamped the heart to give it a vintage feel.
The background was created using the Berry Branches stencil set by Papertrey Ink and a few inks. There are a few layers to this stencil set so I started with coloring the main part of the berries with Gina K Peach Bellini ink. The next stencil colors in the accent of the berries. I used Worn Lipstick distress ink for this. The leaves were colored with Crushed Olive and Peeled Paint distress inks and the branches were with Cocoa Bean ink.
I created a small panel using a postage-edged die by Hero Arts (everything is in the supply list below) and cut it out from a piece of vellum. Antique Linen distress ink was blended onto the front, then lightly stamped with Nifty Plaid and Cocoa Bean ink. A white straight-edged panel was mounted behind it, along with a foam panel to pop it up.
To assemble, I started with an A2 white card stock card base, then added the berry background I made previously. A strip of Berry Sorbet Bitty Big plaid paper was added to the center and a white border of hearts was added. The plaid panel was next.
The last bit was to create the bouquet. Using the heart created earlier, I folded the sides of the heart toward the middle, creating a nice wrapping for the roses. Before I started arranging and adding the flowers, I cut some fern-like foliage using the Into the Blooms: Dahlia dies set and Kiwi Crush green cardstock.

Next, I added a generous amount of glue to the inside of the wrapping, then added the fern foliage, along with arranged roses. Once the bouquet was just as I liked it, I glued the ‘wrapping’ closed and added this whole bouquet of roses to the plaid panel. The delicate bow was added along with a tiny “For You’ tag and a little sparkly confetti!
I love the way the roses come to life with this simple but magical rose die. I hope you liked it too! ♥
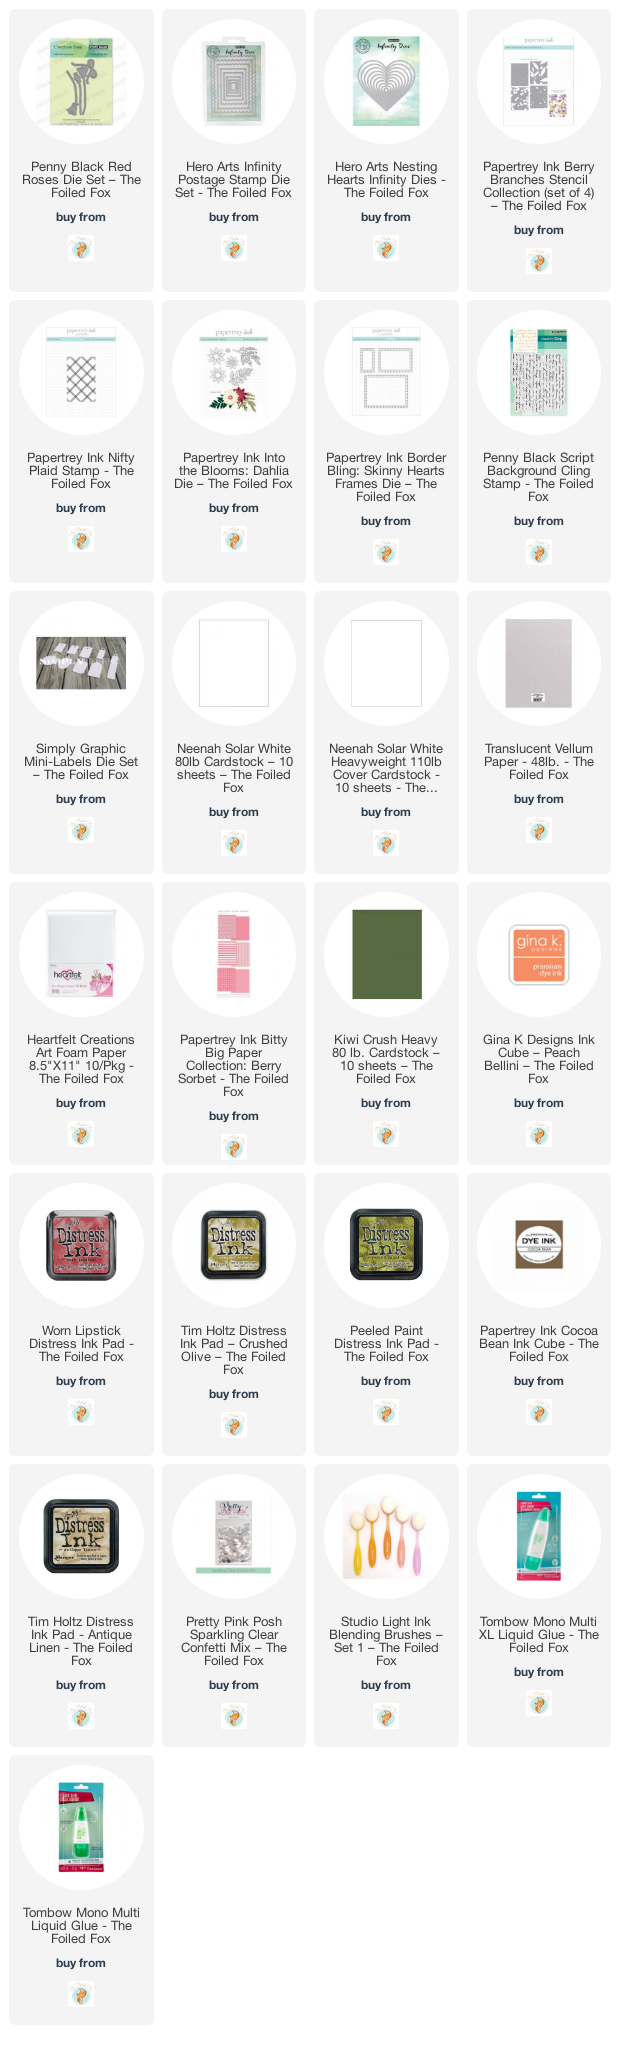
Goodies Used:
Sorry, the comment form is closed at this time.

February 10, 2023
donna mikasa
Oh Shauna what a beautiful card! From the postage edge layers to those gorgeous roses!
February 10, 2023
Shauna Todd
Thank you so much!!
February 14, 2023
Marianne Chapman
I love it too! The roses are gorgeous! I hope I can do them justice when I have time to make this card. Thanks for the inspiration!
Marianne
February 14, 2023
Shauna Todd
I am sure they will be beautiful!