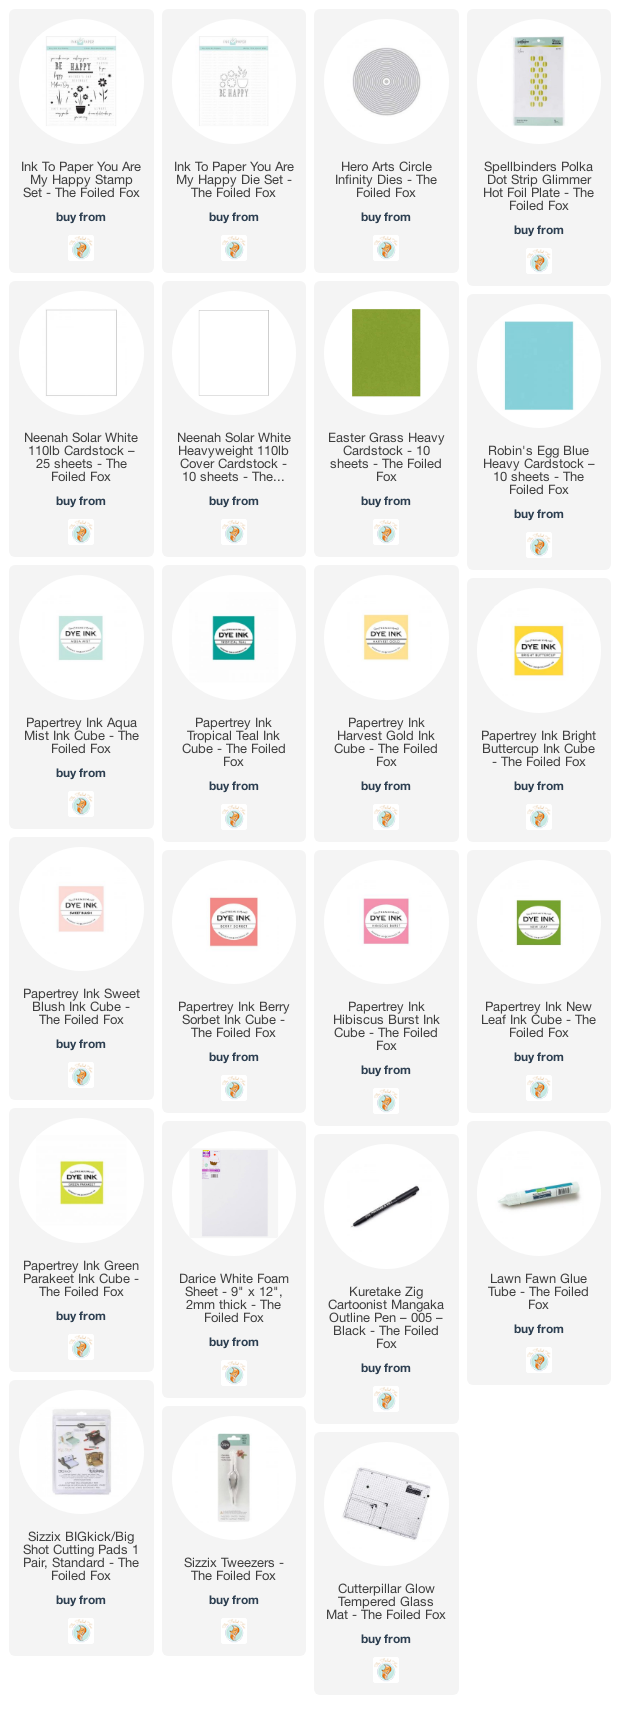
Say Happy Mother’s Day with Flowers + VIDEO
Hi Crafty Friends,
Today I am sharing a fresh, flowery Mother’s Day card. It uses the ever-versatile “You Are My Happy” stamp and die set by Papertrey Ink – Ink To Paper.
When I started using this stamp and die set I was surprised how many ways you can make a great card. So, with this in mind, in the coming few days, you will see a few more ideas. But, for now, here is one for MOM.
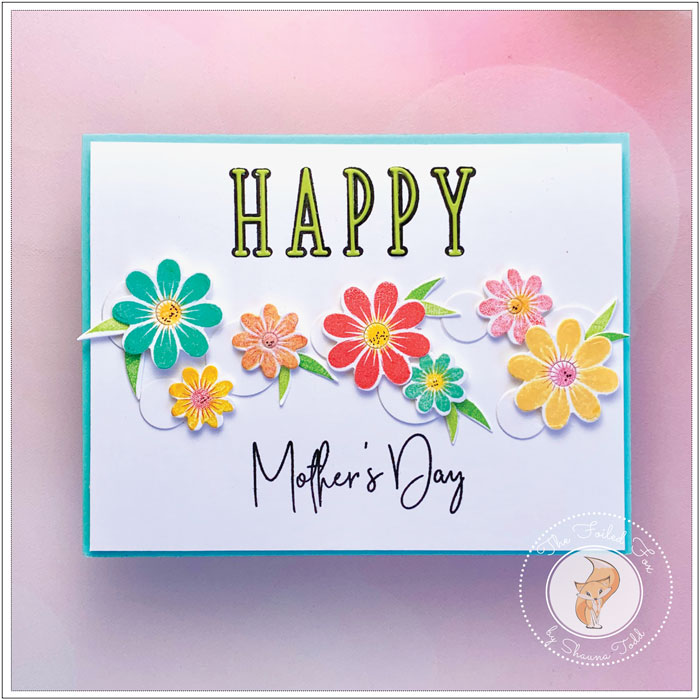
I couldn’t resist making a video to show all the ins and outs of this card design. I hope you will take a look and then give it a try!
This card design starts with making a white tone-on-tone background with dots. These are easily made by cutting out small circles (I used two sizes), double stacking them, and then gluing them in the center of the front panel. To finish the background, I ran the whole white panel through my die cutting machine using a clean, super smooth, and no-scratches cutting plate (if there is such a thing-haha!). By doing this it really makes the panel look like it was made with the dots. (Try it out, you will see what I mean 😀)
HINT: If you want to make this background in a flash and not fuss with cutting circles, I found running this Glimmer die through your die cutting machine, using less pressure, it will emboss your paper nicely and create the same effect-plus you have the extra bonus of having another Glimmer die to use – YAY!
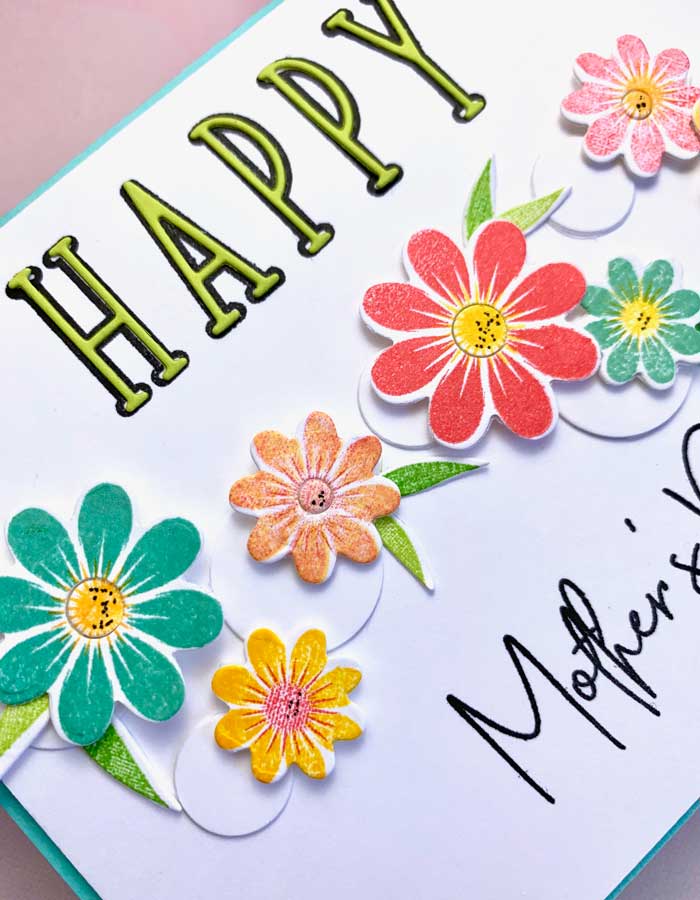
The flowers and leaves were stamped using Papertrey Ink ink cubes (see colors below) and cut out with the matching dies. And the sentiment was stamped with True Black ink and then Easter Grass green card stock was added as an inset to the word “HAPPY”.
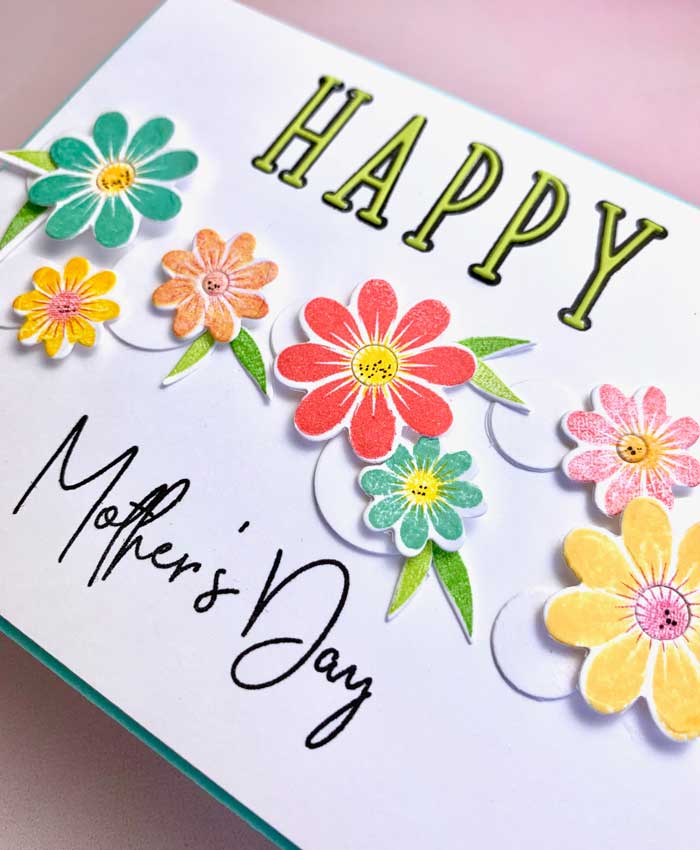
A foam backing was added to the white panel and adhered to a Robin’s Egg card stock card base.
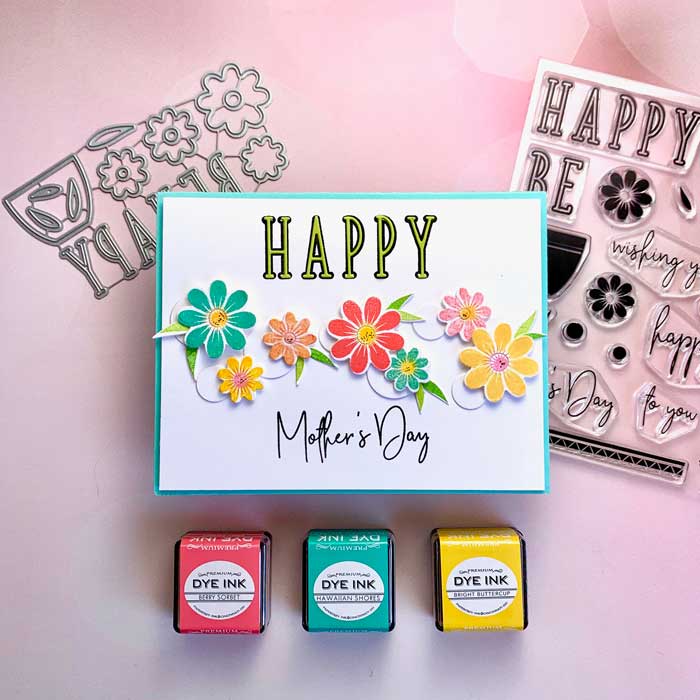
Little dots with a Zig pen were added to the centers of the flowers to finish the card. ♥
• • • • • • • •
I hope you enjoyed this short video. It was our pleasure to bring it to you. If you haven’t subscribed to our YouTube channel yet, I hope you will consider it!! Thanks a bunch!


