Say It With Plaids
Hi Crafty Friends,
I don’t often make masculine cards but sometimes you just have to break down and make one or two 😀! I needed one for Father’s Day and a birthday straight away and this Thick Plaid Card Front die by Concord & 9th came to my rescue.
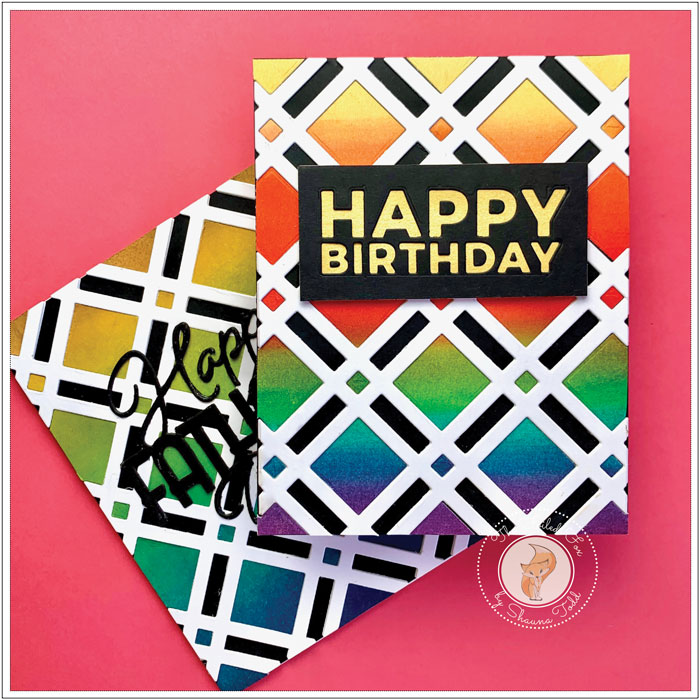
These cards were an easy make. They each required a color-fade background, the awesome Thick Plaid die, and a sentiment. So…
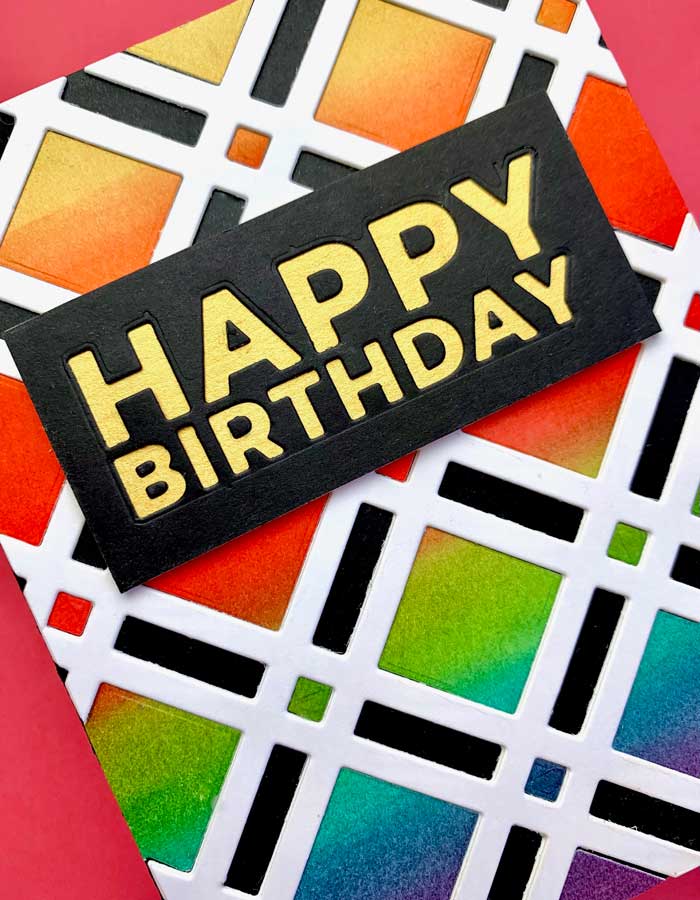
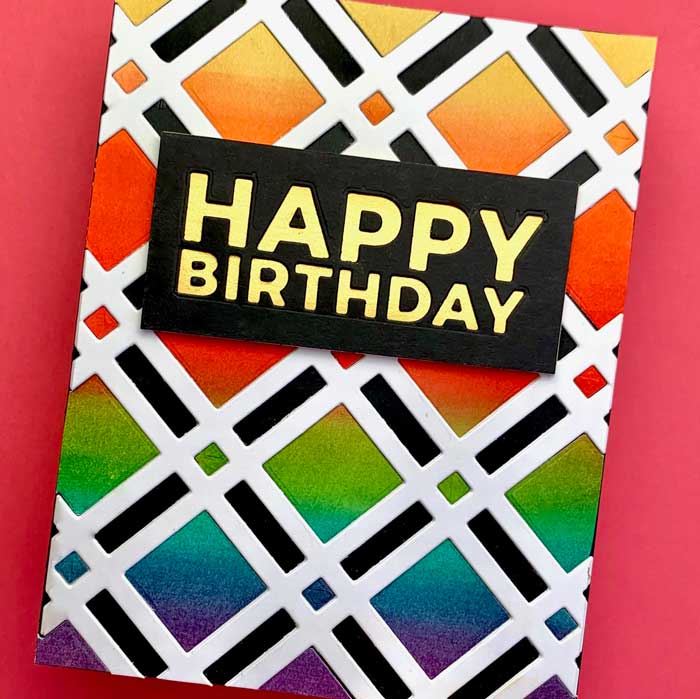
Using a piece of Bristol paper panel for easy blending, I created each card front by brushing on stripes of distress inks. For the Happy Birthday card, I went for an intense rainbow pattern by starting at the top with Squeezed Lemonade distress ink. I then followed it up with stripes of Ripe Persimmon, Candied Apple, Mowed Lawn, Salty Ocean, Chipped Sapphire, and Seedless Preserves, blending the two colors together where each would meet.
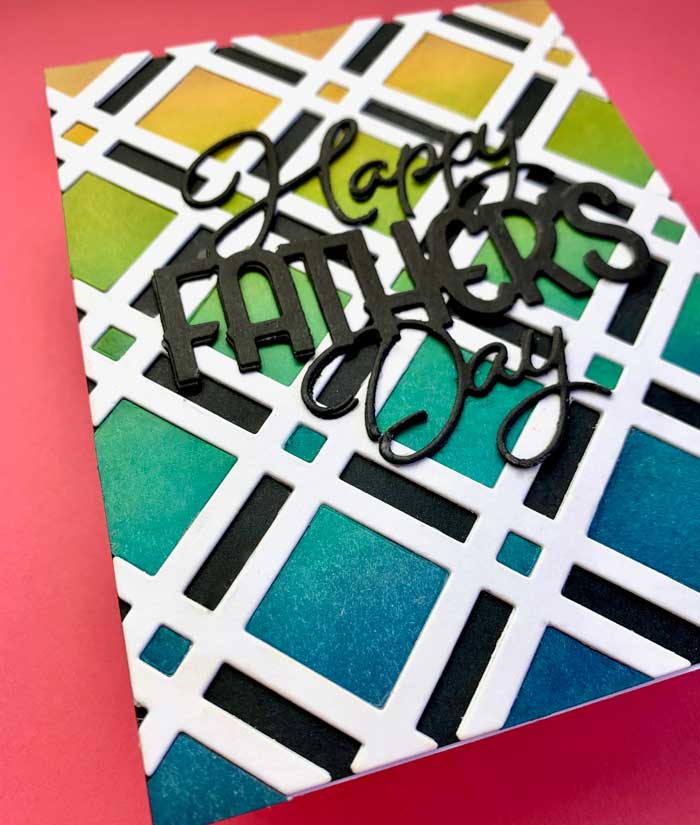
For the Happy Father’s Day card front, I used Fossilized Amber, Crushed Olive, Mowed Lawn, Peacock Feathers, Salty Ocean, and Chipped Sapphire, in this order, starting at the top.
With the color blending completed, I set the panels aside to dry a little while I prepared A2-sized white card stock card bases. To each card base front, I added a black card stock panel to cover the whole front.
The A2-sized distress ink panels were now dry so I cut the rainbow patterned one first using the Thick Plaid die and while I was in the cutting mood, I also cut four (4) white card stock panels using the same die. I made sure that all the panels were exactly the same size before cutting and carefully preserved all the pieces after cutting.
Next, I grabbed two of the white card stock plaid panels I had just cut and stacked and glued them on top of each other, then glued the whole shebang to the top of one of the prepared card bases. With some liquid glue in one hand and a ‘Quikstik” in the other, I added glue in each of the small and large diamond shapes and set about pressing the distress ink pieces into their respective places.
Once the card front was completed, I repeated the steps above by cutting the second distress ink panel with the plaid die, layering the white plaid panels onto the waiting card base, and pressing and gluing the diamond pieces in place.
By the way, you can avoid all the business of reconstructing the distress ink panel by leaving off the black card front panel to the card front in the first place. Then, add the distress panel intact directly onto the white card base. The white plaid panels would be then added on top. But, doing it this way, you miss out on the elongated rectangular black pieces showing through! Where’s the fun in that? 😀
Lastly, the sentiments were added to each card. For the Father’s Day card, it was just a matter of cutting two “Happy Father’s Day “sentiments from the respective die, stacked and glued them together, adding mounting it on the card front.
For the Happy Birthday card, I cut a rectangle of black card stock and cut out the ‘Happy Birthday” words using the sentiment from the Jumbo Tag die by The Stamp Market, then mounted the cutout rectangle onto a matching rectangle of Shimmer Antique Gold cardstock. Then mounted the whole thing on top of the card front.
The cards are done – YAY! I know it may seem like a lot of words to get these cards completed but I can assure you they come together in a flash! ♥
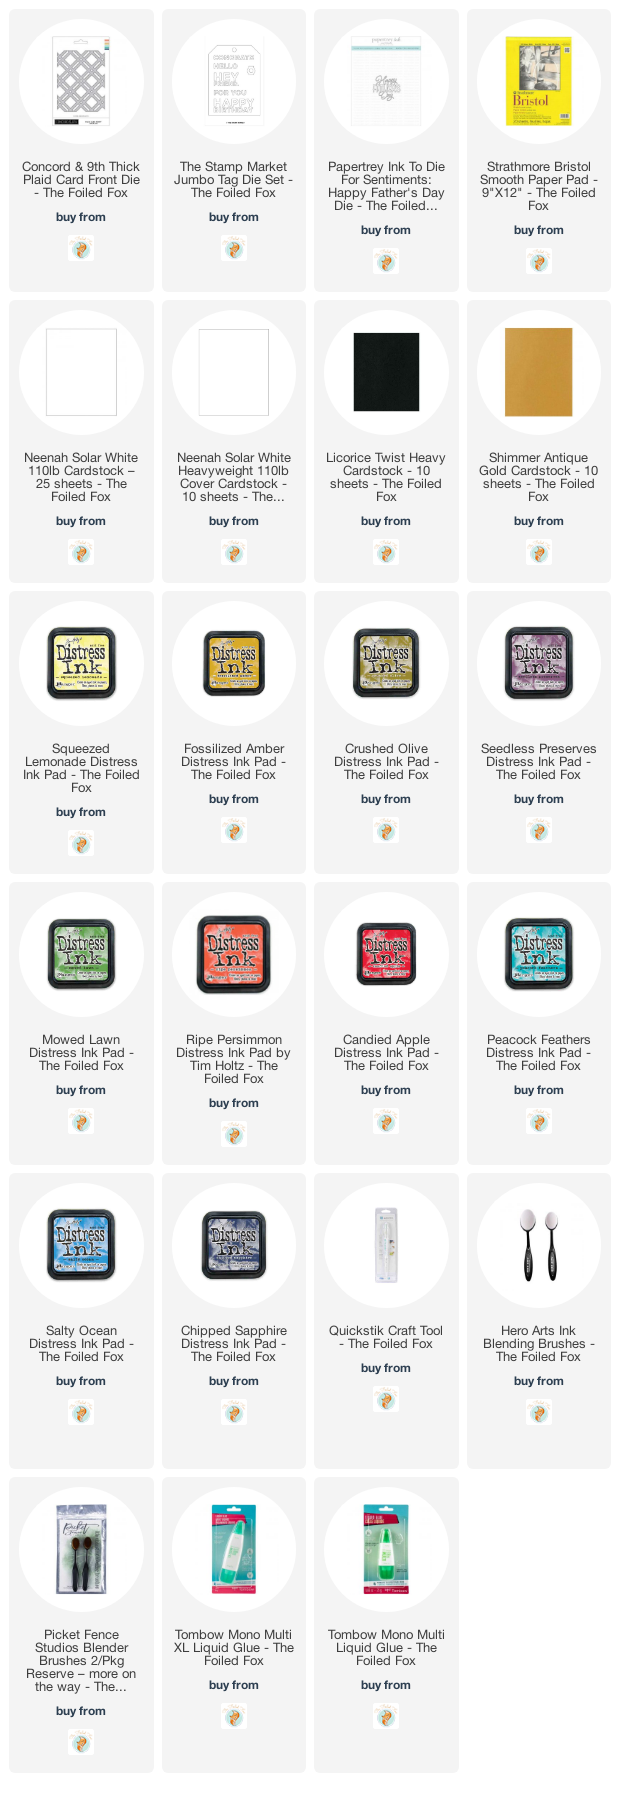
Goodies Used: