Season’s Greetings From The Woodlands
Hi there,
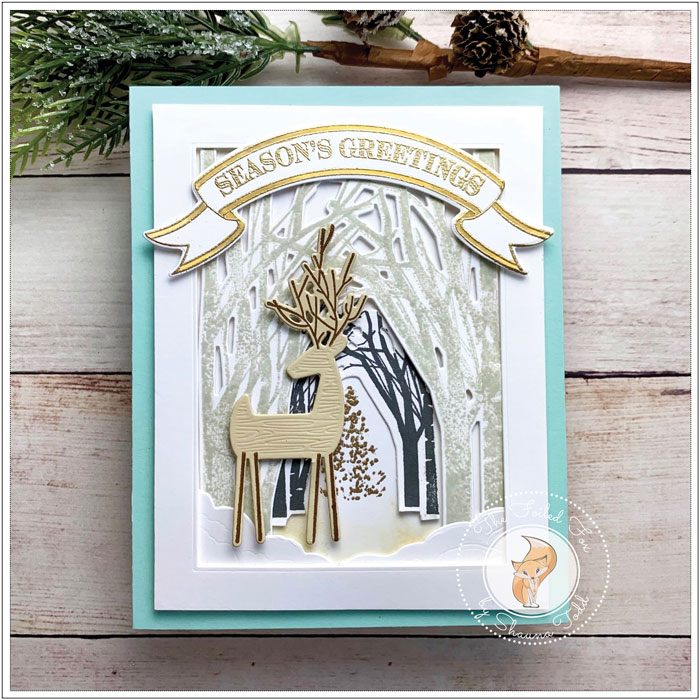
Today we are sharing a card design featuring the brand new Winter Woodlands stamp and die set, along with Deer To Me. These new items from Papertrey Ink – Ink To Paper create a magical path into the woods. For this project, elegant and subtle colors were used but it also lends itself to brighter colors too.
Check out the video below. It gives you all the steps and techniques to make your very own forest.
As you saw in the video, this project all begins by stamping and cutting out the forest, along with that adorable deer. The forest was stamped with Soft Stone and Weathervane ink and the deer was cut from Fine Linen card stock, then stamped with Cocoa Bean.
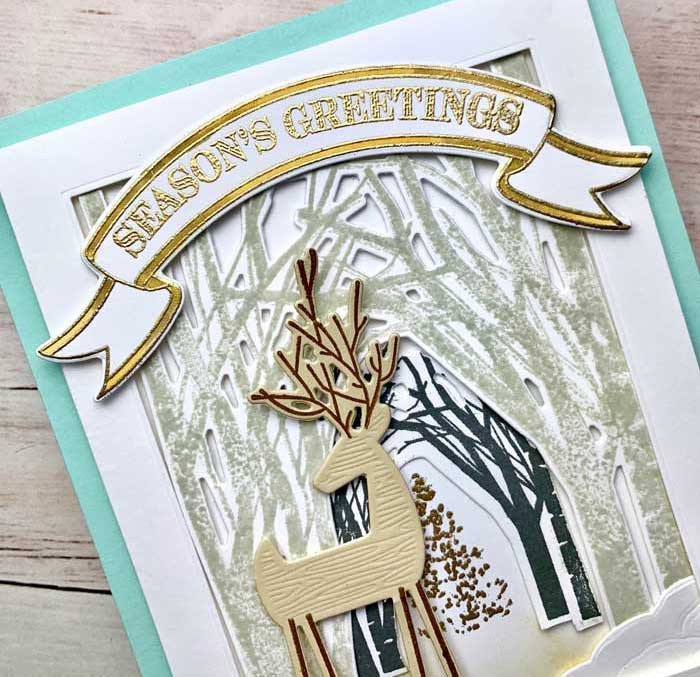
Then, using the banner and sentiments from the new Christmas kit, Winter Magic, it was stamped and heat embossed with gold embossing powder.

To begin building the scene, a white card base was used, then an Aqua Mist panel was placed on top. Using a smaller white panel, the center tree was stamped and gold heat embossed. Then the whole panel was adhered to the top of the card and the two layers of the forest were attached using glue dots. This gives it just enough dimension.
The snowbanks were added and then a white, wide frame was created by cutting out the center with a rectangle die. Some foam tape was added to the back and the frame pressed into place.
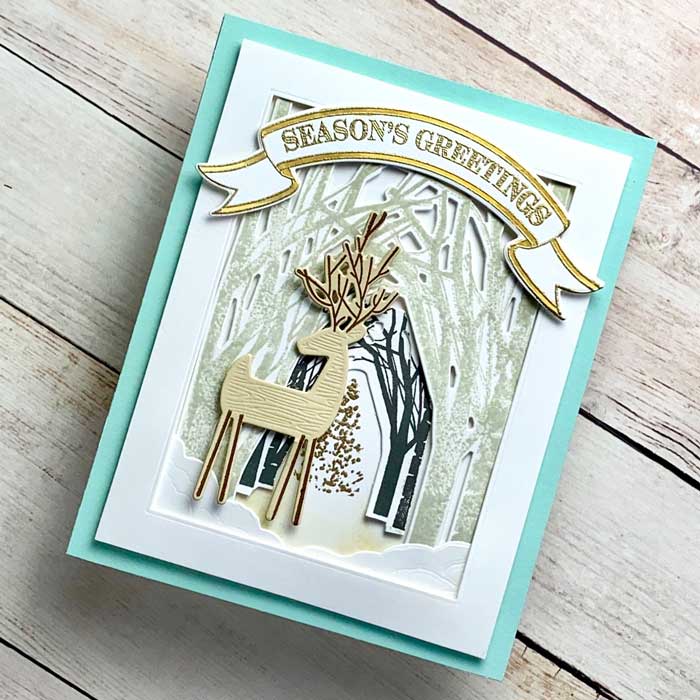
Now it was just a matter of attaching the deer and the charming gold heat embossed banner for the sentiment. They were each attached with a bit of foam tape. And there we have it… done!
Goodies Used: