Simple and Beautiful Cornflowers by Alexandra Renke
Hi Everyone,
Alexandra Renke has some of the lovliest stamps and dies and this one is no exception. The Cornflower dies cut a beautiful large flower, a small flower, and a leaf. I just love Alexandra Renke’s art. They are so expressive yet simple.
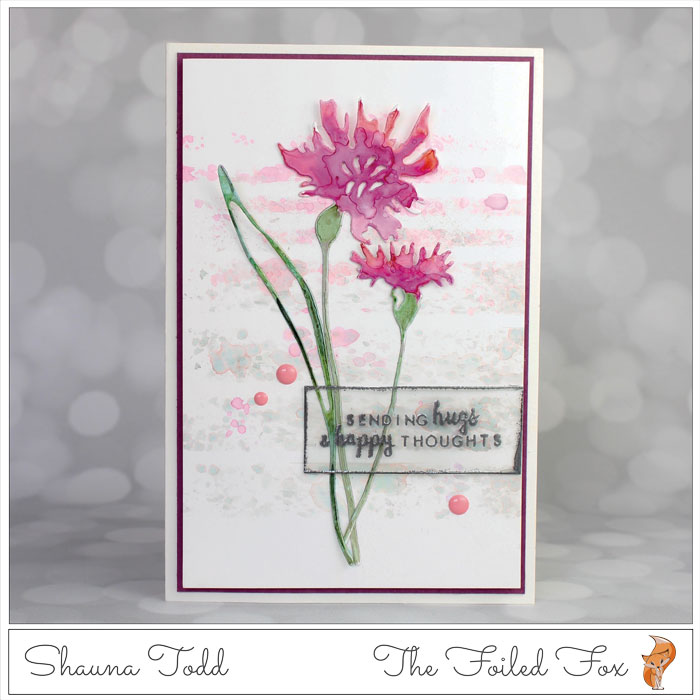
I wanted to make this card design as simple as the dies themselves. It seemed they were screaming out to be painted with alcohol inks, so that’s where we will start today.
To begin, I cut one from each die using Yupo paper, then set off to paint them. Since there are only two flowers and a leaf, only a few colors were needed: Flamingo, Shell pink and Currant for the flowers and Willow, Meadow and Patina for the stems and leaf.
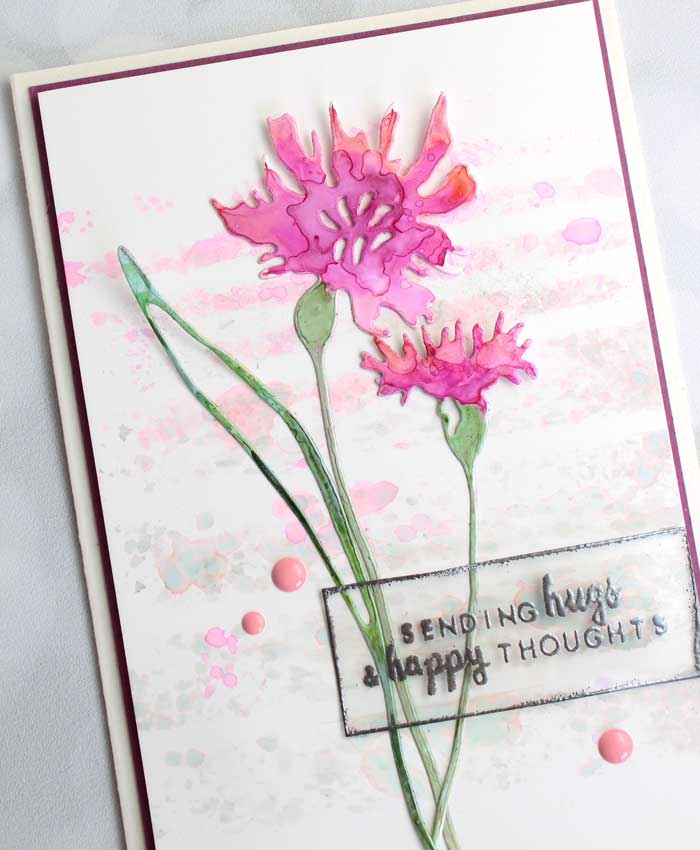
When painting with alcohol inks, I start by squeezing a drop of each color onto my glass mat. The next step was to moisten the flower portion of die-cuts with alcohol blending solution with my brush. I use the Ranger alcohol ink brush that comes in their little kit (check out the supply list below for everything you need). It works great!
I added a little Shell pink over the blossoms then added Flamingo and a little Wild Plum in the center and base of the flower for the little one. Next, I moistened the stem and leaf and painted them with Willow alcohol ink, then dapped on Meadow and Patina. There isn’t much to paint so it was finished in a jiff!
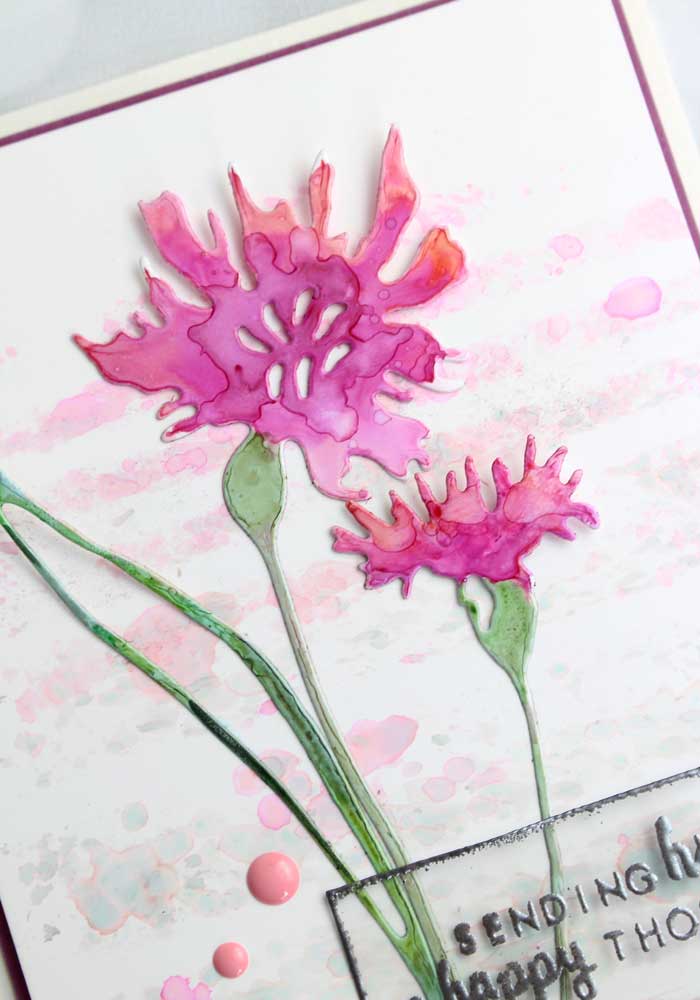
Next was the background. I wanted to see if I could create loose horizontal stripes that were not too overbearing in color and would add a good backdrop to the flowers. So, with a panel of Yupo paper and the Envelope Buddy stencil from My Favorite Things, I laid the stencil over the paper and secured it from the back side with a little Purple Removeable Tape. I then squeezed a few drops of Slate alcohol ink onto the glass mat, loosened it with alcohol blending solution. I didn’t want the ink to seep under the stencil and blur the lines so I used a blending tool fitted with a felt round pad, and pounced the blending tool pad into the ink and then onto the paper. The stripes were colored with the Slate ink two-thirds the way up, then switched to a little of the Flamingo ink to finish off the top. When finished, there was a subtle striped background.
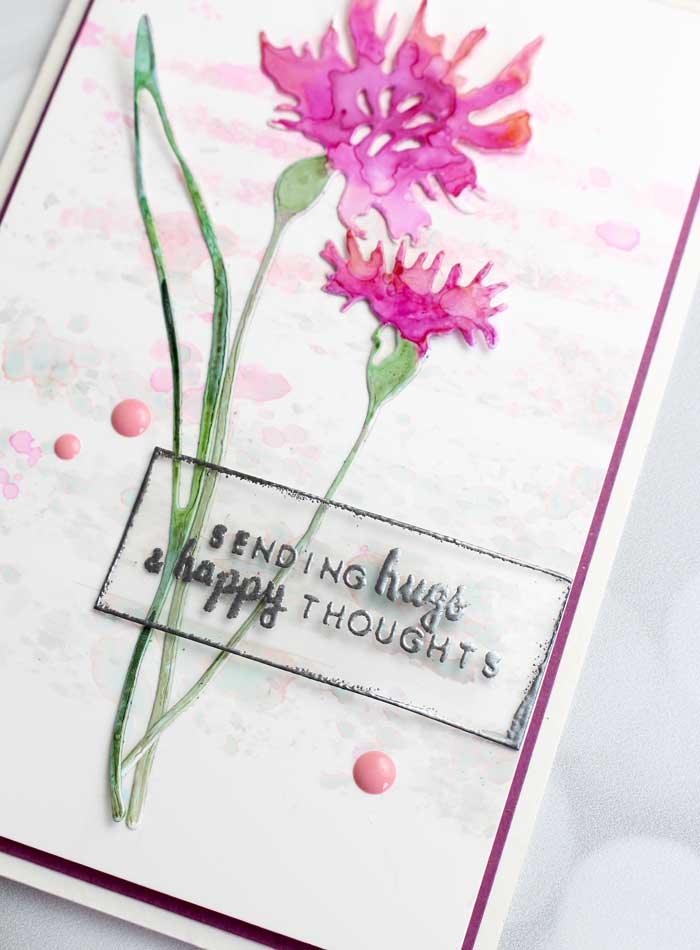
Assembly was the only thing left. I mounted the Yupo background paper onto a Mulberry cardstock panel that was a slight bit larger than the Yupo paper, then added a thin foam backing to pop it up a bit. This whole assembly was then adhered to a larger card base of Luxe White cardstock (a beautiful textured handmade-looking paper).
The sentiment was created from Grafix plastic sheet (not acetate) and Gunmetal embossing powder by first cutting a piece of plastic, liberally adding anti-static powder, then stamping the sentiment with Versamark ink. It was then heat embossed with the embossing powder. It is REALLY important to have your heat tool very hot and don’t overheat! To create the border, I slid the plastic piece across all the four edges with the Versamark ink pad, sprinkled it with embossing powder and heat embossed it. If you are a little confused or just want to see this whole process demonstrated, check out this recent video. Click here to view.
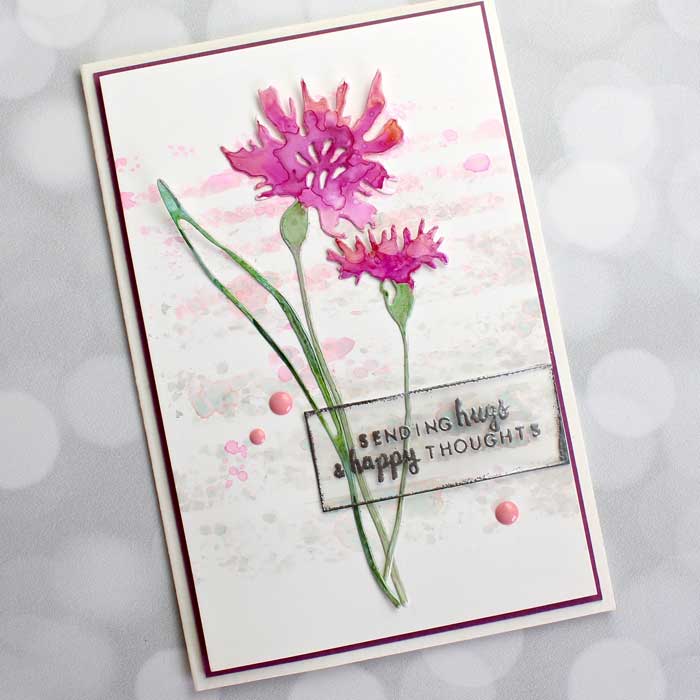
Of course, you can use any sentiment, mine came from Altenew’s Beautiful Day stamp set. The sentiment was then mounted with rolled up micro glue dots in the corners. To finish, a few enamel dots from Indigo Hills were added and there we go… done! ♥
I hope you enjoyed this design. Stay tuned for a new video on alcohol ink painting!
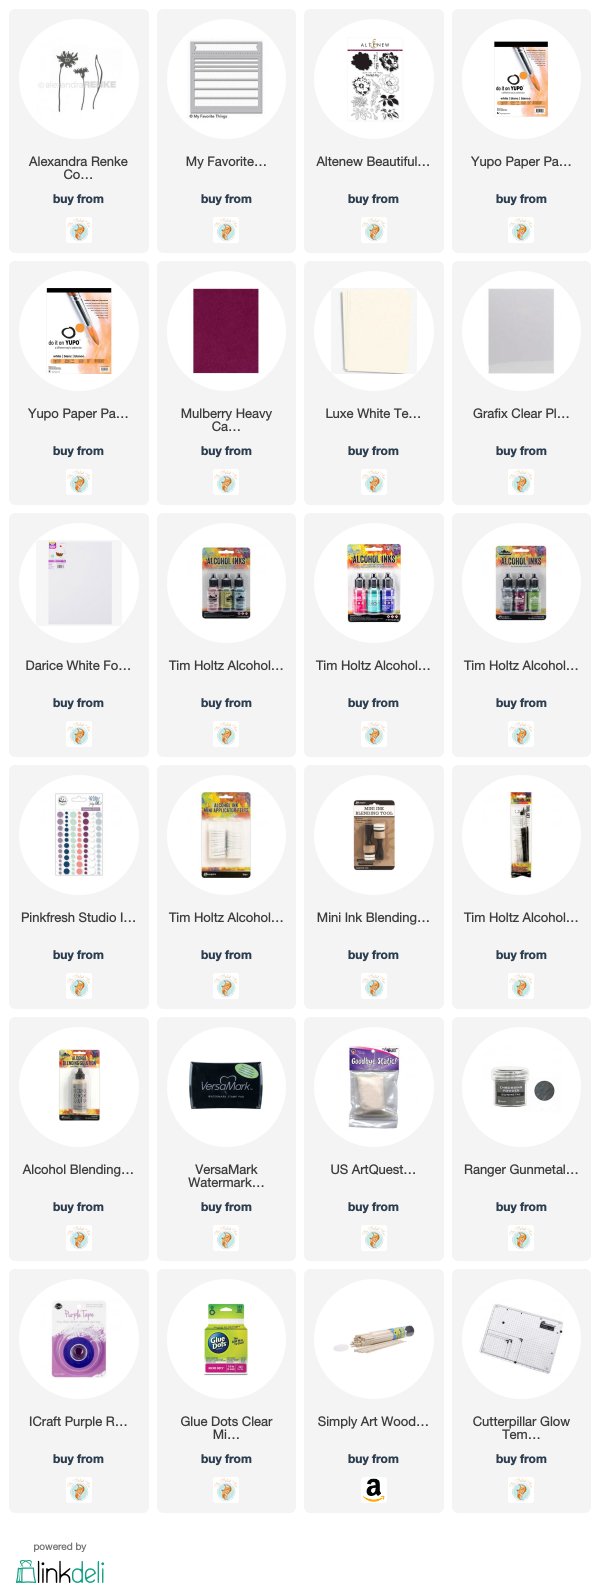
Goodies Used:
Sorry, the comment form is closed at this time.



April 9, 2019
SuzyQ
OH MY! What an unusual and creative way to use the envelope stencil! Coupling it with the jagged leaves and stunning colors of the Cornflowers makes this a highly memorable and special card. So happy you shared it with us.
THANKS So Much.
April 17, 2019
Lagene
WOW this is GORGEOUS!