Snowy Christmas Village
Hi Creative Friends,
As promised, I am back again ready to share another project. This one is one of my all-time favs! I love village or town scenes but these brand new die set by Alexandra Renke make it not only easy but extra, extra special.
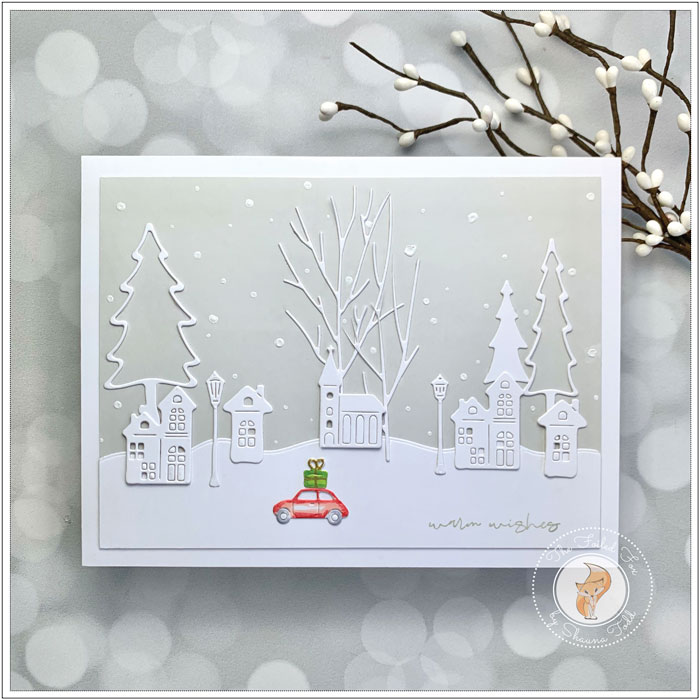
The three dies that make up this card are sooooo wonderful. They are intricate in detail yet very simple. They can be used over and over again for different scenes and different occasions or seasons. You can color them or leave them white as I did, either way, they make a statement. All you have to do is cut them out and arrange (and/or color) them into the setting you prefer.
For this scene, I started with a large panel (5 1/8″x 7″) of Antique Gray cardstock. This cardstock is a delicate light gray just giving a hint of color. I then cut out all the pieces from the Night City, 5 Fir Trees, and 2 Mini Trees die sets from Neenah 110lb white cardstock. I also cut out a snowy border for the bottom of the panel. Since this is a large panel, I love using the Winter Magic snowbank dies as they are extra long and there are a few to choose from but, of course, you can use whatever snow die is your favorite.
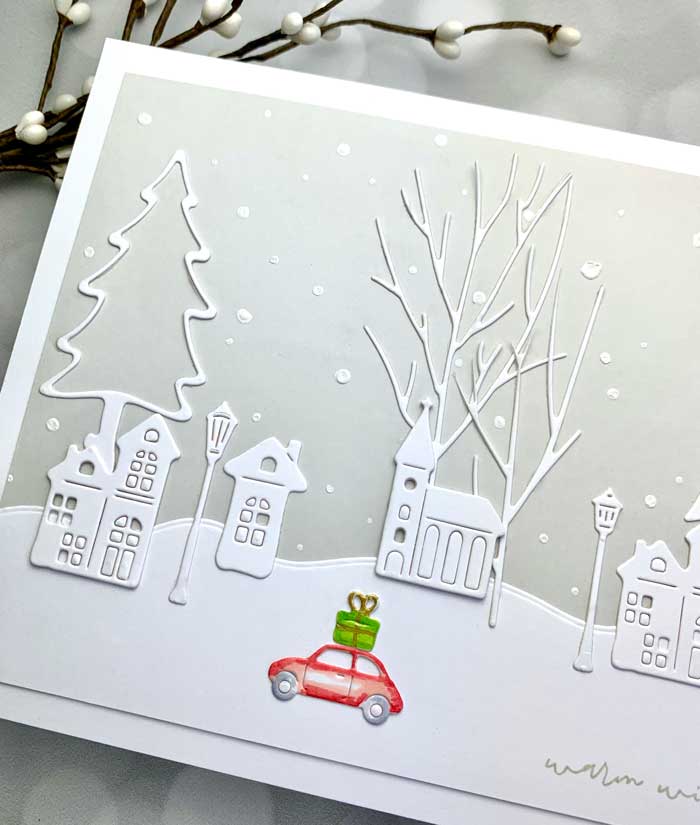
After all the pieces were cut out of heavy white card stock, I arranged my village the way I wanted, then glued them down. I started first with the snowbank, then the trees, and the houses on top of those.
I decided to add a spot of color by lightly coloring the car with a few Copic markers (or use what you have on hand). I used R30 and R27 for the body of the car and C3 for the tires. The present on top was colored with YG03 and YG17, then accented with a gold pen. When finished, I pressed them into place.
When the scene was done, I mounted the panel onto a larger (5 3/4″ x 7 5/8″) white panel so I had a nice, ample-sized white border. I just love the over-sized-ness of this card design. It is one of the things that makes it so special.
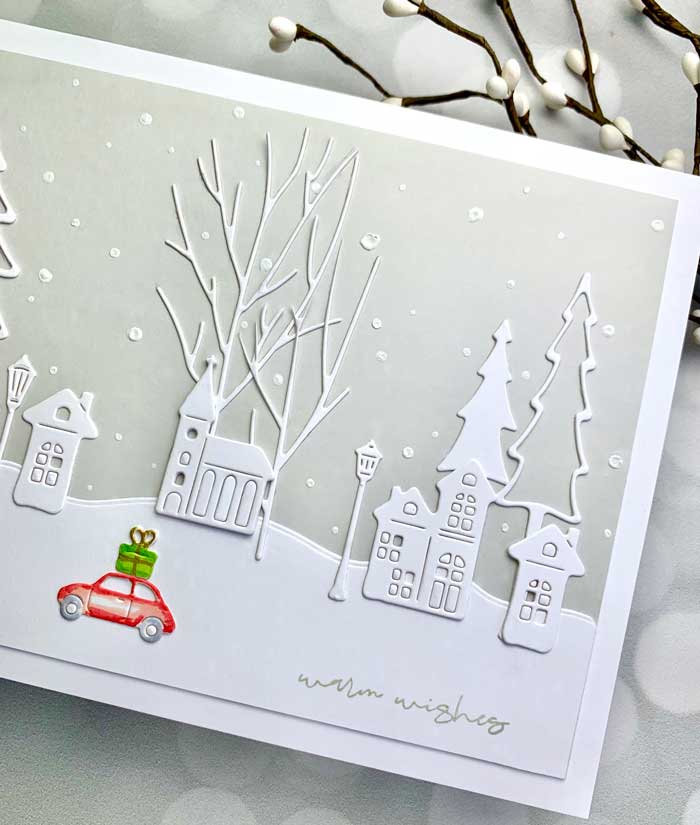
Now that the front was complete, I could really see where it was best to stamp the sentiment. I didn’t want anything to take away from the scene so I stamped the sentiment (from the Concord & 9th Mistletoe Messages stamp set) with a very light gray ink. My favorite for this is Soft Stone by Papertrey Ink (see supply list below).
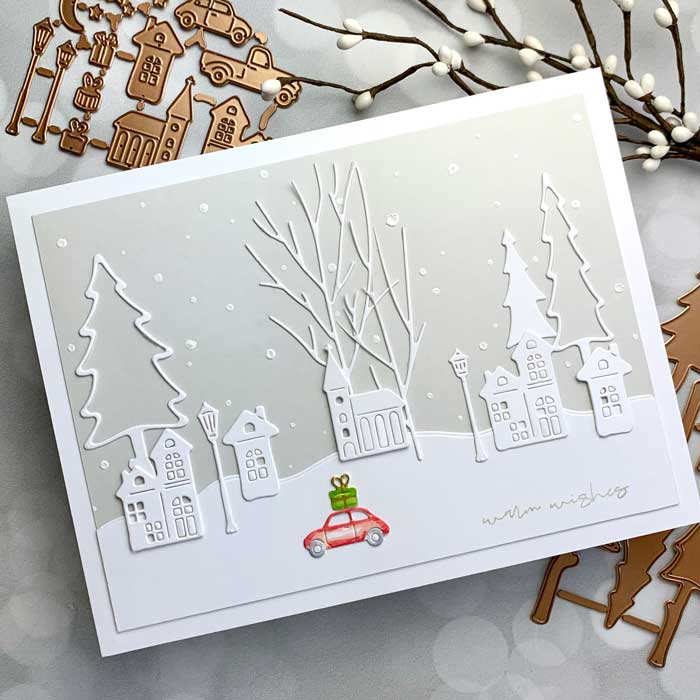
There were only a few things left to do. First, I made a white card base (5 3/4″ x 7 5/8″ when folded) from a piece of 12″x12″ heavy white card stock (see supply list) and mounted the card front to it. Finally, I added a snowy background by using the end of my smallest brush (not the brush end, the other end), dipped it into my jar of Dr. Ph. Martin Bleedproof white ink and dotted it around the sky. I let that thoroughly dry.
And there you have it… a beautiful snowy Christmas village ready to send. ♥


