Spooky Halloween Fun
Hi Guys,
It is that time of year where we start thinking about pumpkins, ghosts, and other ghoulish things… what fun!! I just love all the vibrant, intense colors you get to use for this time of year. This card certainly uses a bunch!
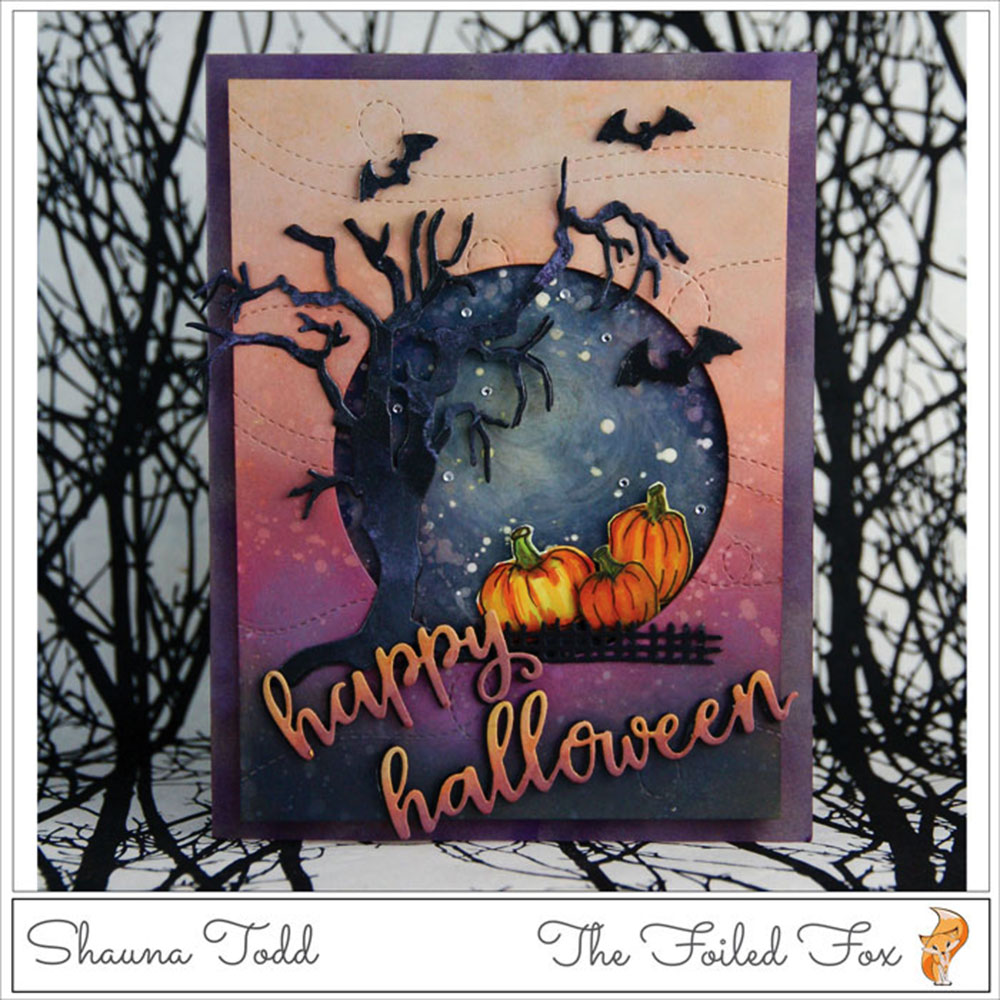
This card starts with a panel of white Bristol paper. I knew I would be covering the panel with distress oxide inks. The surface of the Bristol paper has a finish to it that allows for the ink to sit on top of the paper. This means the inks will blend and meld together and not absorb and ‘grab’ – YAY! for Bristol paper!
The panel was then embossed using a Lawn Fawn die set, Stitched Trails. I like that it creates a look of movement. A circle is cut slightly off center to allow room for the tree.
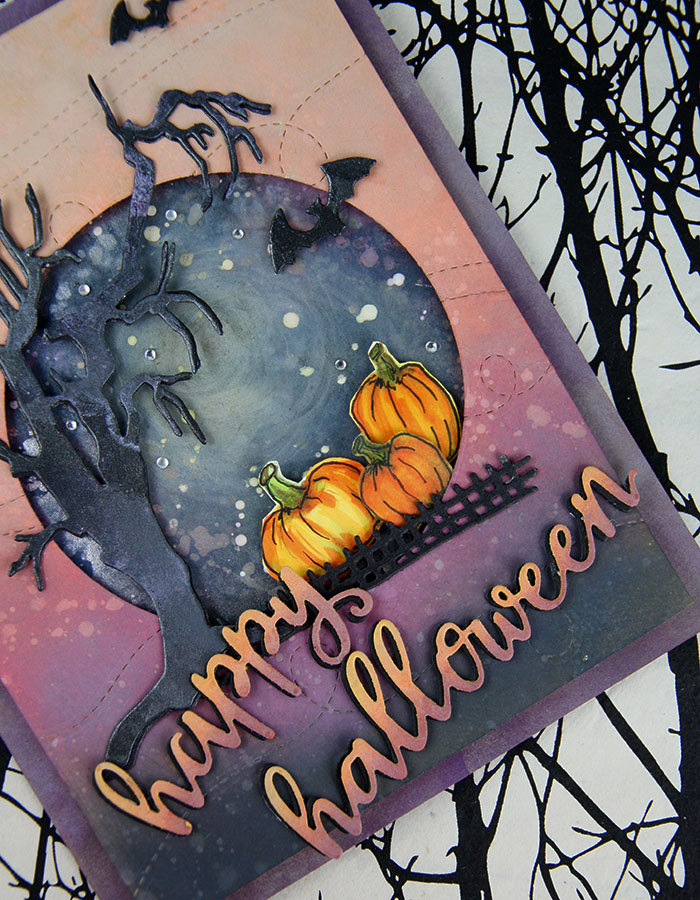
To color the panel, I started at the bottom with Black Soot distress oxide, applying a horizontal stripe with a blending tool. Next, I made a stripe using Seedless Preserves, overlapping the Black Soot a little so there wasn’t a definite stripe, rather more of a gradual change of color. I continued up the panel, applying stripes of Fired Brick, Spiced Marmalade and ending with Wild Honey in the same way.
I used all distress oxide inks but certainly, the regular distress inks will be good too. The only difference that I can see is that the distress oxide inks give a chalkier look overall. To finish the panel, I splattered clean water with a paint brush over the whole panel and blotted dry with a paper towel.
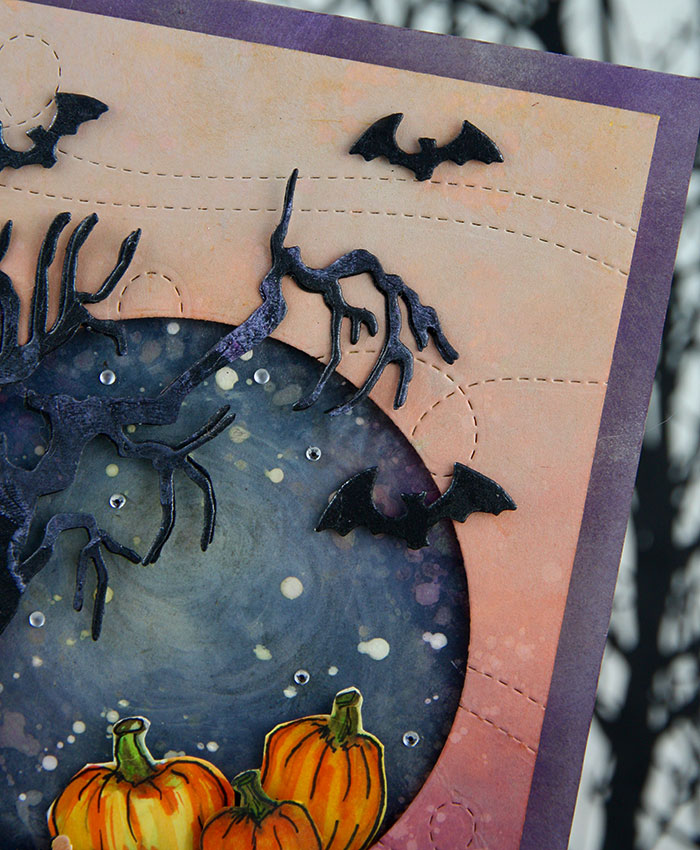
Next, with another piece of Bristol paper, I colored the ‘sky’ by adding random bits of dark distress inks, using mostly oxide inks but where there may not be a color in the oxide, I used the regular. The colors I used were: Chipped Sapphire (r), Black Soot (o), Seedless Preserves (o), Salty Ocean (o), and Fossilized Amber (o). I saved the Fossilized Amber for last and added it to the upper center by making spins of color with my blending tool to give it that swirly look. To finish, I added splatters of clean water with my brush, blotted dry and then splattered McCaffery’s white ink for the stars.
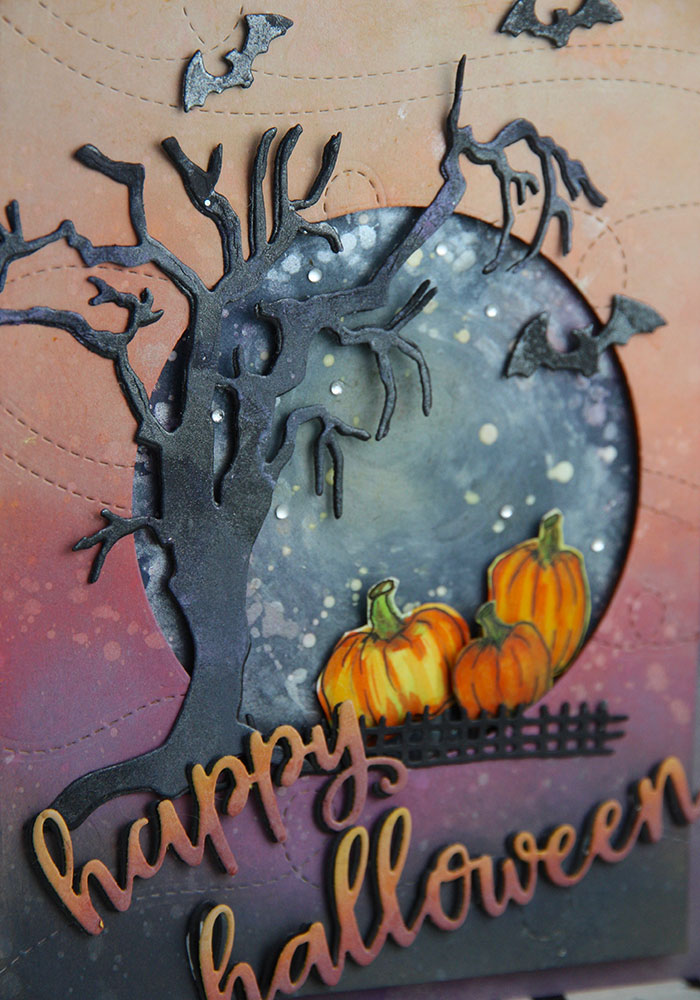
The tree, bats and “Happy Halloween” were next. They were cut in one fell swoop since the Carta Bella Happy Halloween Tree die set has it all! I cut two sets in Licorice Twist heavy card stock. I layered by gluing together the two trees (the bats I left single layer).
The tree and bats were slightly colored by randomly smudging Seedless Preserves distress oxide ink first, then the Delicata Black Shimmer ink. I just used my fingertip, since that gave me the most control.
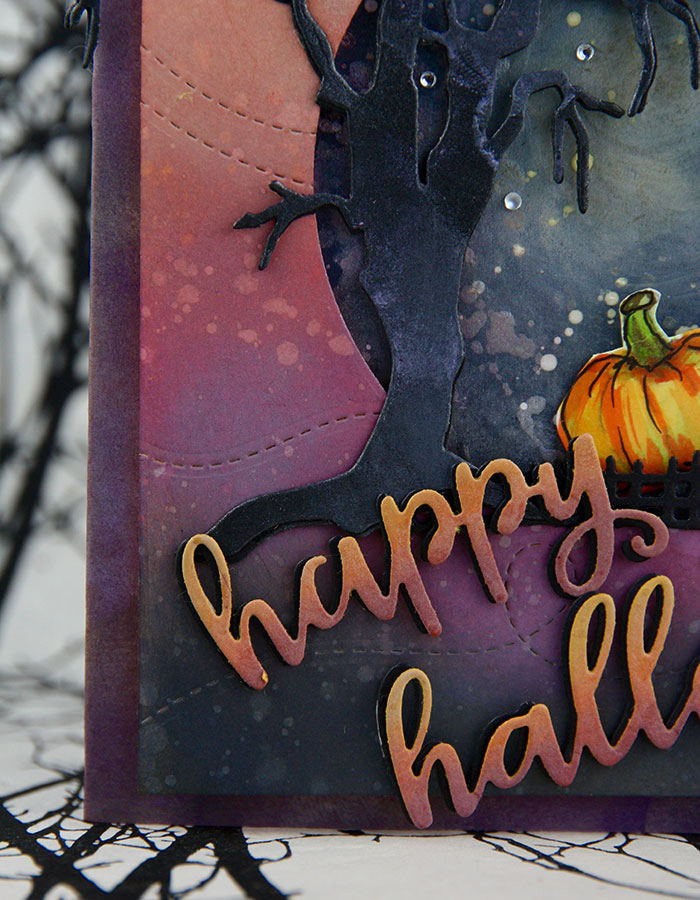
On to the sentiment, I cut another ‘happy halloween’ from Marshmallow Chick card stock and colored it in an ombre fashion. I started with Seedless Preserves distress oxide and blending it at the bottom, added Spiced Marmalade in the center and finally Fossilized Amber at the top. I made the stripes of color and blended the colors just like the way I did for the panel above.

After all the coloring of the sentiment was done, I layered the ombre ‘Happy Halloween’ onto the black Happy Halloween and glued them together using a glue pen and making the black layer slightly off center to give a shadow effect.
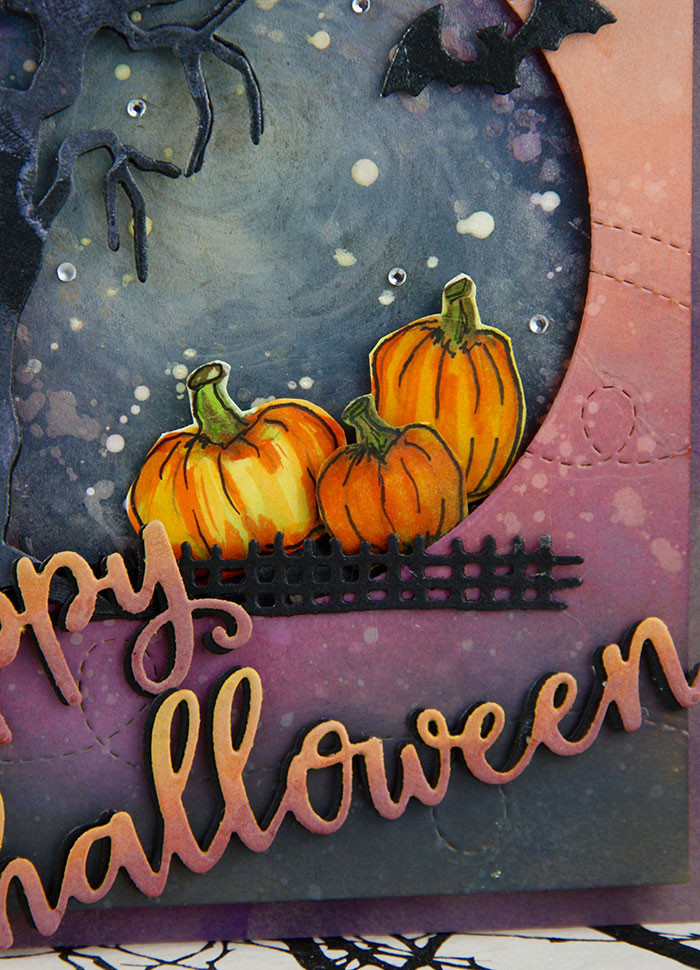
We are almost done, I promise.. but first, we need pumpkins and a fence. The fence was easy! Two were cut from black card stock using the Penny Black Haunted Hollow die set. The two fences were glued together with a glue pen and set aside.
Sadly, I didn’t have any pumpkin dies with me at the time, so I improvised. I sketched (much like my 6-year-old granddaughter does -really it is that simple!) three pumpkins onto white card stock and colored them with Copic markers. I used Y15, Y35, YR04, and YR09 and then YG03 and E87 for the tops. I added a black outline and little accents to emphasize the sections using a Mangaka 01 pen.
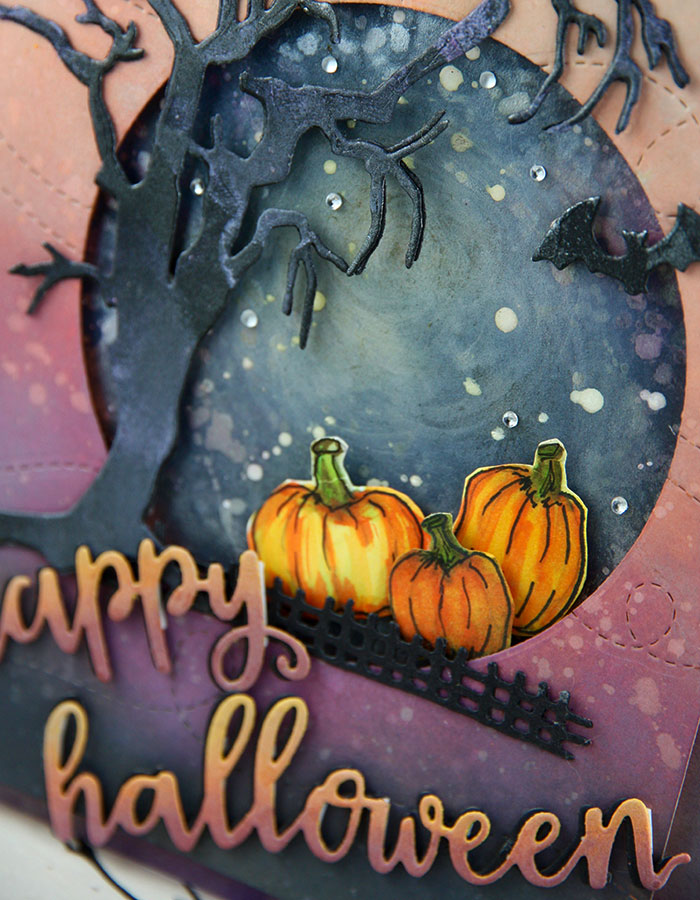
Ok, let’s put all the pieces together!
Starting with a Jelly Bean card stock card base, I smudged Seedless Preserves and Black Soot distress oxide inks on the edges of the front. Then positioned the ‘sky’ panel onto the front so that it will align with the circle of the embossed ombre panel. The ombre panel was added by applying foam tape to the back of the panel and then affixing it over the ‘sky’. The fence was added next at the bottom of the sky circle, then the tree and bats.
By adding slivers of foam tape to the back of the “happy halloween” I popped up the sentiment and pressed it in place. For the final touch, tiny gems were added to make a twinkly sky.
![]()
Supply List:
 2mm |


