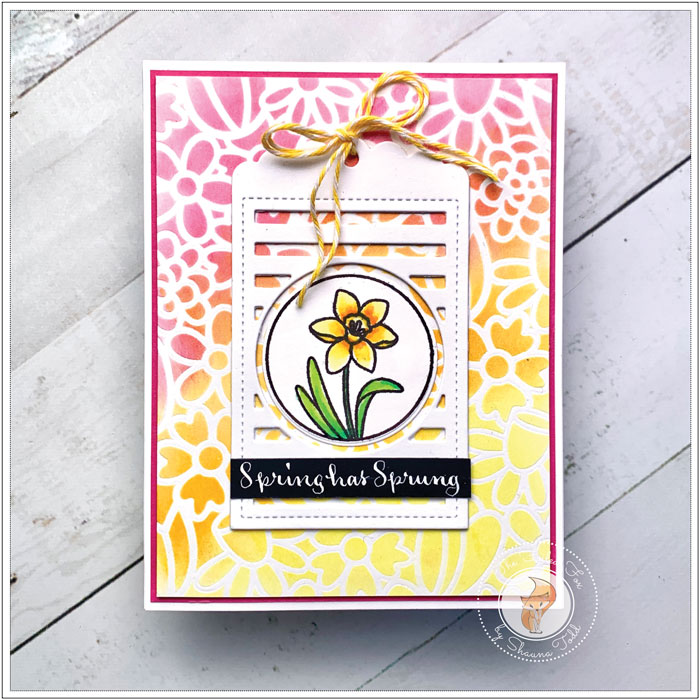
Spring Has Sprung
Hi Creative Friends,
I am popping in with an easy and very sweet little project using the cute Floral Background stencil and Easter Circles stamp set from Pretty Pink Posh. By the way, don’t let the word “Easter” in the title scare you into thinking it only can be used for this holiday. There are charming floral motifs that can be used year-round. Then, when combined with the Birthday Circles die set it adds a delightful accent to your card design.

This card design all started with the floral background. To create it, I used a white card stock panel and the Floral Background stencil (see supply list below). With the stencil over top of the panel and starting at the bottom and on the diagonal, I blended on Squeezed Lemonade, Ripe Persimmon (with a light touch) in the middle, then ended with Picked Raspberry. For one last fine point, with the stencil still in place, I ran it through my die-cutting machine to indent the outlines of the stencil. This is a small detail and it is nearly impossible to see it in the pics but it is there in real life and adds a little extra pizazz!
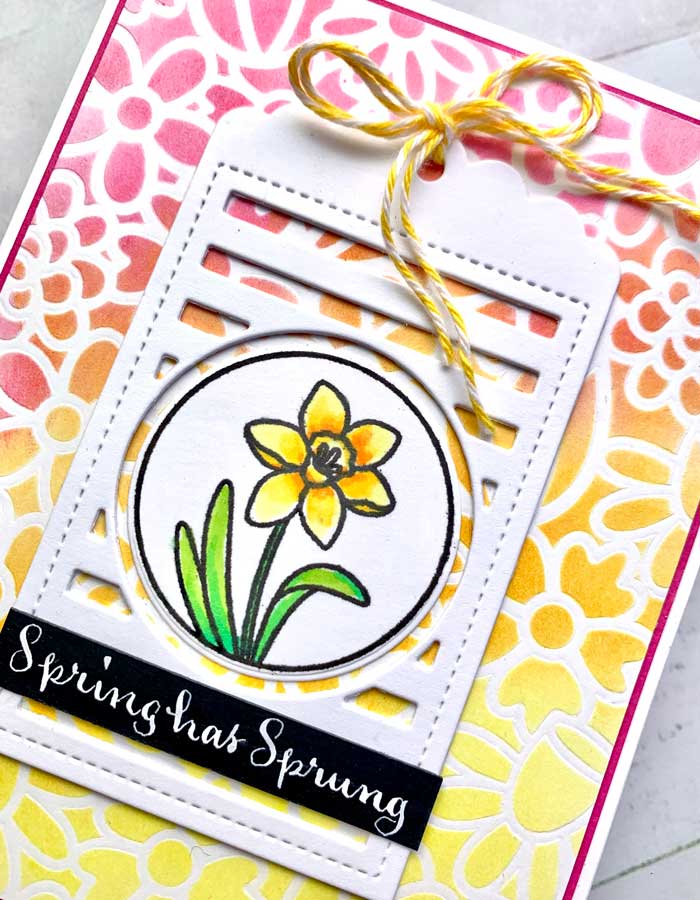
Next, I stamped onto a square of white card stock the lovely little daffodil from the Easter Circles stamp set using an alcohol marker-friendly ink, like Lawn Fawn Jet Black Premium. Then colored it with a few Copic alcohol markers.

When finished, I cut out the daffodil using the circle die in the Birthday Circles die set. At the same time, I cut out two Birthday Circles tags, then stacked and glued them together.
One last thing before I assembled my card was to make a sentiment strip. I couldn’t find the sentiment I was looking for so I created my own by hand-lettering “Spring Has Sprung” onto a black card stock strip using a pen holder and nib and Dr. Ph. Martin Bleedproof white ink.

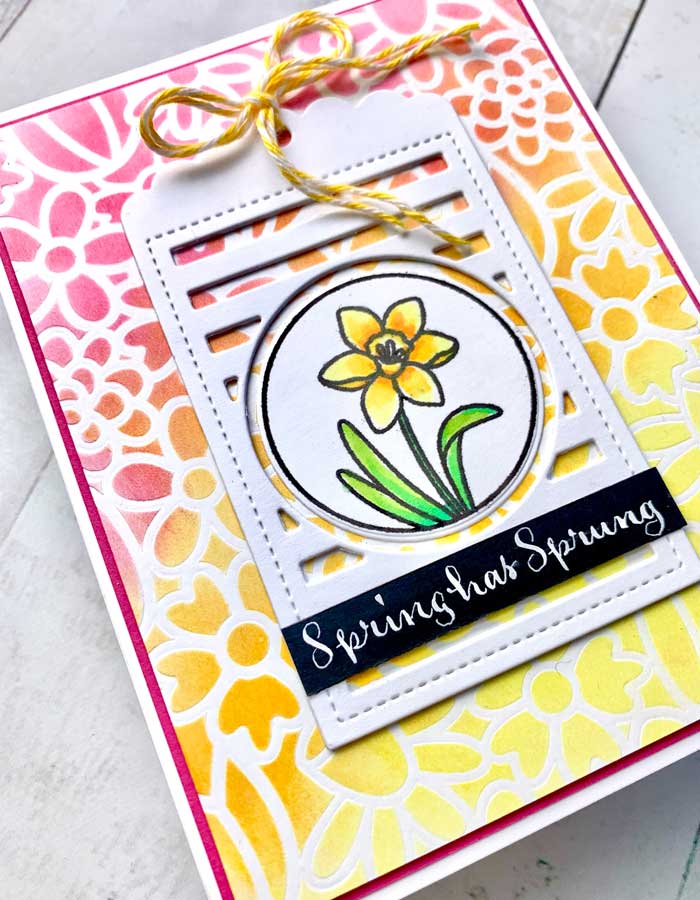
All my card pieces were ready to assemble. So, I trimmed the floral panel, added a foam backing, then added a slightly larger panel of Fuchsia card stock to the back. Next, I adhered this whole assembly to an A2-sized white card stock card base.
To finish, I added a baker’s twine bow to the tag, then mounted the tag to the front of the card. I pressed the daffodil into the center and added the sentiment strip to call it done! ♥
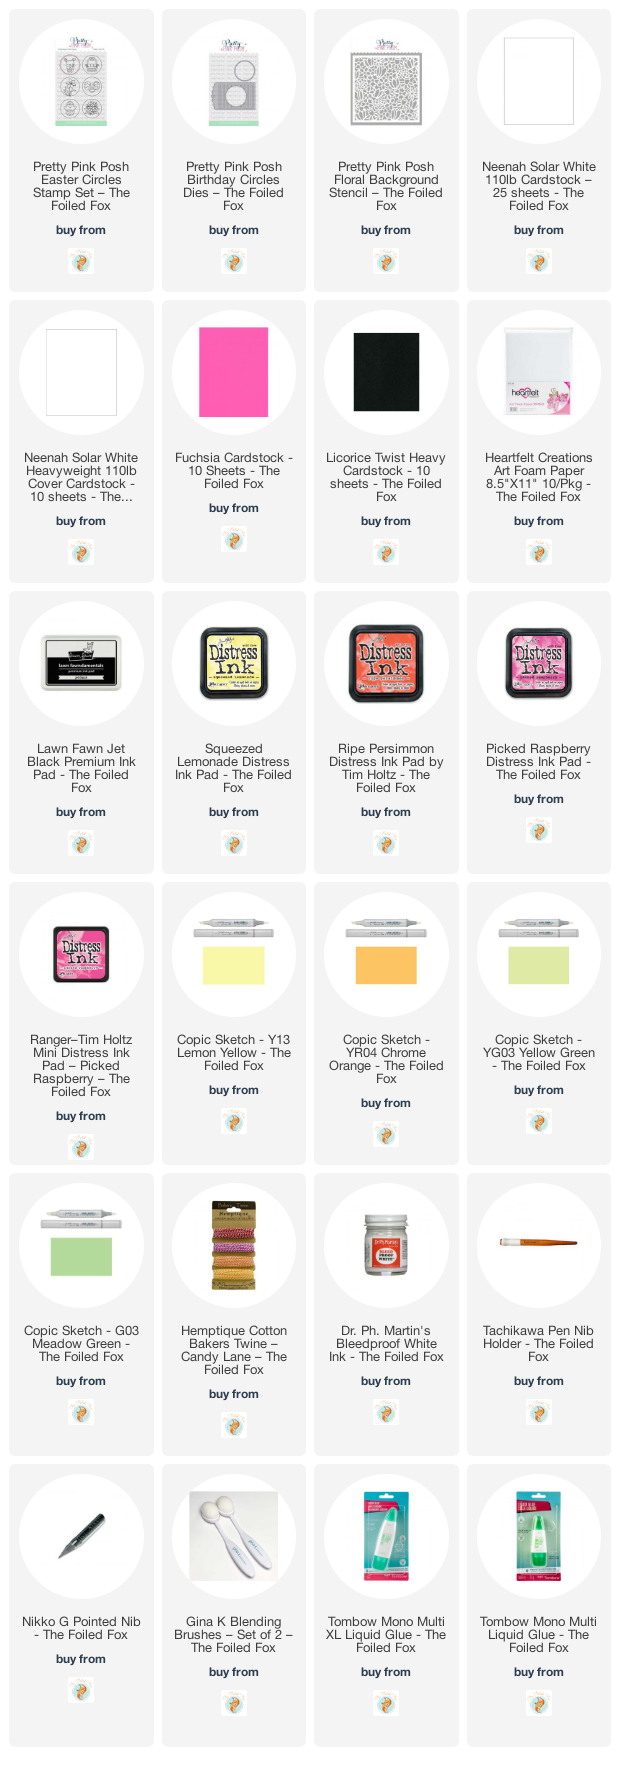
Below are all the Goodies used:
Sorry, the comment form is closed at this time.


April 15, 2022
Shauna Todd
Glad you liked it!