Spring Tulips
Hi Creative Friends,
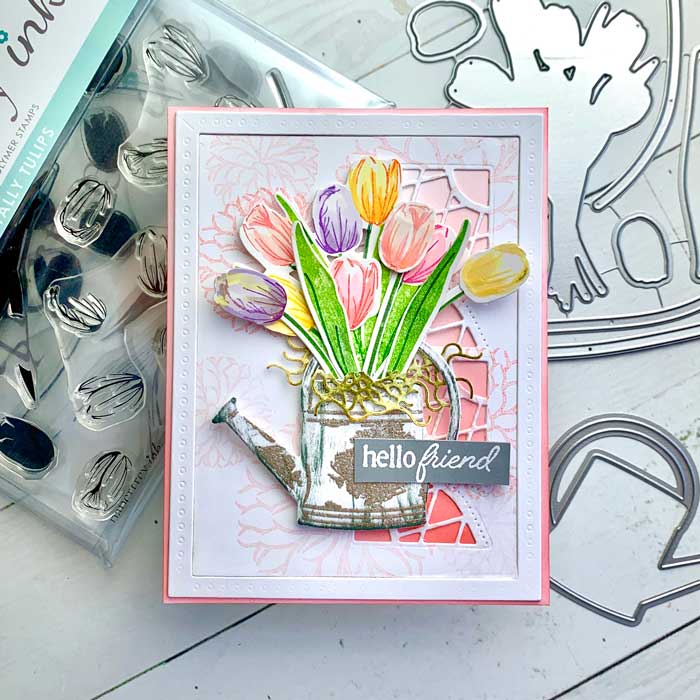
We are sharing a pretty little card design using a few brand-new stamps and dies from Papertrey Ink. With Spring upon us, we chose the Totally Tulip collection, Cornered: Lace die, and the watering can Vase Collection 8. These three new items come together to create a lovely Spring card.
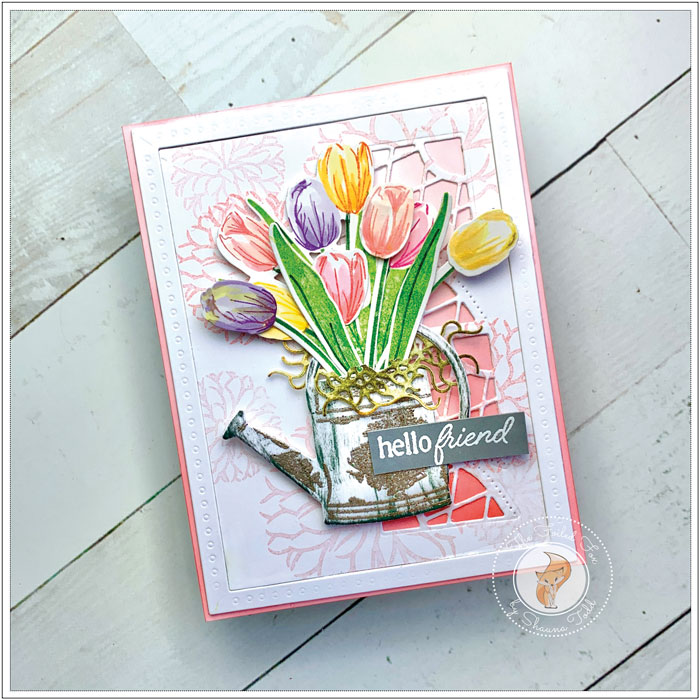
We started creating our card design by making the background pieces first. First, we made a white A2 card base from Neenah 110lb. paper. Next, using a separate A2 Bristol paper panel, we ink blended in an ombre style, using Berry Sorbet ink at the bottom, feathered in Pale Peony for the center, and finished with Sweet Blush ink at the top. You can see the ombre effect through the ‘window’ cuts. With this panel done, we added it to the front of the card base.
Next, with two other white card stock panels, we cut out two frames using Papertrey Ink’s Dotted Frame (but any frame will do), then stacked and glued them together. Then, using one of the inside panels from the frame, we stamped it with lovely dahlias from the new PTI Dahlia stamp set with Berry Sorbet and Pale Peony ink.
Now comes the fun! Using the brand new Cornered: Lace die and our newly stamped dahlia panel, we arranged the two corners opposing one another and cut out the cornered ‘windows’, then repeated. This gave us four ‘windows’ in a vertical row for a peek-a-boo effect. The panel and stacked frame were added for our second layer to the front of the card – now you can really see the ombre background through the windows!
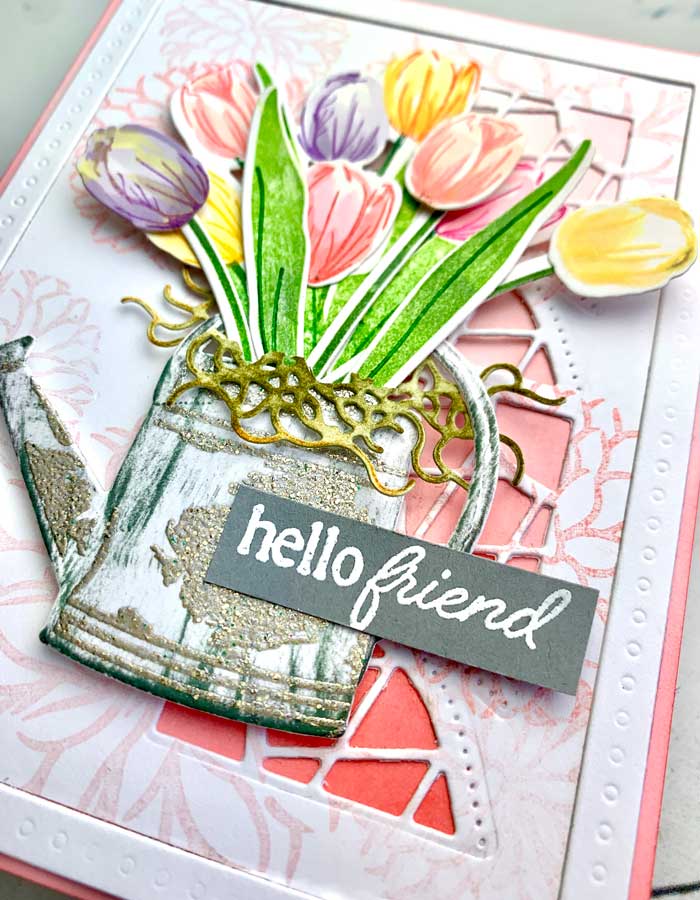
It was time to create our tulip-filled vase. Using our stamp positioner, a few PTI inks, and the Totally Tulip stamp and die set, we cut out all the tulips from white card stock and then stamped them with a variety of colors (check out all the colors used below). We made it easy on ourselves by only using the outline stamp for the flowers, then colored them in with alcohol markers. Doing this gave us the opportunity to give a little shading to the flowers. The leaves were then stamped with New Leaf, Green Parakeet, and Pine Feather veining stamps.
The vase was next. The new vase for this month is a charming watering can. We cut it out, then swiped the Stormy Sea ink cube over the top to give it a weathered look, then using the coordinating shading stamp, we stamped it with Versamark ink and heat embossed it with silver embossing powder.
We played florist and arranged the flowers in the vase, added foam tape to the back, and pressed it in place. To finish, we added a sentiment from PTI’s Happy Hello (see supply list below) that we had stamped onto a strip of gray cardstock and embossed with white embossing powder.
This completes our project for today. We hope you enjoyed it and will give it a try!! ♥
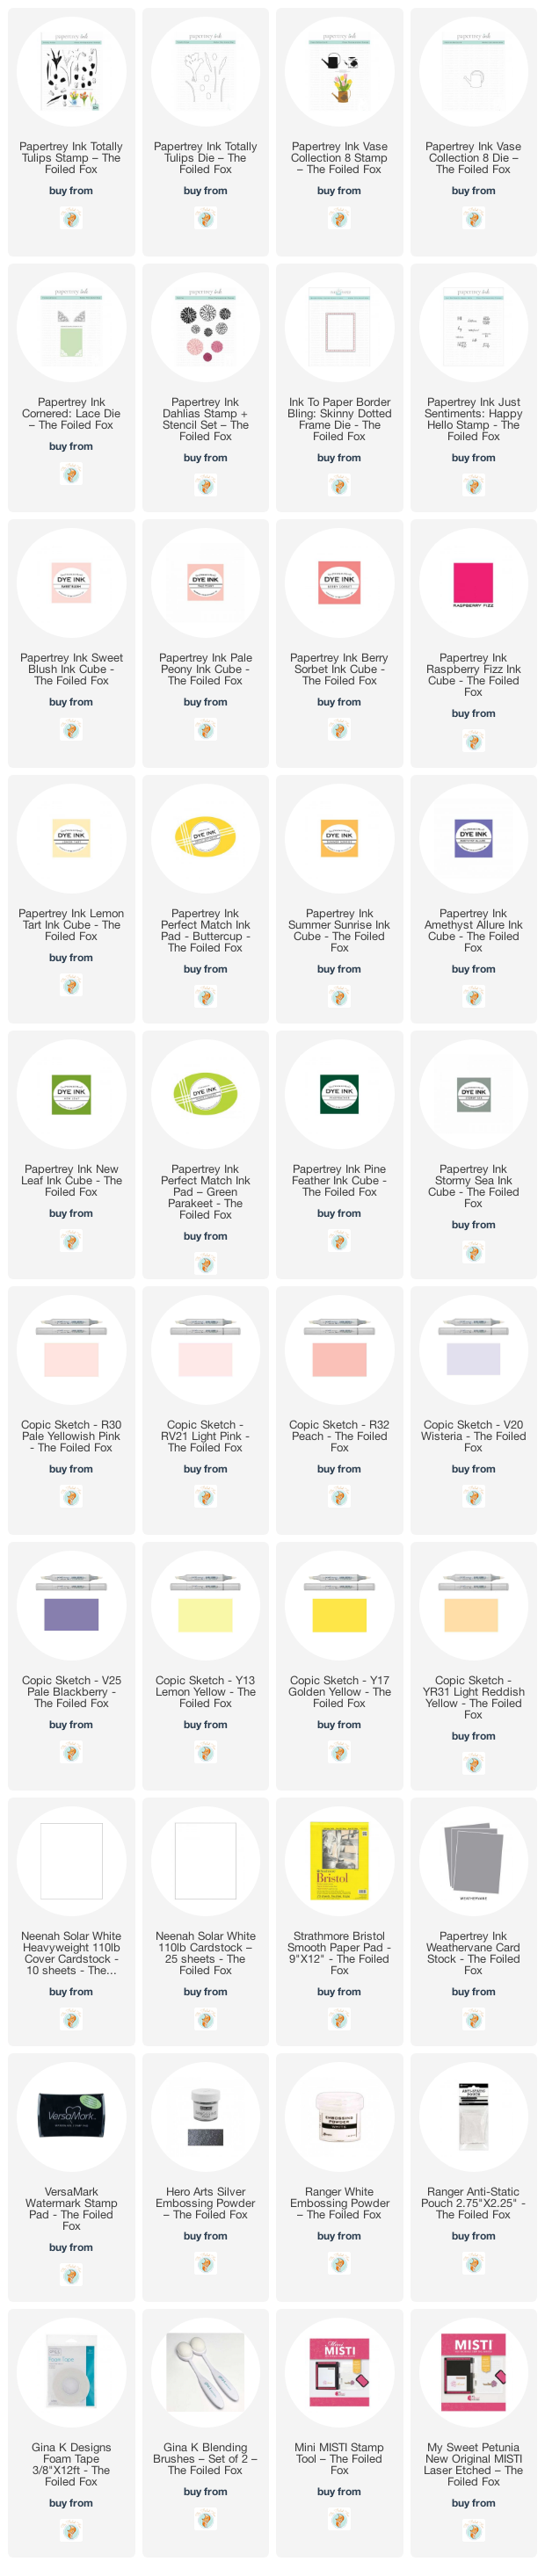
Goodies Used: