Sweet Basket of Hyacinths
Hi Creative Friends,
This card design features sweet hyacinth flowers in a basket with a note for your loved one. The basket die is awesome. It is designed to be stuffed with beautiful flowers and the hyacinths in the Happy Hyacinths stamp and die set were perfect for this.
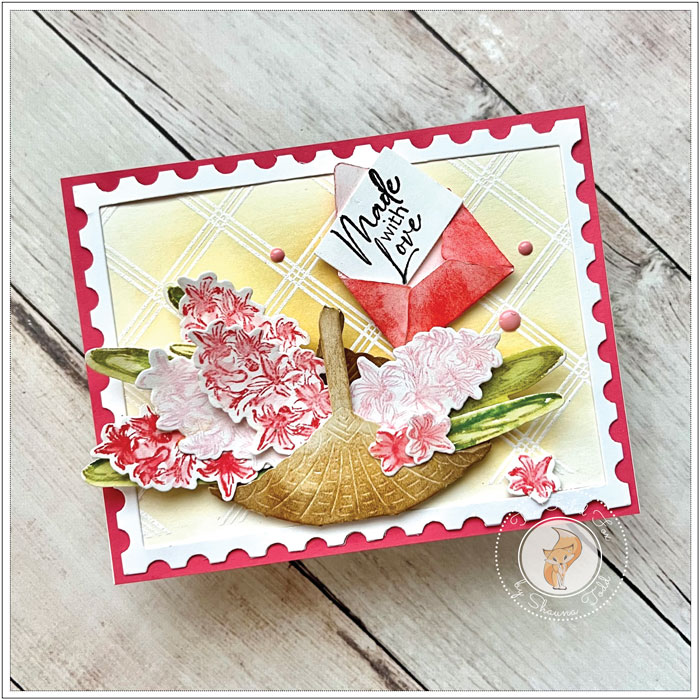
This design starts with an A2 white card stock card base and an A2 panel of Berry Sorbet cardstock, which I affixed onto the front of the card base.
Next, I stamped the Nifty Plaid background, using Versamark ink, to Vintage Cream cardstock panel, then white heat embossed it. After that, I blended Honey Nut ink in the center for a highlight.
I cut a thin border using Skinny Postage frames, but any frame will work here. The plaid background and frame were added to the cardbase.
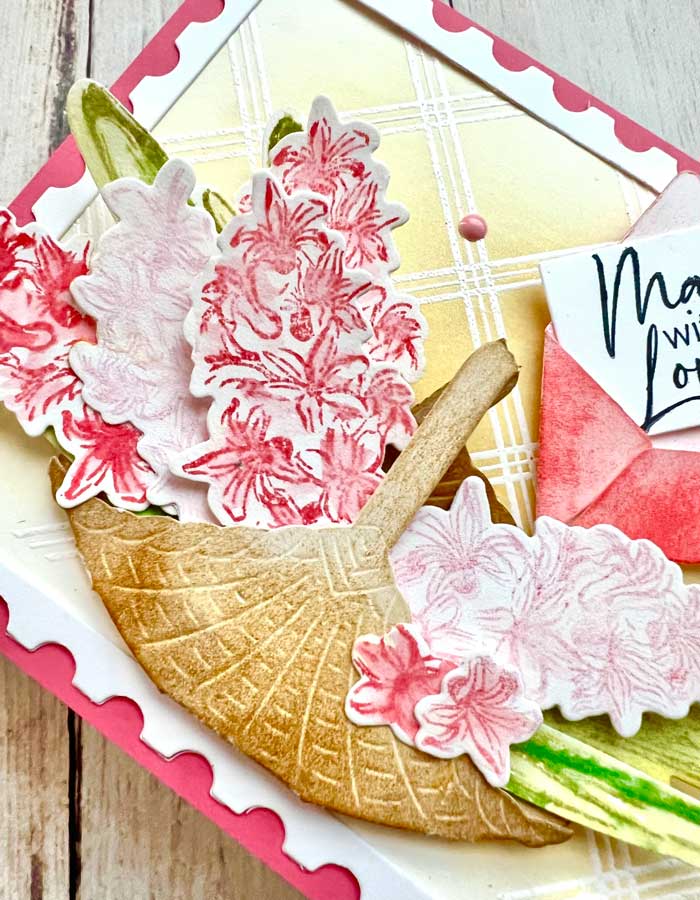
Now on to the basket and flowers. First, I cut a basket from white card stock and blended Honey Nut ink with a bit of Cocoa Bean ink for shading, then folded the tabs over at the bottom and glued them to the back of the back piece of the basket.
Next, I cut several flower clusters and leaves from watercolor paper. The watercolor paper is perfect for stamping an image, then urging the color from the stamped outline to color the interior of each flower. I used Berry Sorbet and Lovely Lady, varying the intensity of the color, to stamp the flowers. By the way, I only used the detailed layering stamp, not the solid one.
Using the exact technique as above, I stamped the leaves with Ripe Avocado and Olive Twist and used my damp brush again to bring color to the interior of the leaves. The flowers and leaves were then arranged and glued in place. Some of the flowers were popped up with a little foam tape. Then, the basket was added to the card front with foam tape too.
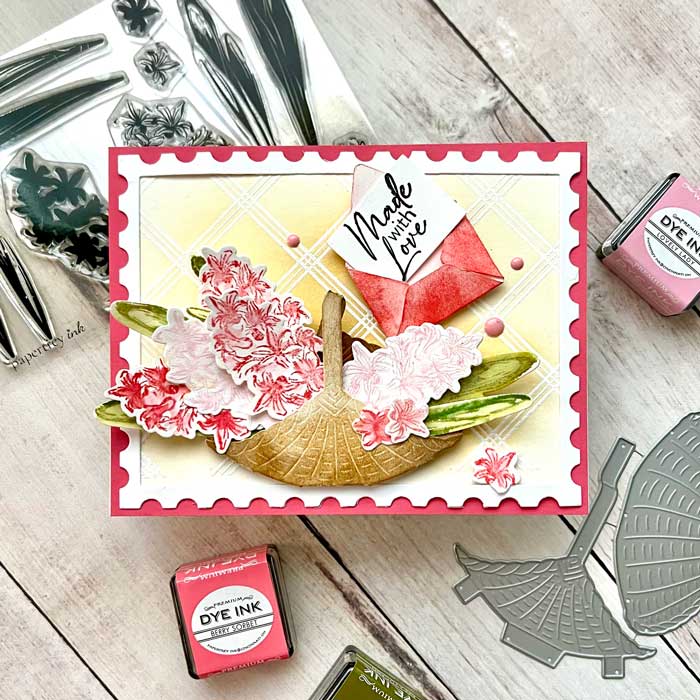
For the sentiment, I made a tiny envelope with a card insert. The With Love die set is perfect for this. Once the envelope was cut out, it was colored with Berry Sorbet ink and the card insert was stamped with the sentiment using True Black ink.

To finish, the envelope and insert were added to the front of the card.
I hope you enjoyed our project today and hopefully, it gave you a little inspiration to make your own! ♥
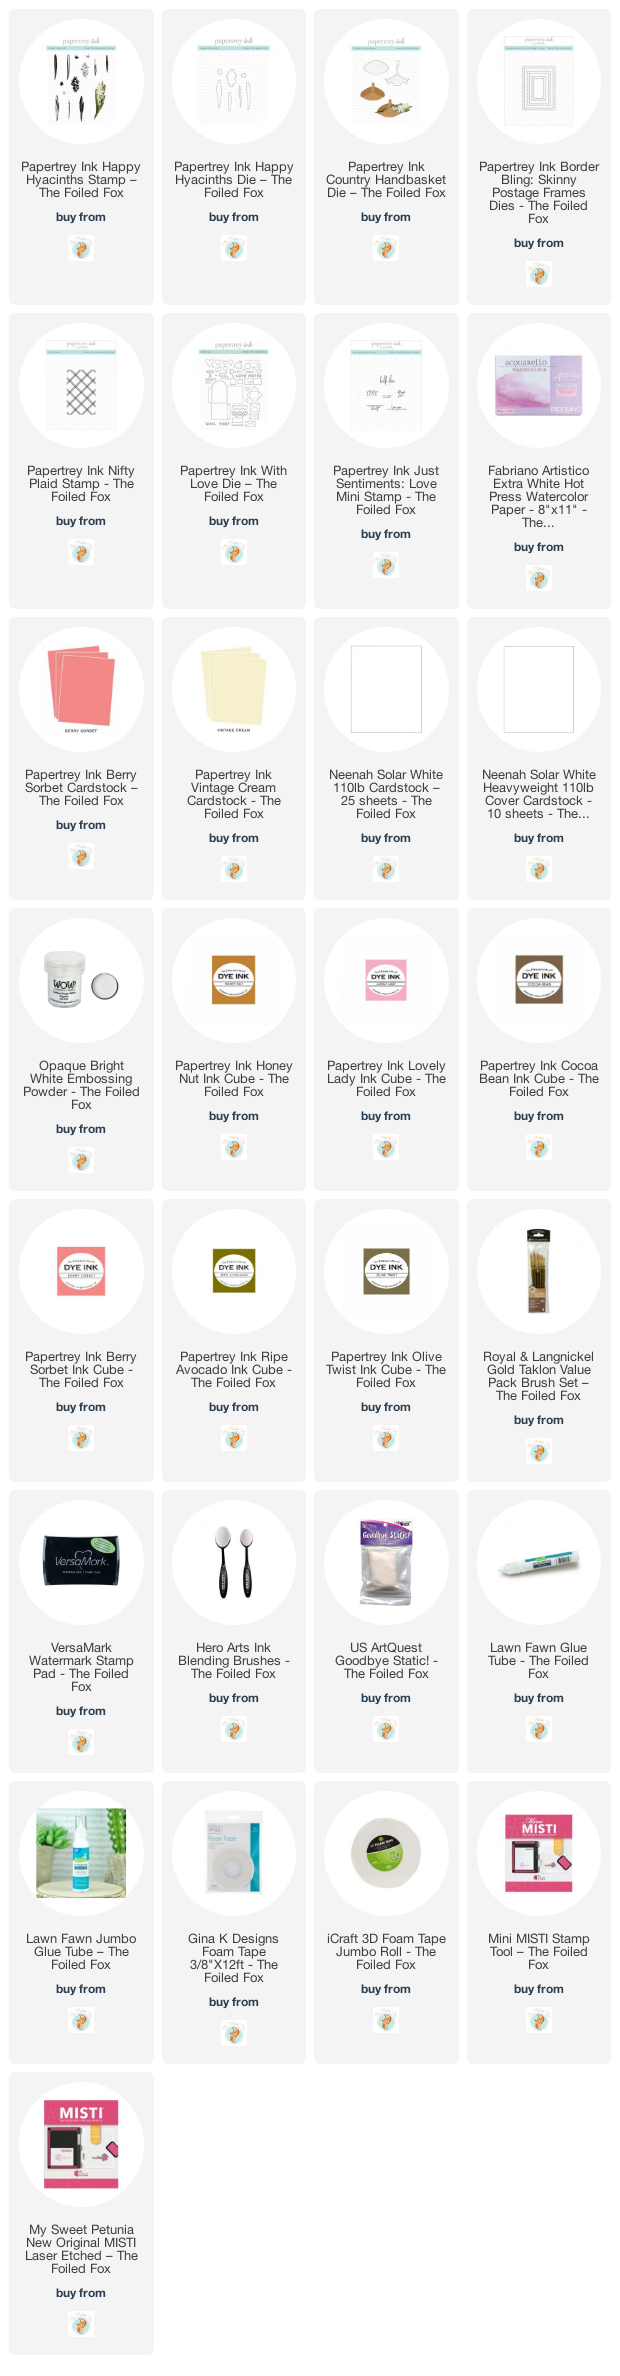
Goodies Used: