Two Looks For Fine Line Floral Flowers
Hi Crafty Friends,
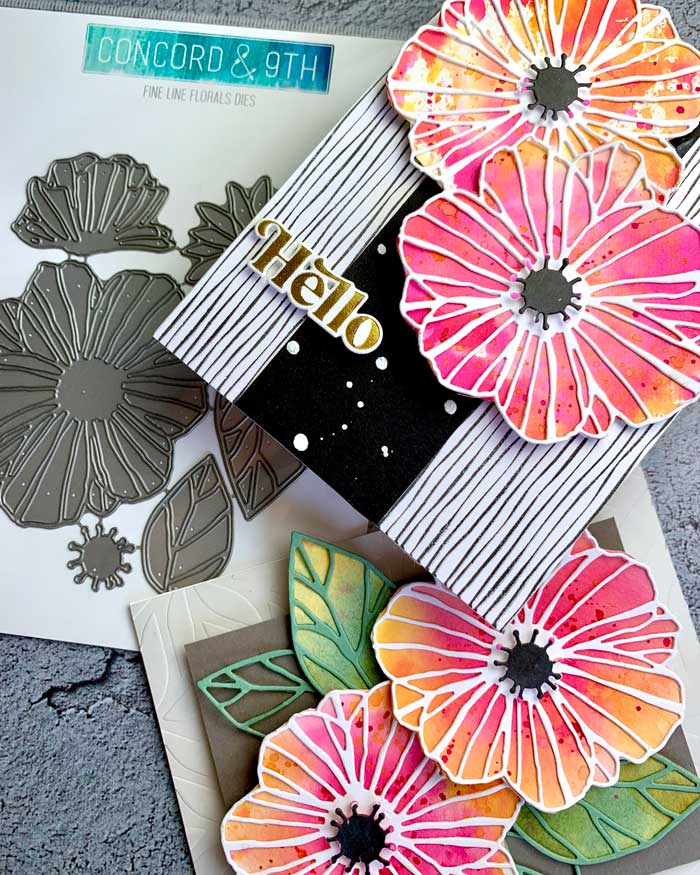
We are sharing two ways you can use an oldie but goodie stamp and die set, Fine Line Florals by Concord & 9th. There are zillions of ways you can use these stamps and dies which is why I reach for this complete set often!
I used the same big blossoms for these two card designs. So, let’s start there.
These flowers were all made by cutting out four white card stock flower outlines using the largest flower die in the set. At the same time, I cut out four (4) white card stock centers and four (4) Ocean Tides card stock leaf outlines. Then, with a piece of watercolor paper, I traced the outline of the flowers four (4) times and the leaves only two (2) times, then cut them out, making sure they fit their respective white cardstock outlines.
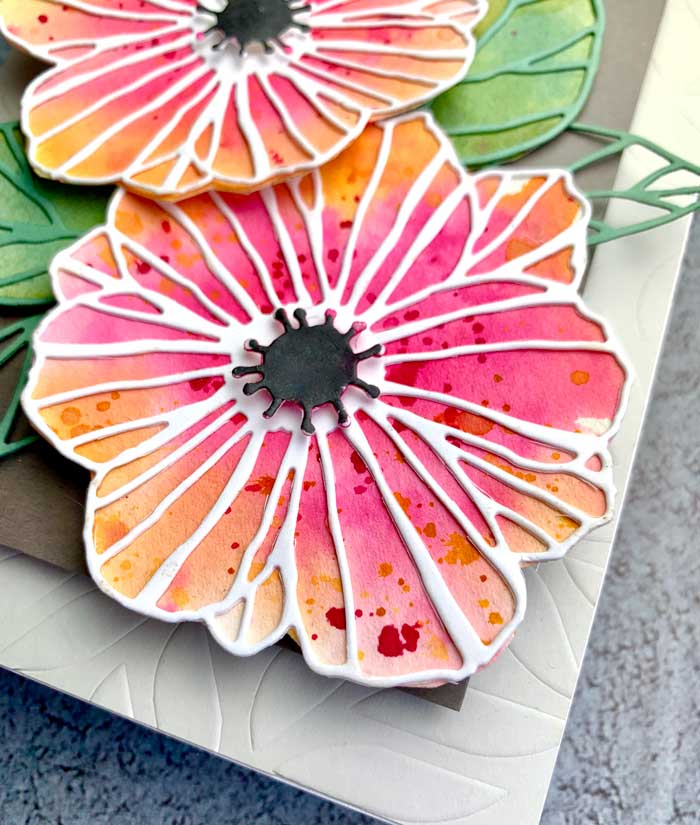
Next, I smooched a patch each of Picked Raspberry, Festive Berries, and Wild Honey distress inks onto my glass mat, spritzed them with water to loosen the color, and spritzed the flower cutouts with water too. I started to add color to the flower cutouts, first the pinks, then a little yellow from the Wild Honey. When the flowers were all painted, I dried them slightly, then splattered Festive Berries and Wild Honey for a little extra pizazz!
I followed the same procedure as above and painted the two cutout leaves with the Crushed Olive and Rustic Wilderness distress inks. For the centers, I painted them with Black Soot and a little Festive Berries on the tips. (check out the supply list below for all the goodies used)
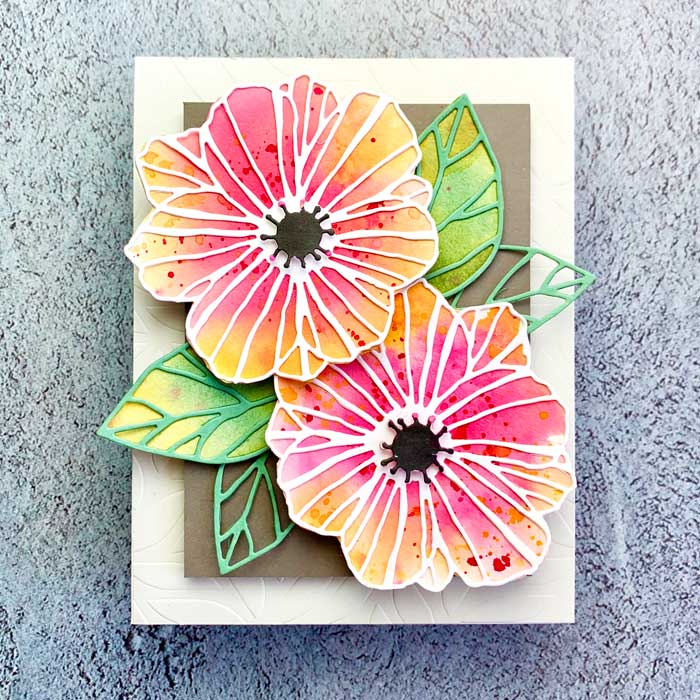
While the flowers and leaves were drying, I worked on the backgrounds. For the first card, I embossed an A2 sized Antique Gray card stock panel by placing the Gina K Designs Thick Brush stencil (but any stencil you like would work here) on top, then running it through my die cutting machine with my rubber mat in the platform instead of a cutting plate. Isn’t this a quick way to get a lovely subtle texture? I love it!
When done, I adhered the panel to my white card stock card base. I also cut a smaller panel of Slate card stock, added a foam backing, then mounted it on top.
With the flowers and leaves now dry, I glued all the white card stock flower outlines to their watercolored bases and did the same to two of the leaves. The flowers were then arranged and attached with a little foam square to the front of the card. The leaves were tucked in and the centers were added with a bit of foam. That completes this card!
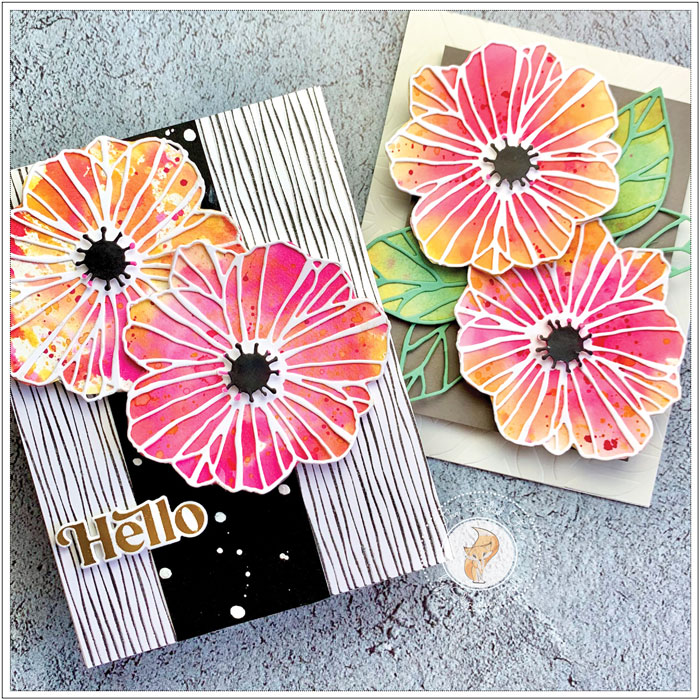
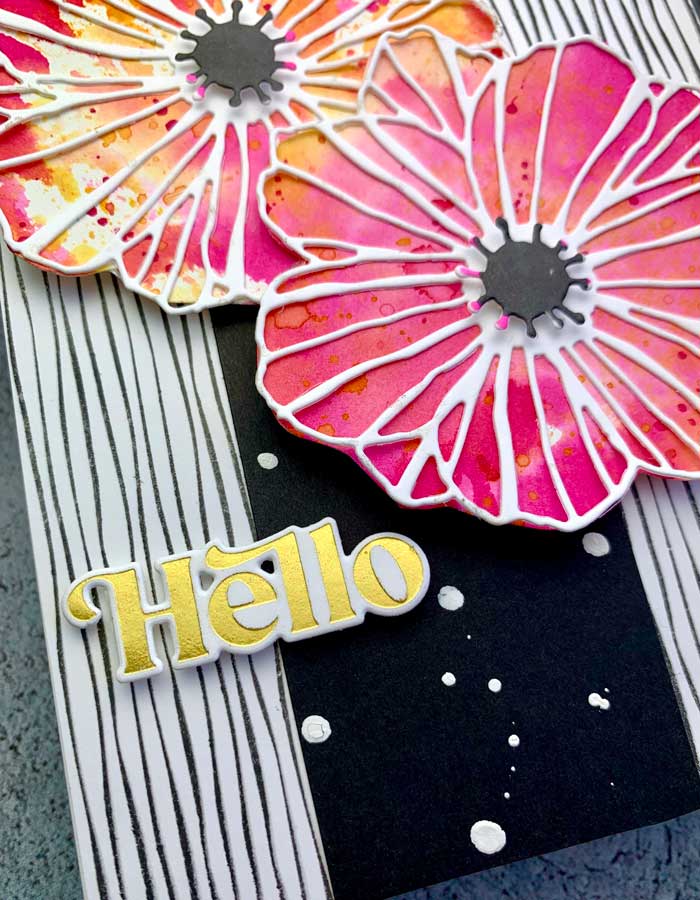
On to finishing the second card… I inked the My Favorite Things Thick Thin background stamp with Versafine Black Onyx ink and stamped it onto an A2 white card base. This background panel was then adhered to a white card stock card base. Next, I splattered a wide strip of black cardstock with my fav, Dr. Ph. Martin’s Bleedproof white ink.
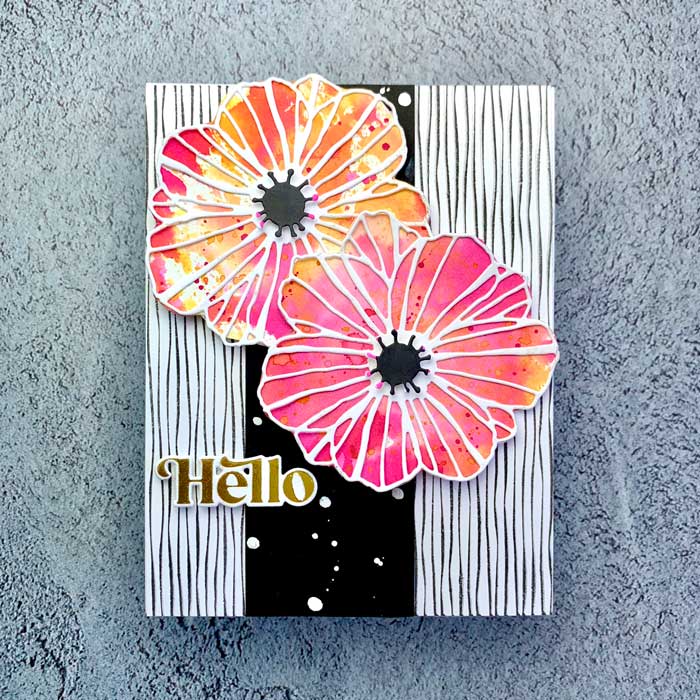
When the ink was dry, I mounted the strip to the top of the card, then added the flowers and a gold foiled sentiment I had made previously using my Spellbinders Glimmer hot foil machine and Pinkfresh Studio Perfect Sentiments hot plate.
I am in love 😍with my foiling machine and these dies. This hot foil plate hot foils a bunch of sentiments at one time and the matching die cuts them all in one fell swoop! How awesome is that?!? 😀
But with that said, if you don’t have a hot foil machine, you can use the matching stamp set and use the same die to cut them out. I will list all this in the supplies below in case you are interested!
Well, that completes my two cards for today. I hope you enjoyed these two cards. You will have to let me know which one you like best! ♥
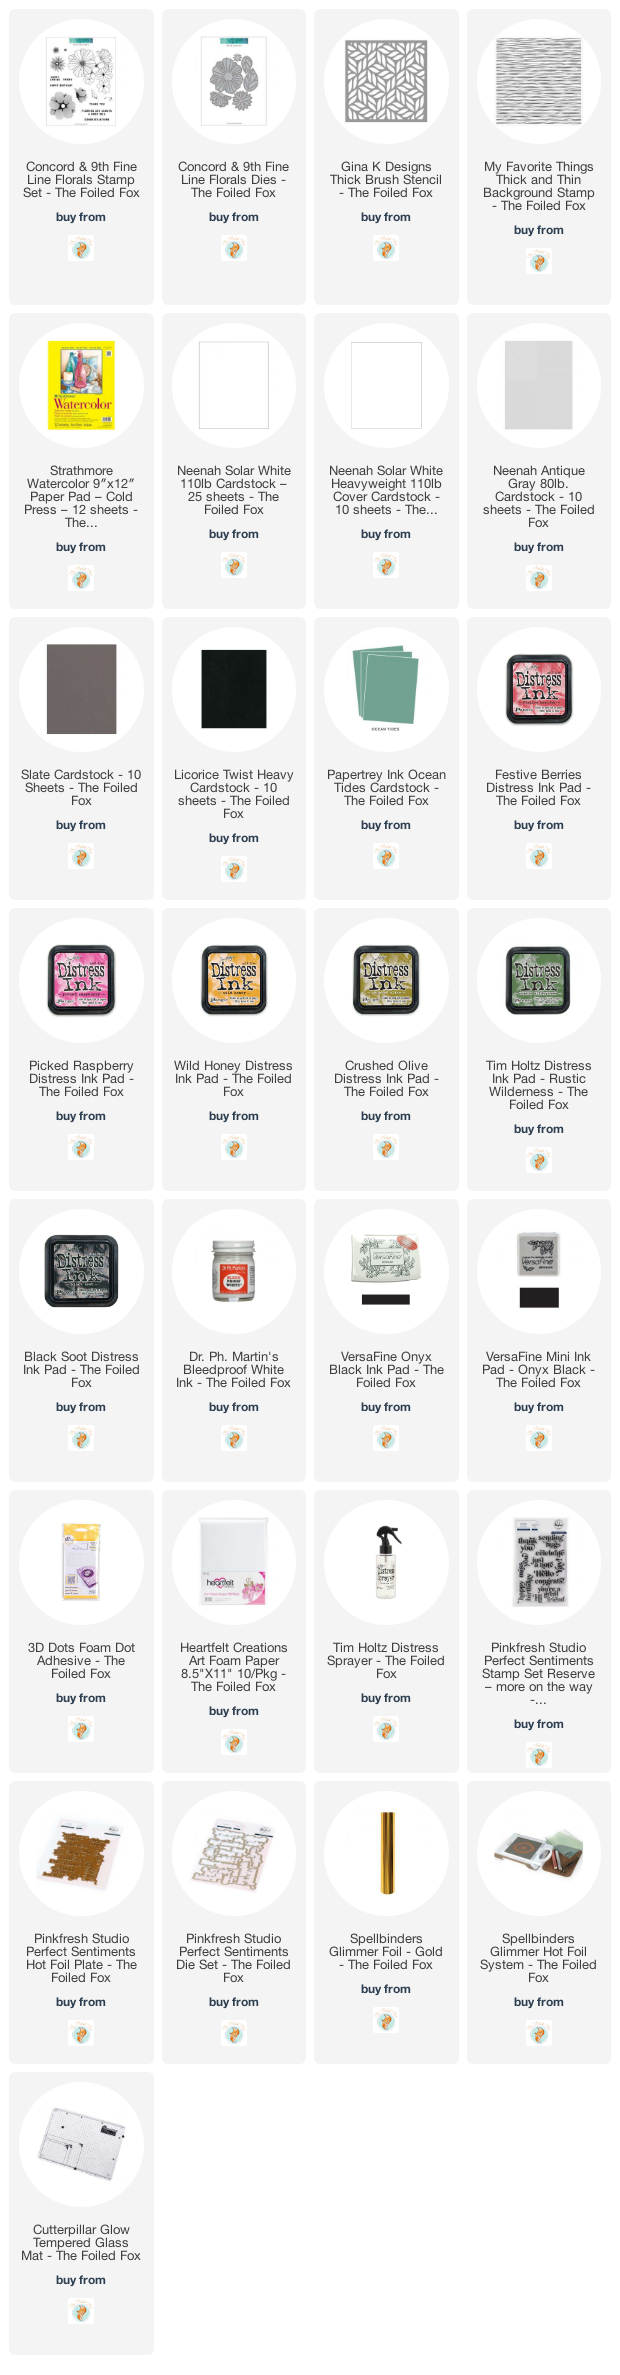
Goodies Used: