Vibrant Poppies
Hi Creative Friends,
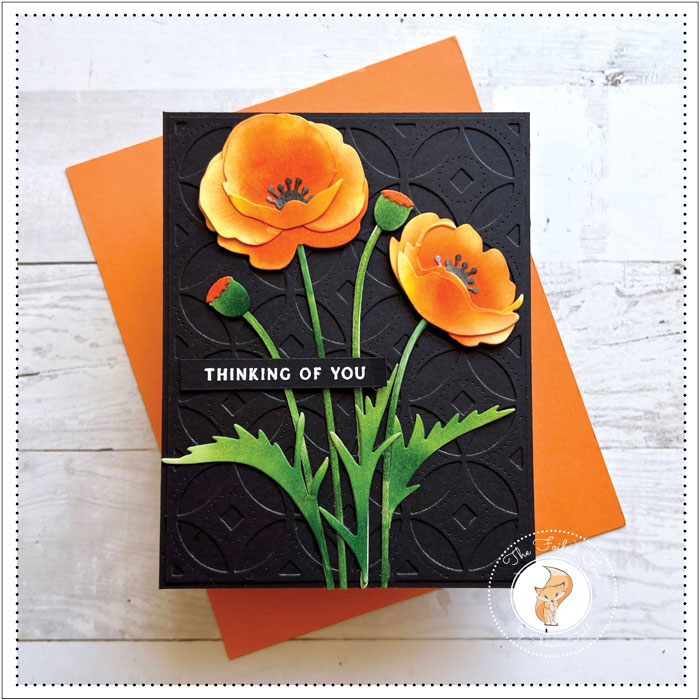
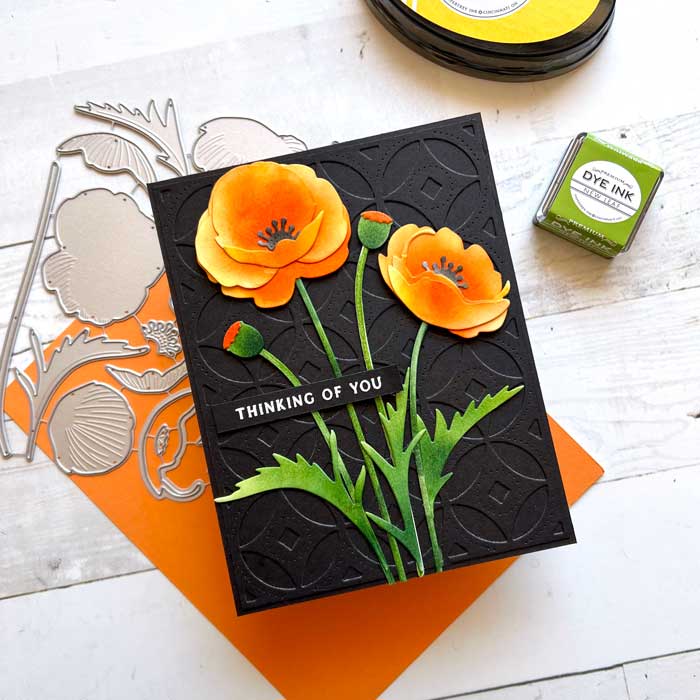
Today I am sharing a new card design featuring the glorious Into The Blooms: Poppies by Papertrey Ink. I am always super excited to see what flower will be next in the Into The Blooms series. It is one of my favorite things to look forward to each month. This month is the glorious poppy!
These flowers are awesome and super easy to make. I started with Bristol paper since I will be doing some ink blending.
I cut out all the pieces to the set, plus an extra bud and stem. Next, I began to blend the ink, first with Bright Buttercup ink (see supply list below) over all of the flowers using my blending brush. After all the flower pieces were colored, I began adding detail with a few other colors.
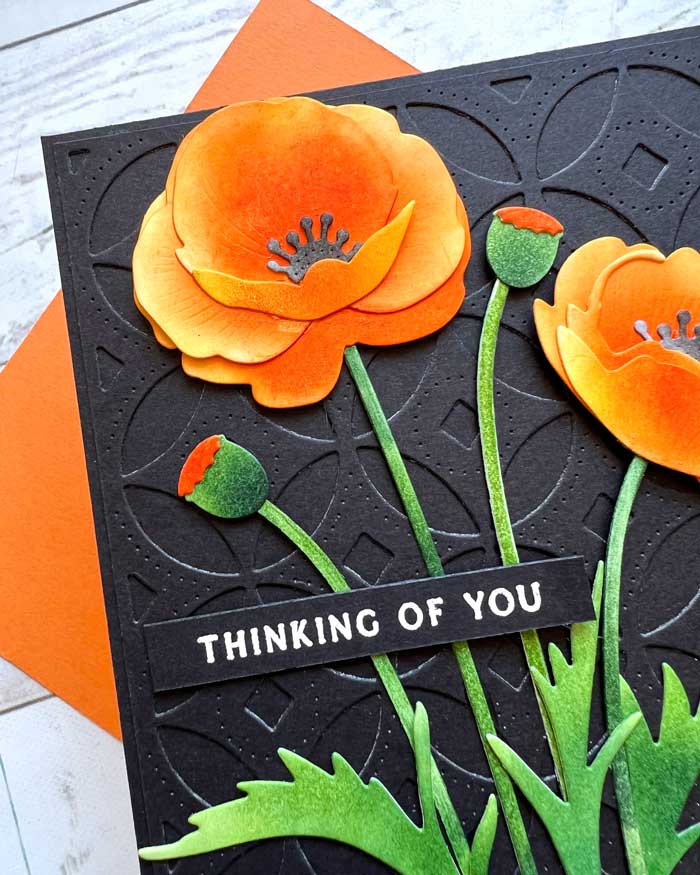
I used Summer Sunrise over the top of the Bright Buttercup but left the yellow to shine through on the edges. To deepen the color in the centers, I used Canyon Clay. The very center of the flowers was colored with True Black ink. The mini blending brushes by Spellbinders work great for these small areas!
With the flowers colored, I turned my attention to the stems and leaves. Using the same technique, I colored them first with New Leaf, then added Pinefeather ink to deepen the color.
Next, I cut out a black Licorice Twist panel using the Decorative Circles cover plate by Papertrey Ink, pushed out all the cutouts, and then glued it onto a black cardbase that was very slightly larger than the panel.
I assembled the flowers and attached the pieces with glue and thin, small foam squares. Though you can’t really see it in the photos, the front pieces of the flowers were popped up with the thin foam squares, making it easy to tuck the black center in between.
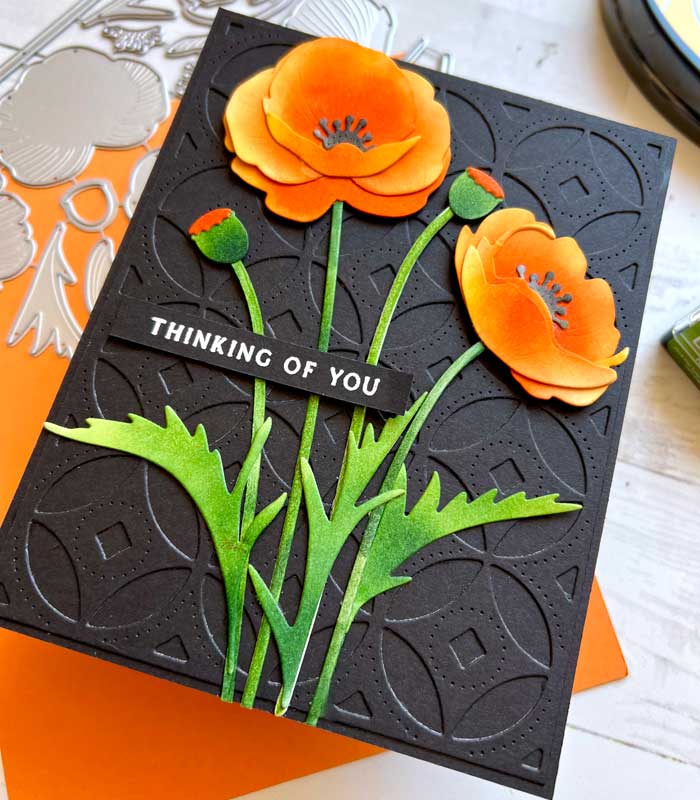
The flowers were then mounted on the front of the card base, along with the stems. The leaves were added last.
I chose a simple sentiment from the Tuck-It Sentiments stamp set (this set is a goodie!) and stamped it on a strip of black cardstock using Versamark ink. It was then sprinkled with white embossing powder and heat set. Don’t forget to use the anti-static powder so the embossing powder doesn’t stick where it is not supposed to!!
The last thing to do was to simply mount the sentiment using a few foam squares!
That’s it… all done! I love the vibrant colors set against the black background. What do you think? ♥
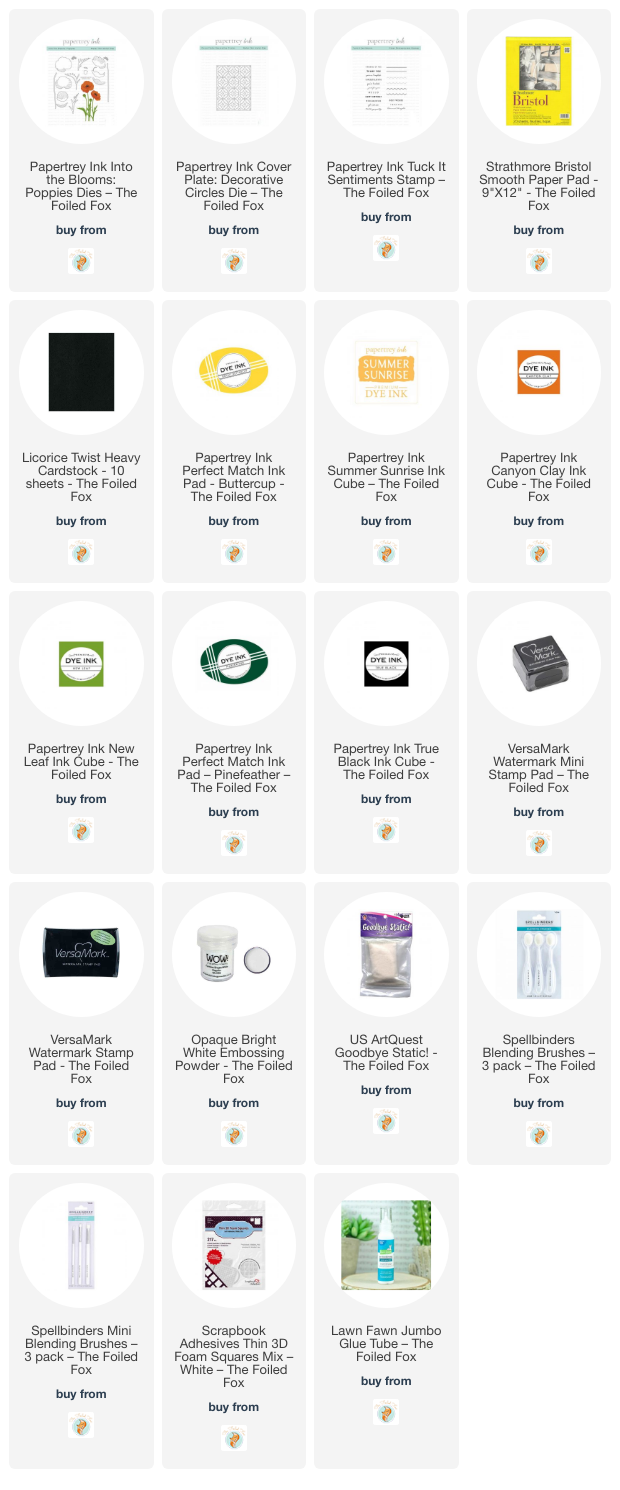
Goodies Used: