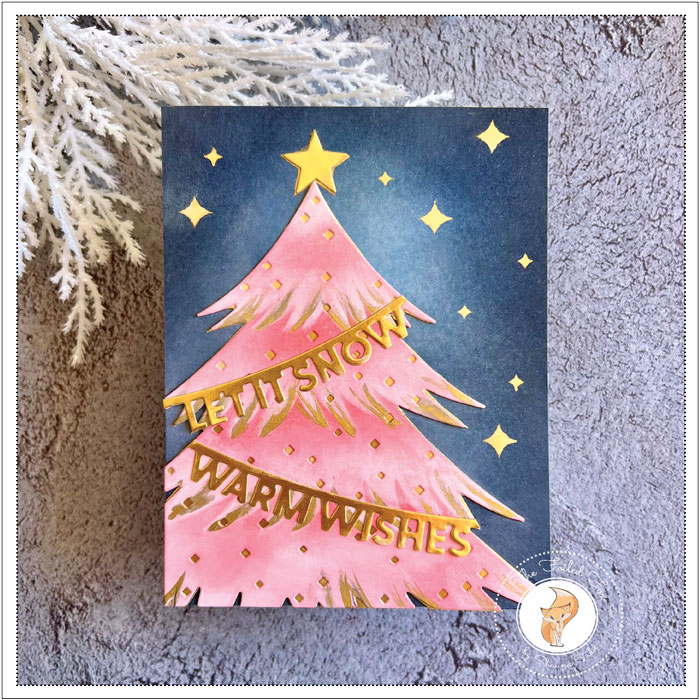
Warm Wishes
Hi Creative Friends,
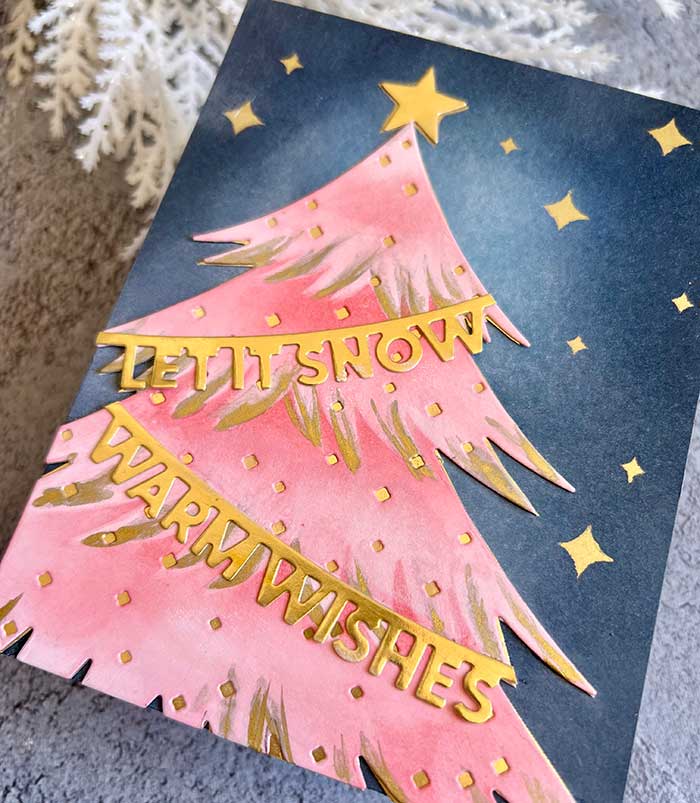
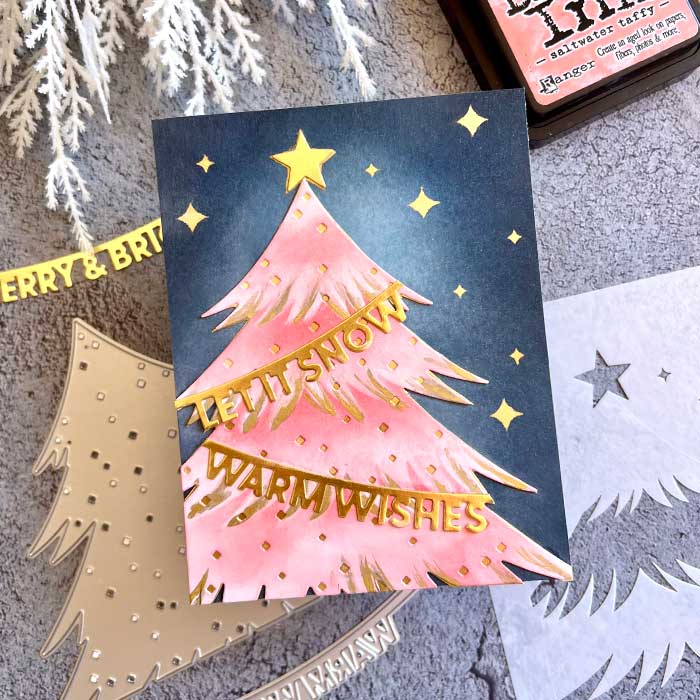
I had loads of fun creating the project for today! I used the new Waffle Flower Retro Christmas Tree die and stencil set. This set is complete with the dies and stencil all in one, allowing you to make many different styles of Christmas trees. For my tree today, I chose an elegant pink and gold one, using only the Christmas Banners die set for a splash of decoration, all set against a night sky.
By the way, this die and stencil set is complete with Christmas ornaments too. I didn’t use them this time but for sure, I will use them next time!

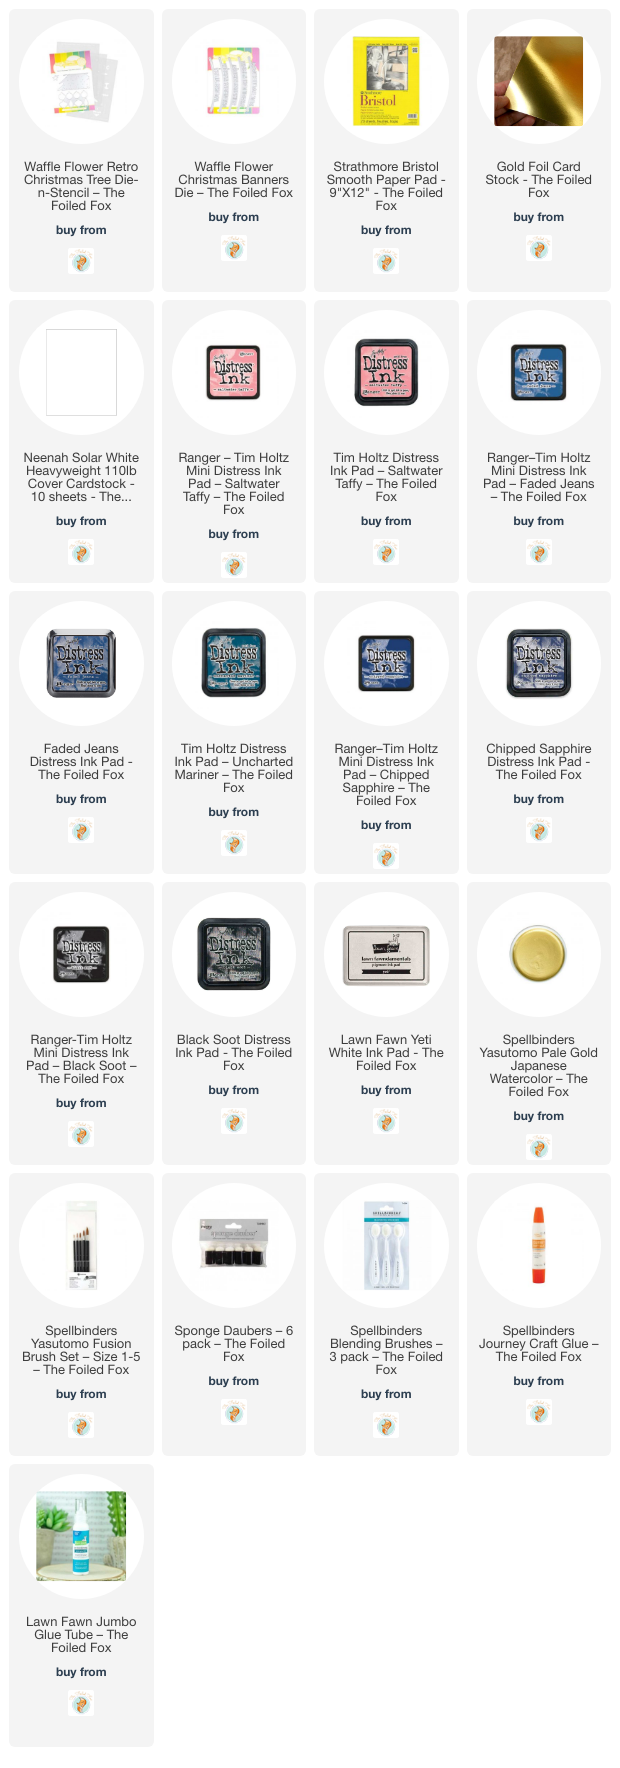
I began this card design by first cutting out the tree. I used Bristol paper for easy ink blending, and as an added bonus, it is more tolerant of water and other treatments.
I colored the entire tree using Saltwater Taffy distress ink, then dried it thoroughly. Next, using the included stencils, I used Lawn Fawn Yeti white ink and an ink dauber to add white highlights. For the gold accents, I waited until the white ink was dry, then painted on swishes of gold Yasutomo ink.

Once the tree was completely dry, I traced around it using gold foil paper, then fussy cut it out so I had a backing to my tree.
With an A2-sized Bristol paper panel and a few distress inks, I began to create my background. I first used a light layer of Faded Jeans overall, then started layering color by using Uncharted Mariner, then Chipped Sapphire, keeping the area around the tree light. To darken the blues, I used Black Soot distress ink.
When the panel was dry, I added Yeti white ink around the area of the tree and stenciled on the gold stars by again using the Yasutomo ink and an ink dauber.

The tree was mounted, along with its gold foil backing and two gold foil banner were cut, then mounted. For my finishing touch, I added a gold foil star. ♥


