XO Hearts Around
Hi Crafty Friends,
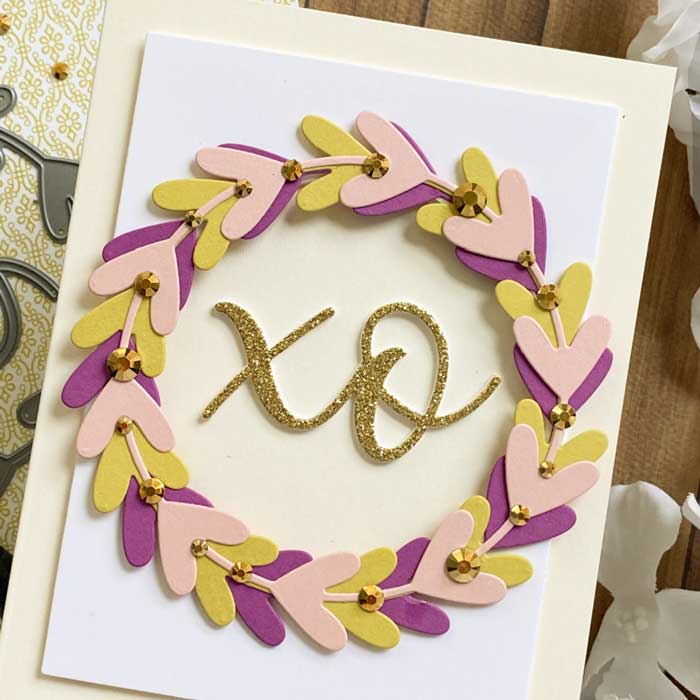
We are excited to introduce another fab card design by Joan Bardee of Dear Paperlicious. This time she is sharing an awesome design with a circle of hearts and a glittery XO from the current Papertrey Ink-Ink To Paper collection. We just love Joan’s creativity and her uncanny ability to combine color and embellishments to make a stunning card design.
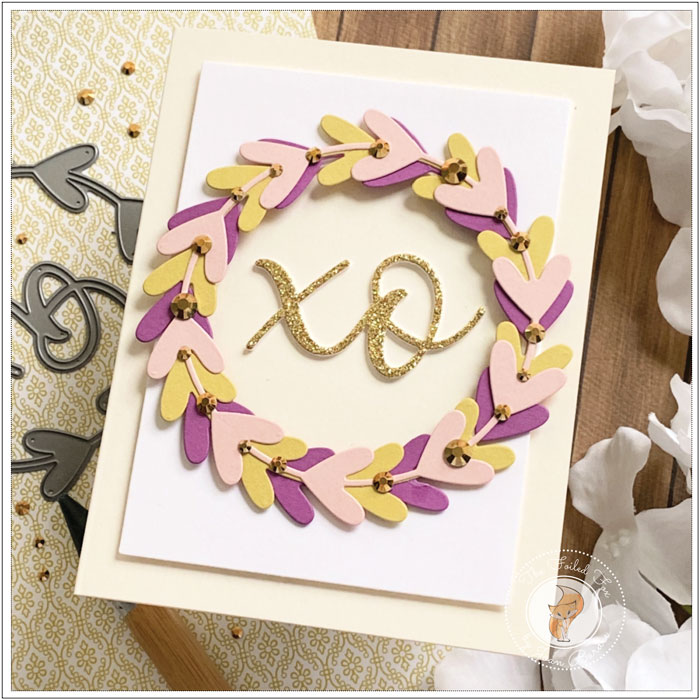
Hello! I’m excited to be back on the Foiled Fox blog sharing a sweet card made with minimal supplies – 5 colors of cardstock, dies from X0 Heart Frames by Papertrey Ink/Ink to Paper, and a few others listed below (“minimal” means something different in cardmaking, doesn’t it?).
This card is all about the color choices. I wanted to use colors that I don’t normally use, so I chose yellow/green, orchid, and pale pink. I originally had a cherry red instead of the pink and man, that was a hot mess. Changing it to pale pink softened it.
To make a masculine version, I’d cut all 3 wreaths in a dark red and use black for the XO sentiment.

Steps to Make:
- Select 3 colors of cardstock for the Heart Frames. Die cut the larger Heart Frame once in each color. (The XO Heart Frames dies comes with two sizes of heart wreaths and 2 sizes of “XO”).
- Die cut the XO 4 times – once in your top color and 3 times in white (use up those scraps!).
- Clean up the mess you just made! Trust me, I’ve been cleaning up as I go along for the past month and my craft room is spotless.
- Adhere the 3 Heart Frames together, overlapping.
- Adhere the 4 XOs together.
- Die cut (or trim) a rectangle of white cardstock – 3.75” x 5”.
- Die cut a circle in the center of the white rectangle approximately the size of the inner part of the Heart Frame wreath.
- Eye that stash of Twizzlers Santa brought you. NO.
- Adhere wreaths onto the white rectangle making sure to place around the die cut circle. I cut thin strips of foam tape to give a bit more dimension.
- Make an A2 cream card.
- Adhere the white rectangle with foam tape onto the cream card.
- Adhere the XO in the center of the wreath.
- Adhere embellishments onto the wreath.
- You’ve worked hard – snack time? No, it’s time to clean up the mess! Then snack time….
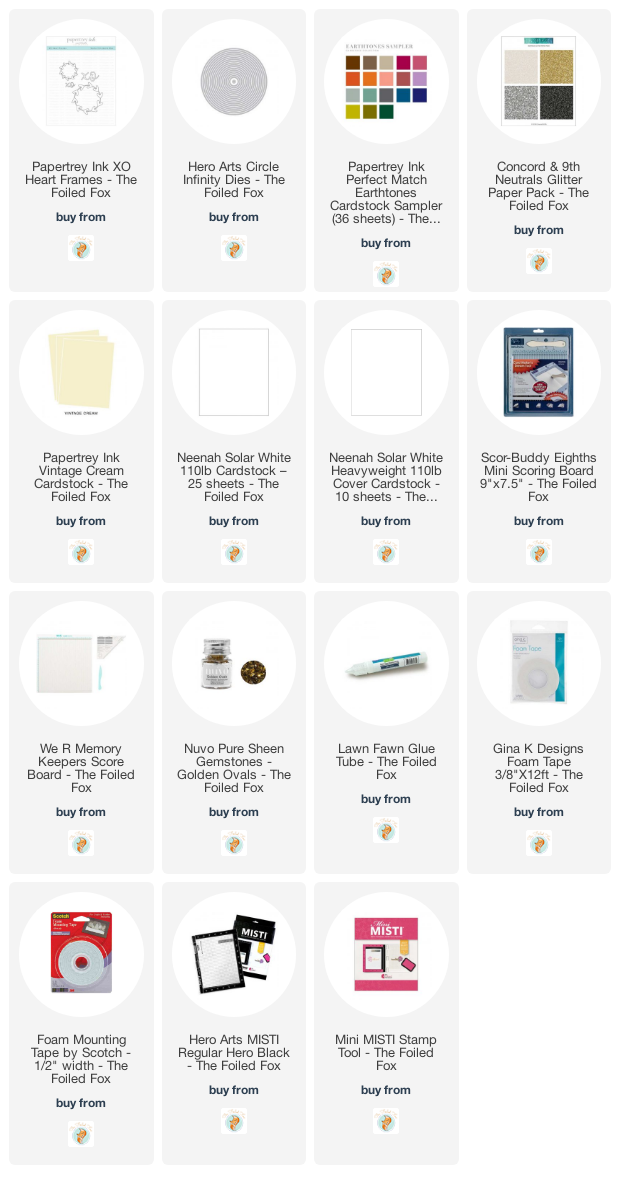
Products Used:
- Papertrey Ink XO Heart Frames
- Scotch Double Sided Foam Mounting Tape (I go through so much of this!)
- Lawn Fawn Glue Tube
- Hero Arts Circle Infinity Dies
- MISTI
- Scor-Buddy Eighths Mini Score Board
- From my stash: cardstocks, die cut machine, and gold gems
Please let me know if you make anything with this set, as I would love to check it out. You can find me on Instagram under Dear Paperlicious or my blog, also Dear Paperlicious.
More about Joan:

For your convenience, we have also included a complete, pictured supply list below: