Snow Much Fun
Hi Cardmaking Friends,
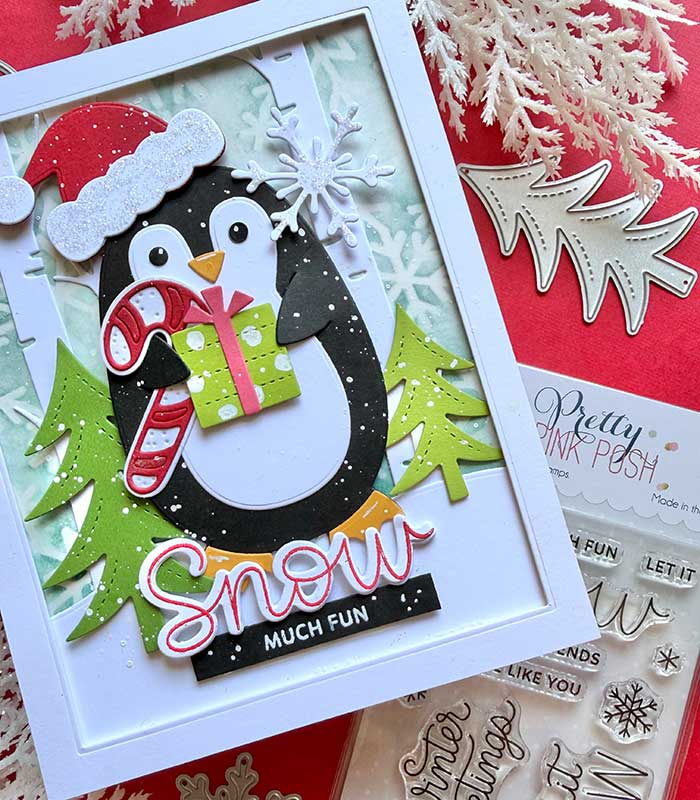
We have the latest winter-filled goodies from Pretty Pink Posh in our shop. There are so many super fun stamps, dies, and stencils I just had to share some with you today.
Today, I am using the Penguin Holder die set. It makes the cutest little penguin ready to hold all the holiday cheer you can stuff in his little flippers.
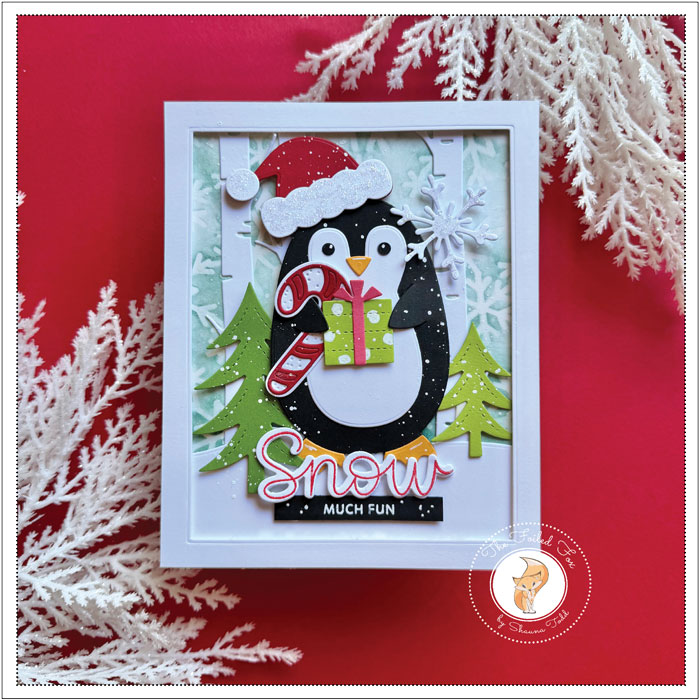
There are so many things you can do with this penguin holder, but for this card design, he is in a snowy forest, ready to bring his festive gifts.
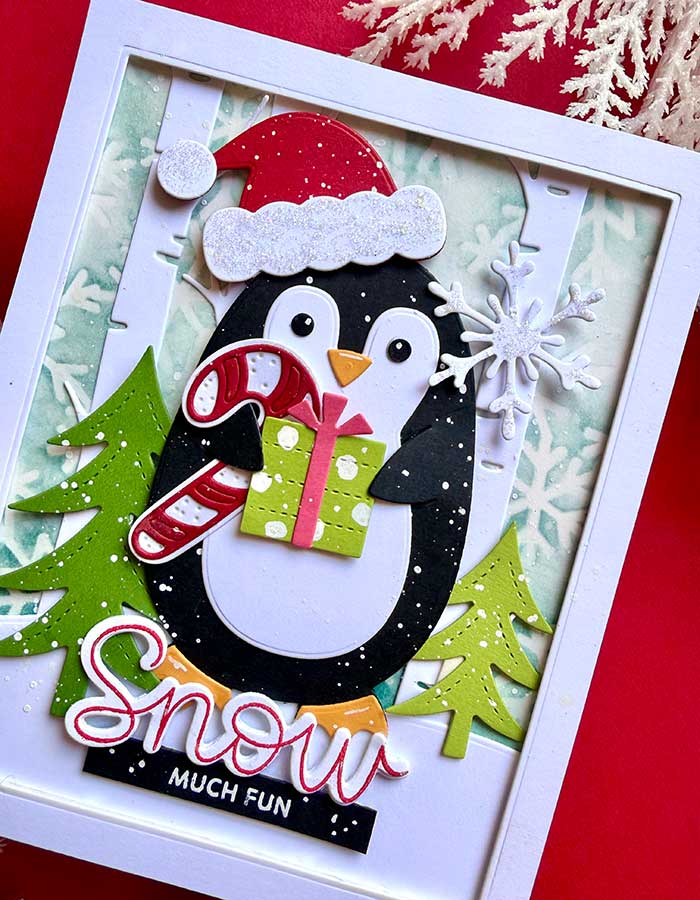
I started by cutting out all the pieces of the penguin from colored cardstock and assembling them. Making the main character always helps to jump-start my creativity.
Next, I cut out the birch trees, evergreens, and a snowy hill. To create the background, I stenciled on a flurry of snowflakes using the new Snowflake Background and Tidepool blue ink onto an A2-sized panel of Bristol paper (for easy blending)
The birch trees, evergreens, and hill were mounted onto the snowflake background. I added the penguin and his Santa’s hat next. He was popped up with foam squares. I tucked in a gift made from the dies included in the Penguin Holder and found the perfect-sized candy cane in the Honey Bee Stamps Lovely :Layers: Christmas cookies die set (for all the supplies, check out the supply list below).
At this point, it looked like a frame would pull the whole design together, so I made a frame from a white cardstock panel and a rectangle die.
The background with the penguin already mounted was added to a white cardstock card base, and the frame was popped up with foam strips.
There were only a few little things left to do…. I created the sentiment by using the Let It Snow stamp and die set by Pretty Pink Posh and Poppy red ink for the word “Snow” and white heat embossed ‘much fun” onto a Raven black strip of cardstock. A few sprinkles of ‘falling snow’ were added by tapping my already-primed white Posca pen over the finished card front.
Finally, the sentiment was mounted with foam squares, and a few sparkles were added by adding Stickles glitter glue to the ‘fur’ of Santa’s hat.
VIOLA! My winter Christmas card was done! ♥
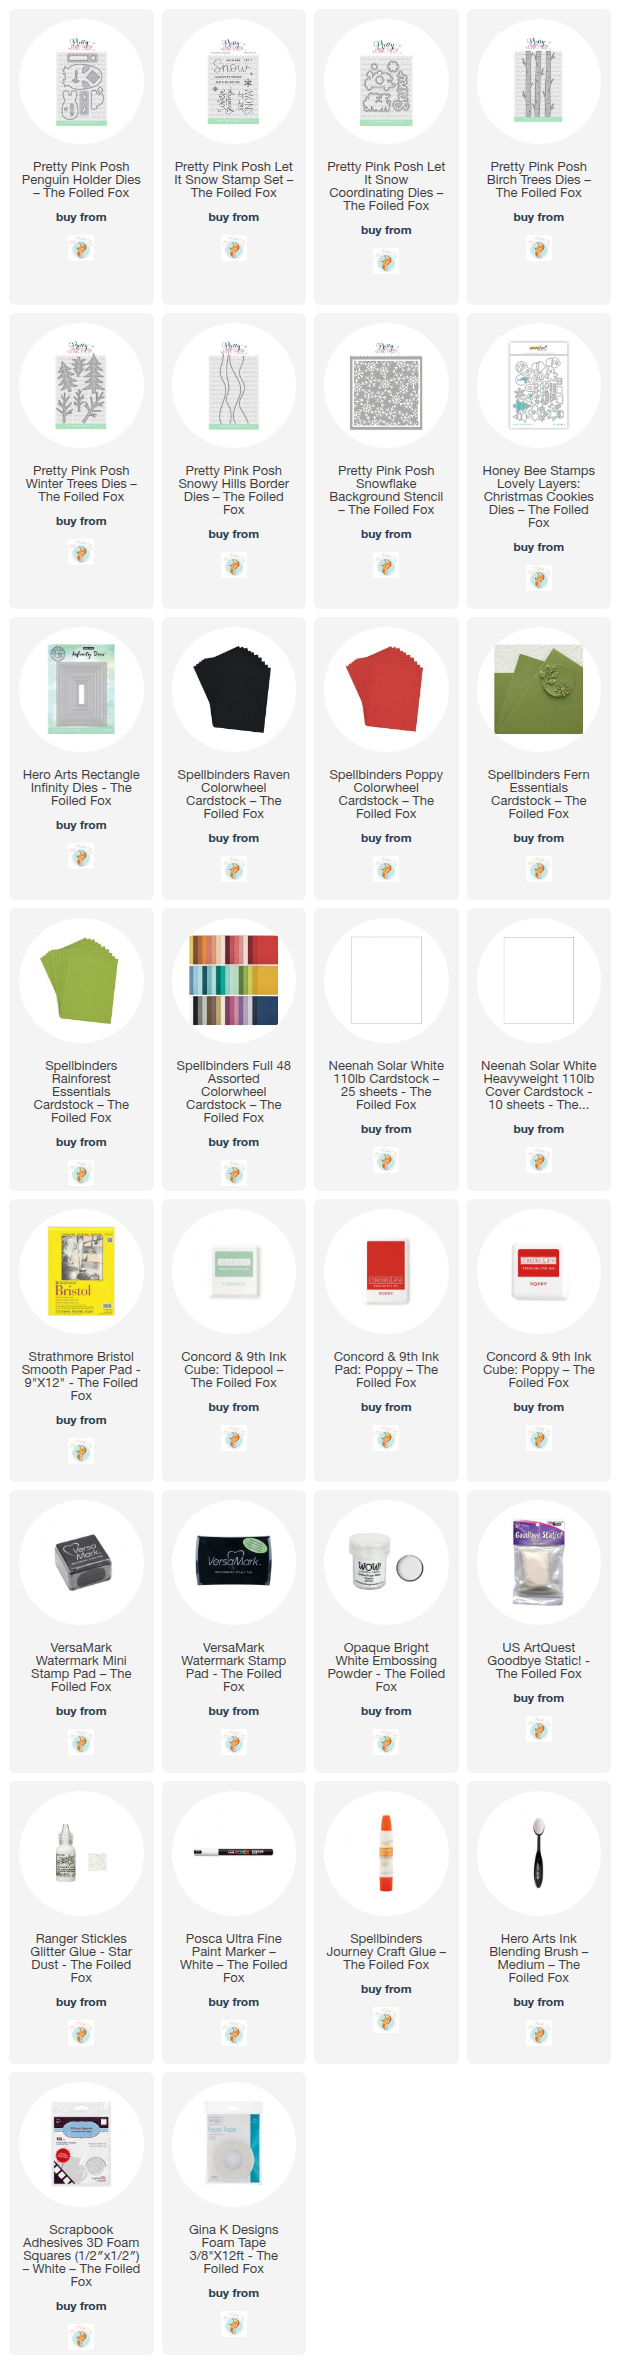
Goodies Used: