Alcohol Inks and Rosali
Hi Crafty Friends,
Rosali of ilovestamping Instagram fame is visiting today and she has a fantastic alcohol ink project to share! Rosali’s creativity and talent are boundless and always so much fun. So grab your favorite beverage and ENJOY!
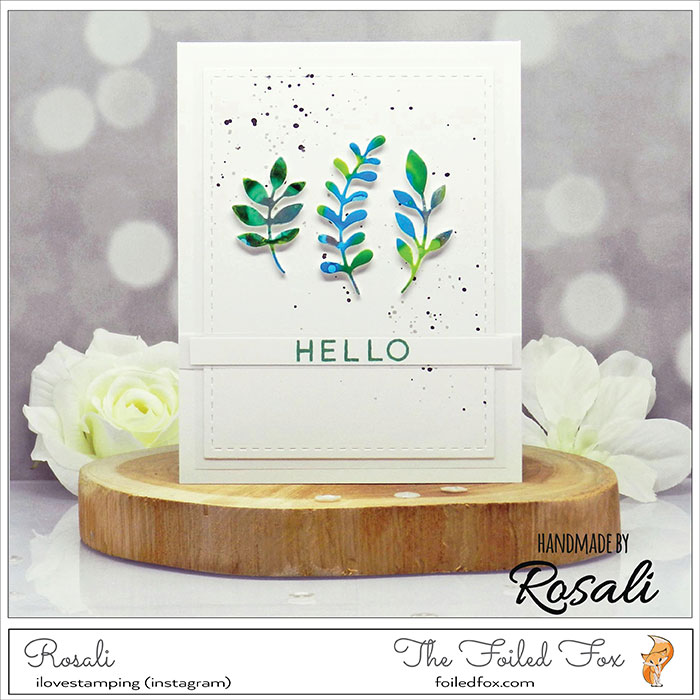
Hey everyone, I am happy to be back here and brought you one more alcohol ink project! This time I am not only playing with Tim Holtz Alcohol Inks itself but also with some new-to-me Mixatives: Snow Cap (White) and Silver!
I was really curious about the Mixatives and how they work in combination with regular alcohol inks. I chose Limeade and Turquoise from the Spring Break Set as my two main colors and then created one background together with white and one with silver. Here is what they look like finished:
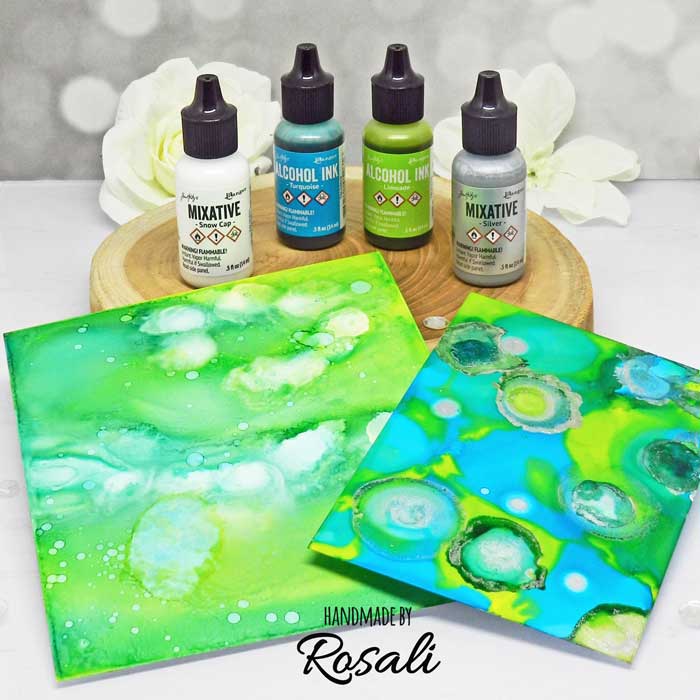
I used Tim Holtz Yupo Paper for both panels. The left one looks more smooth and soft. That’s because I used a lot of Copic Colorless Blender on top of the alcohol inks and tilted the paper to mix the inks without getting any harsh lines (I always use a sturdy board and lay my Yupo on top of it so I can easily pick up one side to move the ink into a certain direction). The yellow-green ink was rather dominant in the background so the turquoise does not show much. When the mixed ink was still wet I dropped in some of the Snow Cap Mixative and lightly blew on it with a paper straw to get it to spread more. I also carefully splattered some Copic blender across the panel with a cheap watercolor brush that I use only with alcohol inks.
For the right panel, I just dropped on both alcohol inks from above the paper so that they created circles and then did the same with the Silver Mixative. The Mixative tends to stay on top of the alcohol ink so you have to add some blender or more alcohol ink or blow on it with a paper straw to get it moving (if that’s the look you are going for). After I had covered the entire paper with alcohol ink and Mixative-using more turquoise than on the first panel-my second background was finished.
To be honest, when I looked at both panels I wasn’t super thrilled with how they came out. BUT one thing I discovered when creating with alcohol inks is that those backgrounds will always, always look so much better when you die-cut pieces from them!! So, if you are new to alcohol inks please never throw away any of your try-out pieces! You can always create something beautiful with them. 🙂
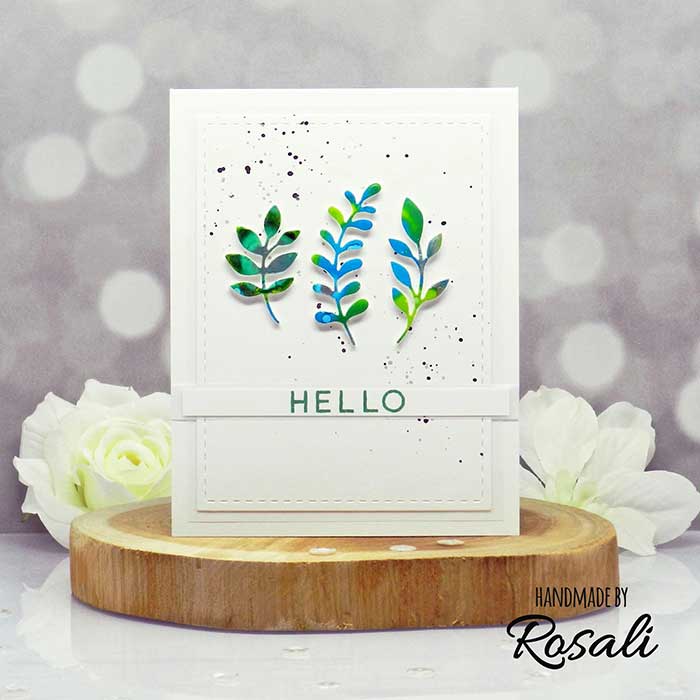
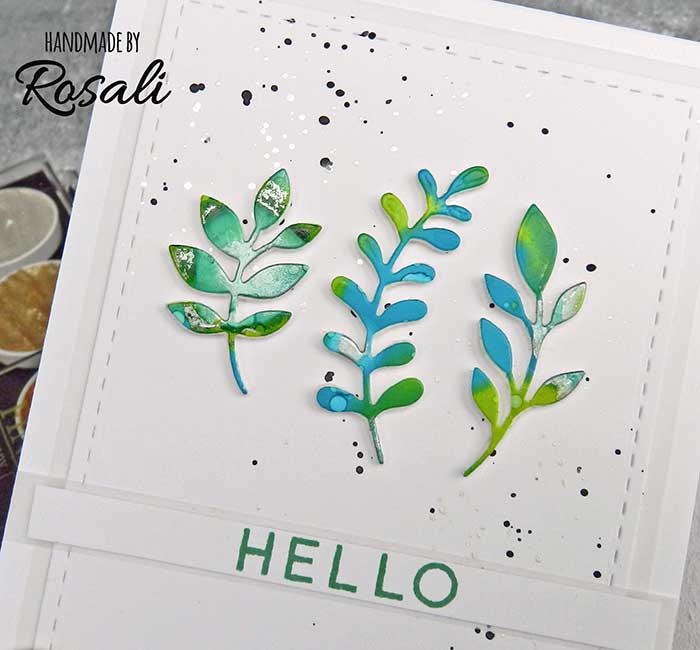
I picked the right panel (the blue/green/silver one) for my card project and used MFT’s Fab Foliage Die-namics to die cut three foliage pieces from it. I also die cut some white fun foam using the same dies and glued my ‘foliage’ on top of the foam pieces to give them a bit of dimension. Instead of sequins or other embellishments, I decided to add some splatters to my front cardstock panel with a small paint brush and the silver from my Finetec palette as well as some black watercolor paint. For my sentiment, I stamped the “Hello” from Concord & 9th’s Hello Lovely stamp set with Lucky Clover Oxide Ink to match the colors of the alcohol ink.
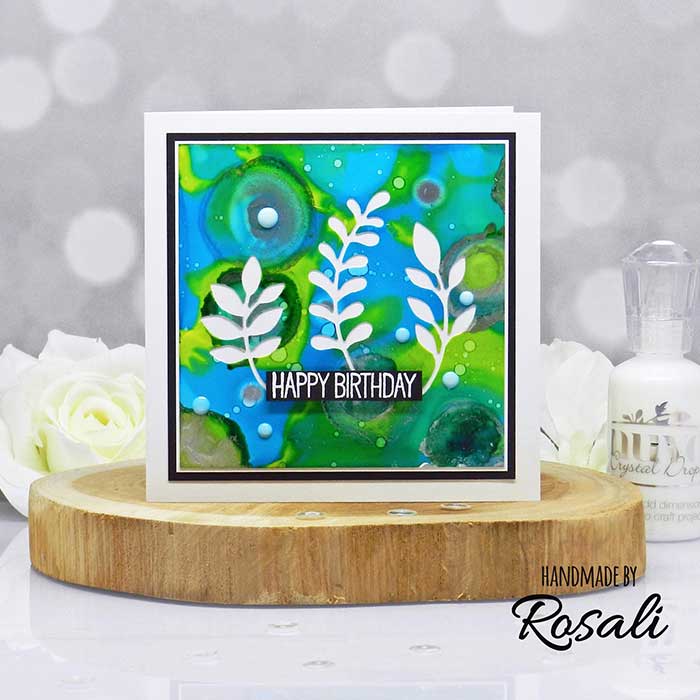
After the first card design was finished I couldn’t let the rest of the alcohol ink panel go to waste-the more I looked at it the more I liked it! 🙂 So I cut it into a square and together with some black and white cardstock I turned it into a birthday card. The sentiment is from MFT’s Jungle Friends stamp set and heat embossed with white embossing powder. I used white Nuvo Drops as embellishments this time. They did become a little blue overnight (apparently the alcohol ink was reactivated) but I didn’t really mind!
How about you, have you tried out Alcohol Inks and Mixatives yet? If you want to share a link to your creation in the comments I would love to stop by and have a look at it! 🙂 Have an amazing day!! ♥
Rosali
![]()
Supply List:


