The Beautiful Change of Fall
Hi Creative Friends,
Autumn is one of my favorite seasons. Mainly because of the cooler weather but also of the breathtaking change of color in the Fall. The brand new Leave It To Me stamp and die set by Papertrey Ink gives you the chance to create and display all those gorgeous colors.
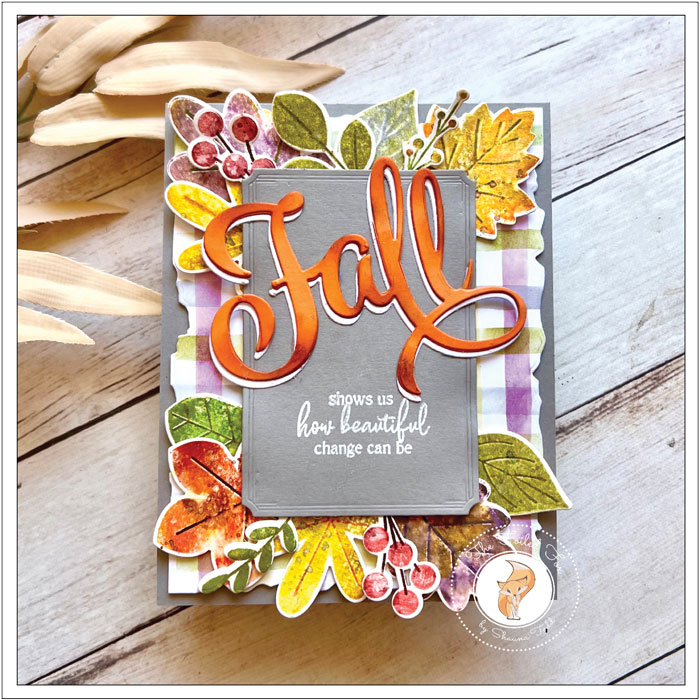
There are so many wonderful stamps, dies, and stencils in the new Papertrey Ink release but the Leave It To Me really caught my eye! So it had to be my first project for this release.
Also, in the release was a 4 piece plaid stencil. I am a sucker for plaid so this is where I started. Using a white cardstock panel and a few distress inks like Mustard Seed, Lost Shadow, Seedless Preserves, and Crushed Olive, I created the background. When finished, I cut it out using the Papertrey Ink Love to Layer: Torn Edges, then set it aside while I worked on the leaves.
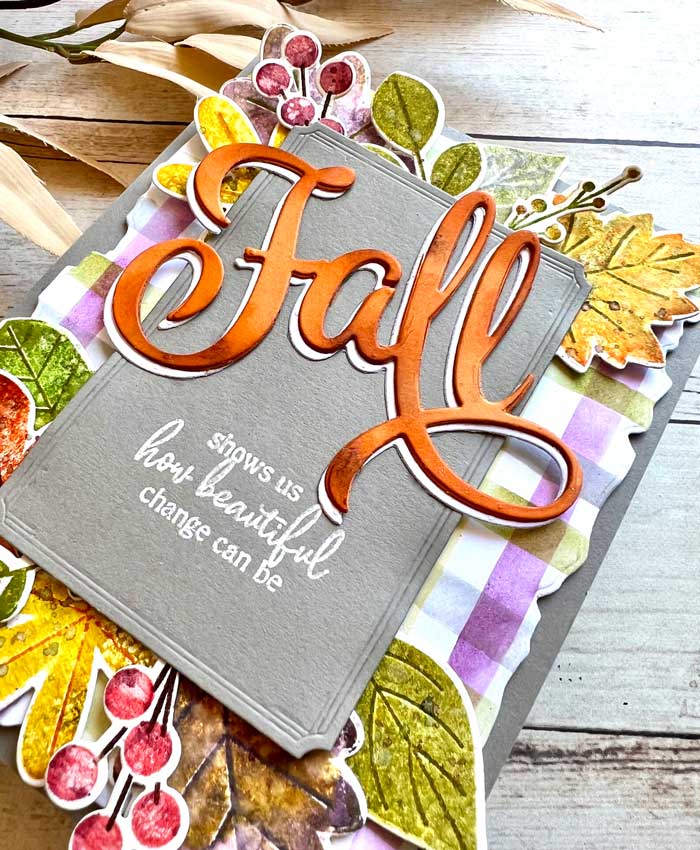
Using the Leave It To Me die set and a piece of watercolor paper, I cut out all the pieces of the set, then mounted the negative and cutout pieces in my stamp positioner. With the coordinating stamps to the cutouts mounted in the positioner, along with the paper, I stamped all the leaves using a variety of colors. In fact, I used a few colors for each leaf and spritzed it with water before stamping, then stamping. The water droplets and the ink meddle together to create a mottled look, especially when you use watercolor paper. You can see all the colors I used in the supply list below. By the way, I did cut out and stamp a few extra leaves to fill out the display.
With the leaves done, I set them aside while I cut out a rectangle from grey cardstock using the Love to Layer: Rectangles by Papertrey Ink. At the same time, I cut out the word “Fall” from orange cardstock and one from white cardstock.
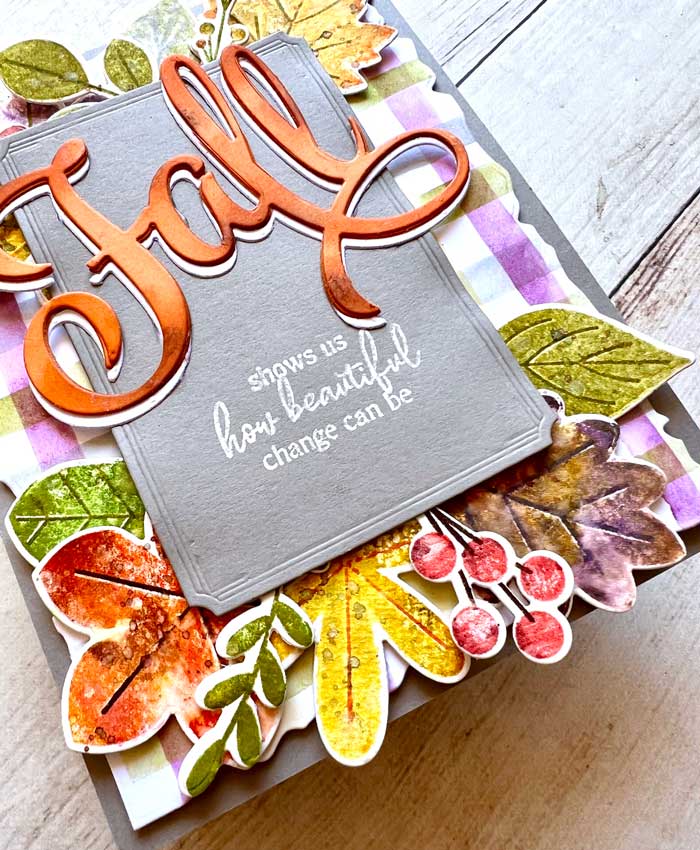
Using a blending brush, I added a little brown and orange ink to the word ‘Fall’, then glued the white and orange Fall pieces together but slightly offset.
Next, I stamped a sentiment onto the gray rectangle previously cut out using the Larger Than Life Fall sentiments by Papertrey Ink and Versamark ink. Then, I sprinkled white embossing powder and heat set it.
Before assembling, I cut a gray cardstock panel that was slightly larger than the plaid panel previously created. I also made a white cardstock card base the same size.
To put this all together, I mounted the gray panel to the cardbase. Next, I added the plaid panel on top that was backed with thin foam.
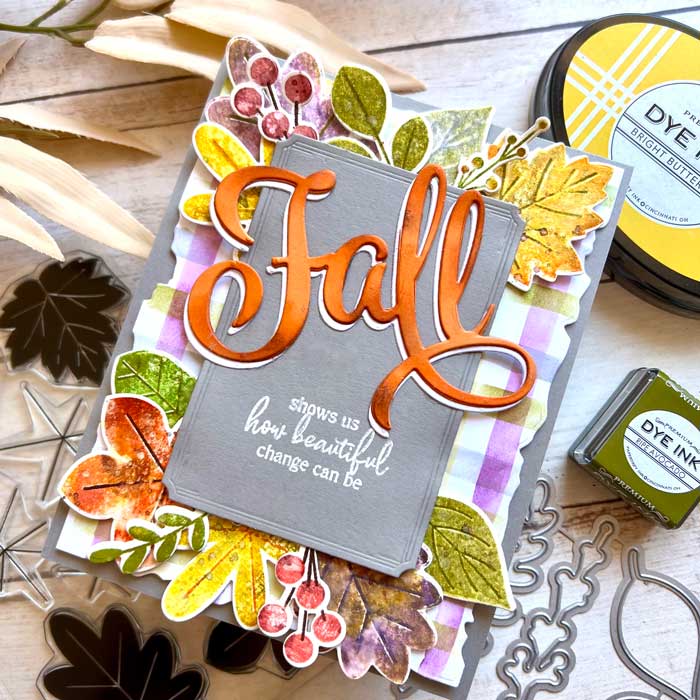
The grey sentiment rectangle was mounted on top with foam tape and the leaves were tucked here and there to create the display. I used foam squares to give them a little dimension, Then finally, the word “Fall” was mounted on top for the final touch.
I hope you enjoyed today’s project. I certainly did. Thanks for joining me… I hope to see you next time! ♥


