Send A Note With Pansies
Hi Creative Friends,
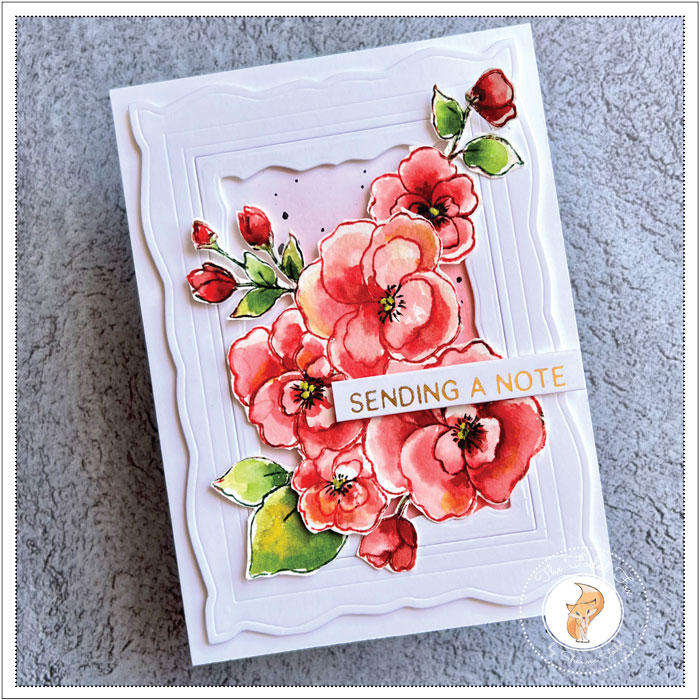
I am having so much fun making cards using the few new background dies from Penny Black. You have seen me feature the All In One Oval, and there is the All In One Ocatgon too. But today I am using another favorite, Frame It and a wonderful floral stamp, Pansies, all from Penny Black.
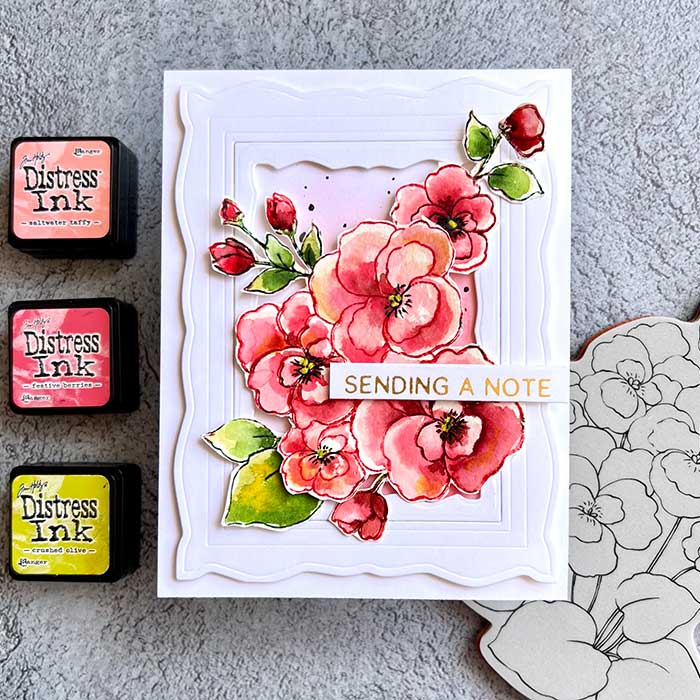
Starting with the flowers, I mounted the Pansies stamp in my stamp positioner, along with a piece of cold-pressed watercolor paper. From there, I began inking the flowers with Feative Berries distress ink, lightly spritzing with water, and stamping.
I love using the mini ink cubes for inking in small areas. The full-size ink pad work too, the minis are just a little easier. I have included the mini ink cubes, full-size, and the reinker for each color used in our supply list for your convenience. The same is true for the paper and a few other supplies… everyone likes choices, right?
Without moving my watercolor panel in the stamp positioner, I coaxed the ink from the edges using a damp brush, then started adding more color. First with Saltwater Taffy, then Festive Berries, Barn Door, and Aged Mahogany for deepest shading. After all the flowers were painted, I restamped them with Festive Berries and Aged Mahogany for the darker areas, just to crisp up the lines.
A Pigma Micron pen was used to draw over the stamens to make them stand out and dots of yellow acrylic paint were added in the very center of each flower.
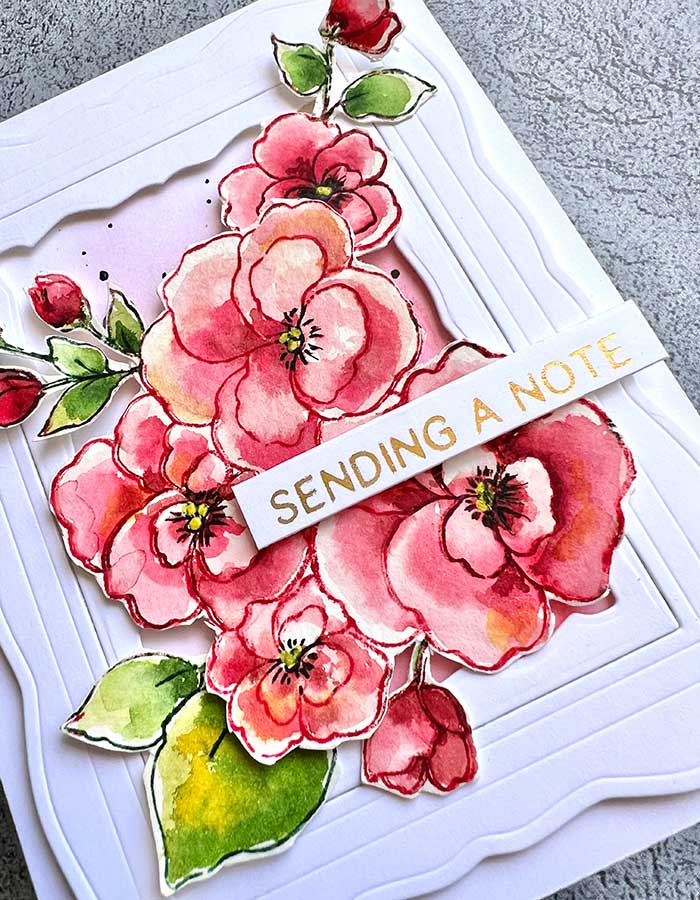
The leaves were painted the same way. The colors used were Crushed Olive, Rustic Wilderness, and Forest Moss for the darkest shading. Then, again, when done painting, I sharpened the lines by re-stamping with Rustic Wilderness.
While the flowers were drying, I cut out an A2 white cardstock card base, an A2 white card panel, and the frames (using the die set). I used the two largest frames from the set and nested them together. Before mounting them with foam tape, I outlined the inside opening onto the white card panel, then carefully added a blush of color using Saltwater Taffy and Festive Berries.
The panel was mounted onto the front of the card base, and then the frames were added.
I fussy cut out the flowers and leaves using detail scissors. I cut away the leaves and a small cluster of flower buds and set them aside while I arranged the large grouping of flowers on top, then added the cluster of buds and a few leaves.
Previously, I had gold hot-foiled a bunch of sentiment strips using the Hexi-Gem Sentiments Hot Foil set by Spellbinders. As you know, this sentiment set hot-foils and cuts out several strips at one time. I used one of these strips. It is super handy to have a bunch of these on hand!
With the sentiment strip in place, that completed my card. I hope you enjoyed it! ♥
Goodies Used:

