A Christmas Cloche
Hi Creative Friends,
Concord & 9th has a fabulous new release! Two of the new stamp and die sets contain a few of my very favorite Christmas elements. The first one is the Christmas Cloche. The cloche is so charming and it even has a cute little fox! Then, who could resist Santa and his reindeer in the Over The Rooftops stamp-and-die set?
I started by first cutting out the snowy hilltop from a piece of white cardstock and using the die from the Over The Rooftops die set, Then, using the very same piece and the smaller cloche die (there are two) from the Christmas Cloche set, I cut the piece again. I now had a snowy hill in the cloche!
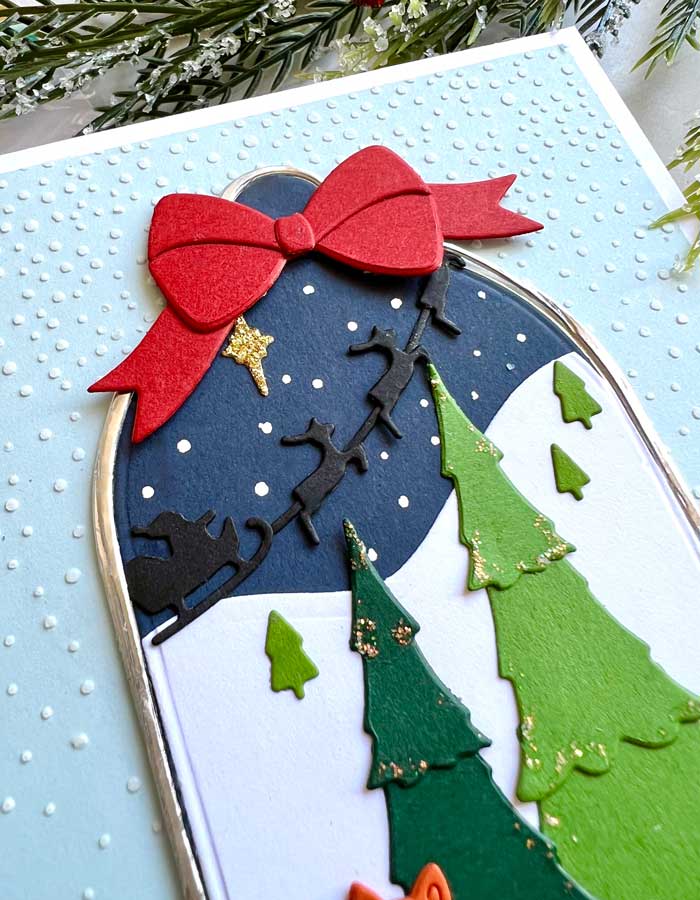
Next, using the same cloche die, I cut a navy blue one, then stacked and glued them together. Using the larger cloche die, I cut a silver one from silver foil paper (see supply list below). The snowy hilltop with sky was then glued on top of the silver foil cloche just cut.
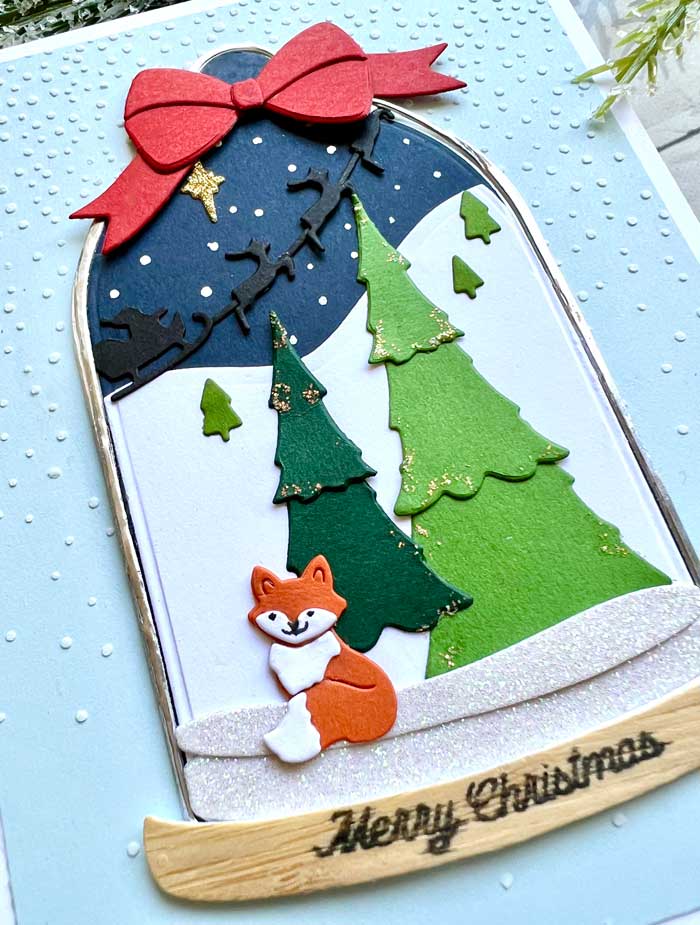
Now it was just a matter of cutting out the other pieces for the scene. Using two different colors of green from the Concord & 9th paper pack, I cut out the trees from the Christmas Cloche set. The tiny trees are from the Over The Rooftops.
Santa and his reindeer were next to cut, along with the pieces for the fox, star, bow, and snowy bank. I used the Concord & 9th paper pack. All the colors were included except the white and gold glitter paper and a scrap of wood grain paper I had in my stash.
The trees were assembled and arranged inside the cloche. A little glittery stickles glitter glue was added. Santa and his reindeer were added, along with the star and bow.
The little fox was put together and glued. I carefully added eyes, nose, and a mouth using my .005 Micro Pigma black pen, then added him to the scene.
To finish the cloche, I dotted some white dots in the sky with a white gel pen. Darn! I didn’t realize until I was finished that there was a starry stamp in both the Christmas Cloche and Over The Rooftops set. I could have used either one!
Moving on to the background, I cut a 4×5.25″ blue cardstock panel. Then, using the Falling Snow stencil by Alexandra Renke, I stenciled on a snowy background using Ranger’s Opaque Matte texture paste.
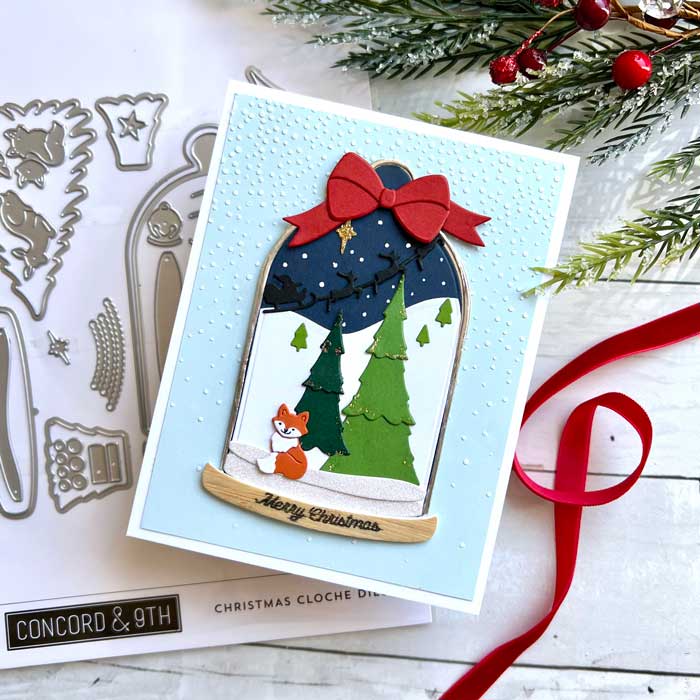
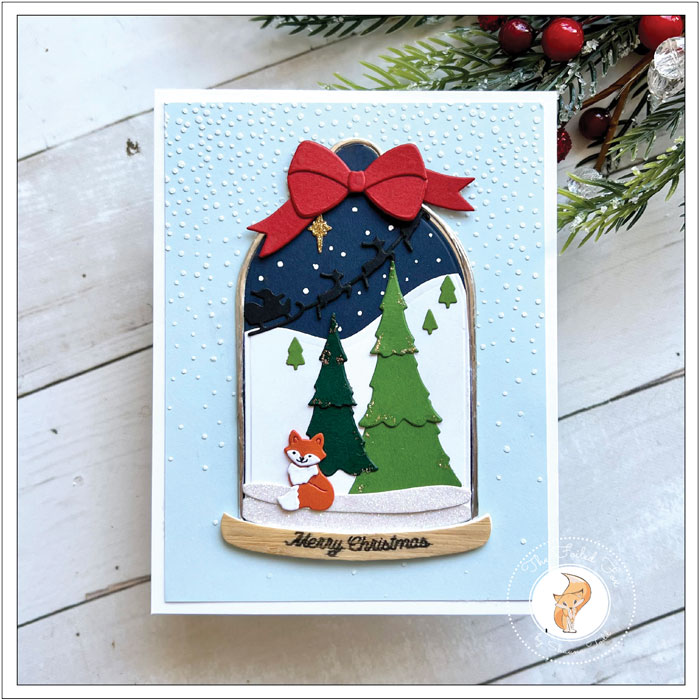
After the background was dry, I mounted it to a white A2 cardstock card base, and then added the finished cloche. The last piece to add was the woodgrain base of the cloche that I had stamped with a ‘Merry Christmas” sentiment using Versafine Black Onyx ink.
And there we have it… an adorable wintery, Christmas scene ready to send a holiday greeting! ♥
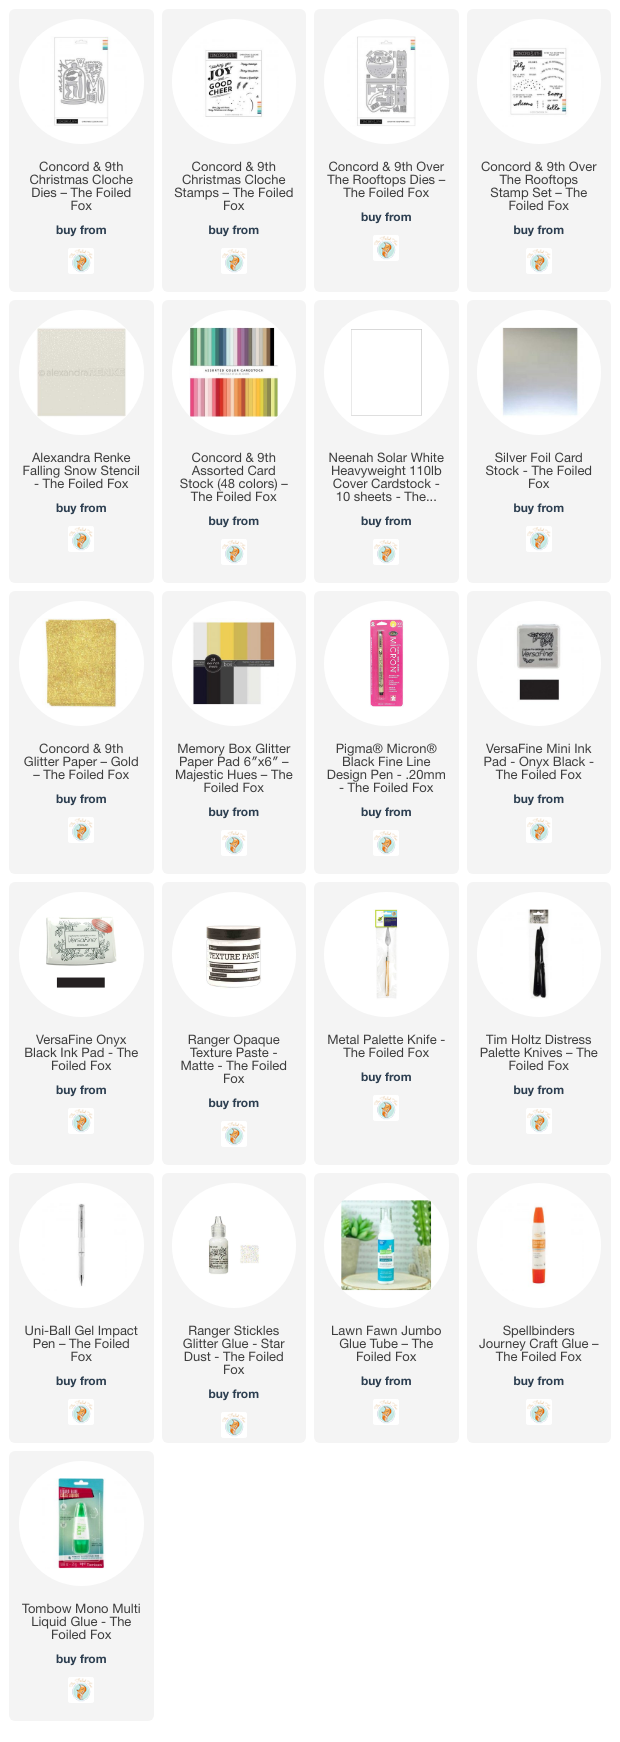
Goodies Used: