A Lot of Sweet Tenderness
Hi Crafty Friends,
We are so delighted to share a duo of luscious floral cards created by the multi-talented Heather Telford. Heather is using one of Penny Black’s newest stamp and die sets, Tenderness, along with the ever beautiful Peerless watercolors.
Look at those breathtaking colors. As always, Heather never disappoints! Her designs are gorgeous – check out below how she makes these beauties.
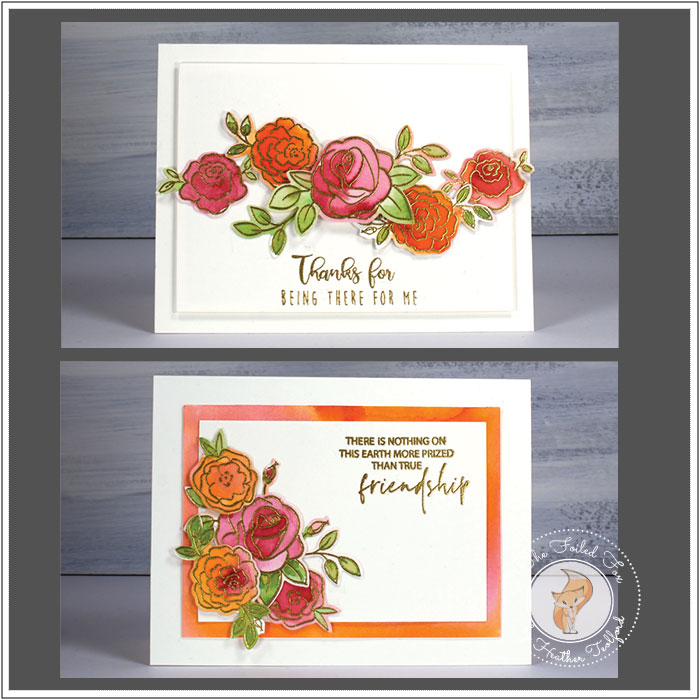
Hi there readers, it is wonderful to be back on the Foiled Fox blog; 2020 is already whizzing by; I need it to slow down! I have two sweet cards to share with you today using coordinating stamps and dies from Penny Black. The sets were designed with Valentine’s day in mind but I like cards that will work all year round so I created a friendship card and a thank you card.
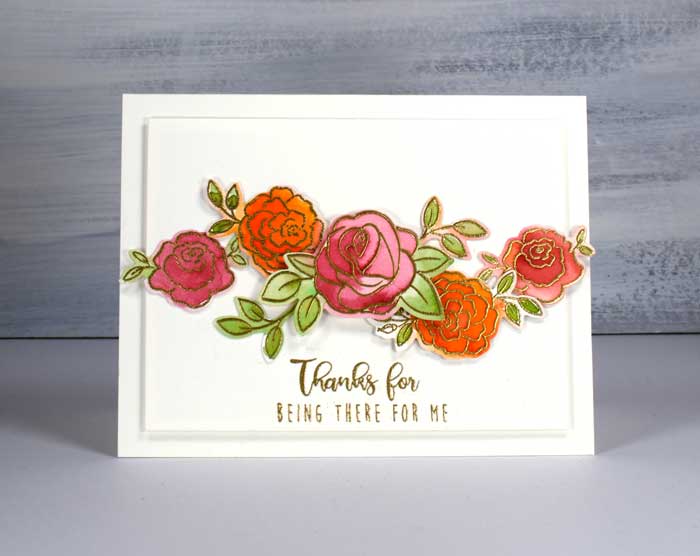
To create the floral swag of roses I embossed one of each flower or leaf on a piece of hot-pressed watercolour paper with WOW metallic gold rich powder then painted them loosely with peerless watercolor paints. I didn’t stay inside the lines as I was painting the whole panel. The overall effect, however, was not what I wanted; the roses didn’t really stand out when the surrounding area was also pink, green and orange, albeit a lighter shade.
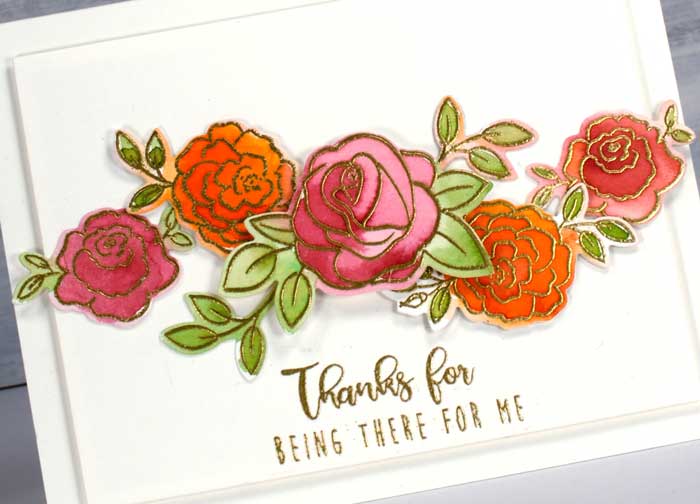
Plan B started with me using the coordinating dies to cut out all the painted roses and leaves. I have to admit I am only a recent adopter of the coordinating stamps and dies techniques. It is very satisfying to see them pop out of the dies so neatly cut, that is if I managed to line them up correctly. Tell me, do you stamp first then die cut or die-cut then stamp?
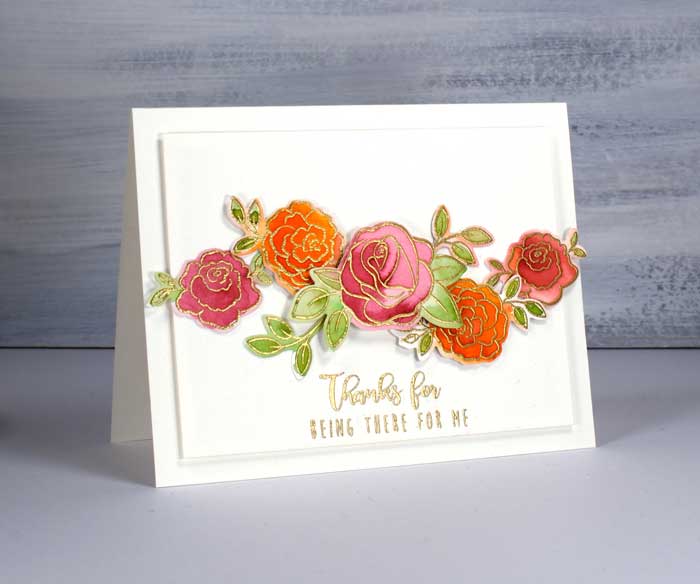
Once I had all the flowers laid out in front of me I realized I needed more so I embossed some more with gold powder and painted them with the same three peerless paints. I think I’ve told you before how much I love my peerless paints!
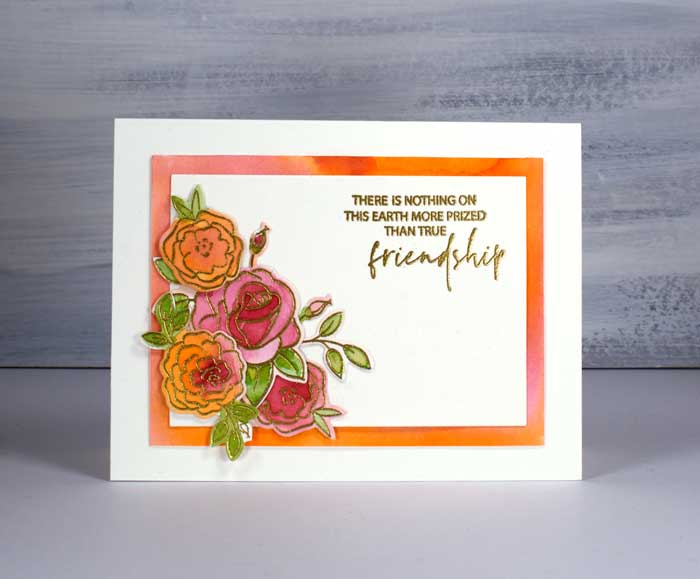
On these flowers I was happy with the varying depth of colour on each flower; I didn’t try hard to achieve that effect it just happened with a loose application of paint. Once I had a nice little pile of flowers and leaves I started arranging them. It took me a while to come up with the swag design but once I was happy with it I set it aside to see if I had enough leftovers for another card. I also had a watercolored panel using the same pink and orange paints which I decided to use as a mat.
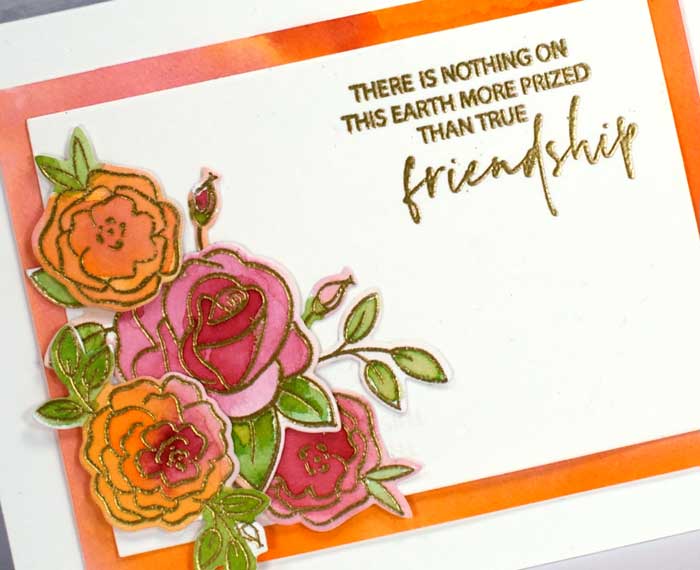
You can see these designs were ones that evolved. Once I had the flowers arranged I looked through my sentiments to find one that would look good centered below the swag and another that would fill the corner nicely on the second card. The sets are linked below.
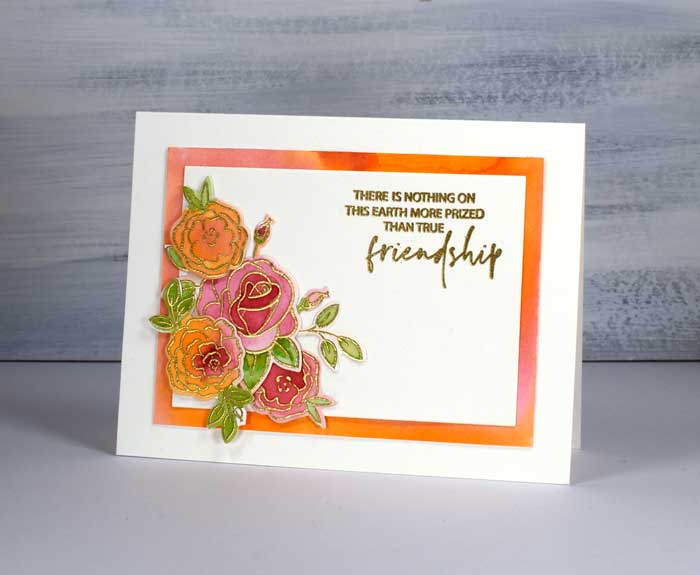
When assembling the cards I popped up the extra panel on the first card with adhesive-backed foam. The flowers and leaves are popped up at different heights so they tuck in around each other neatly and some are attached directly on the panel. I like having the option of cutting out all these little flowers with dies, you know I wouldn’t have the patience to fussy cut them all!
Thank you for dropping by today; I hope your 2020 is off to an artsy-craftsy start!
Learn more about Heather:
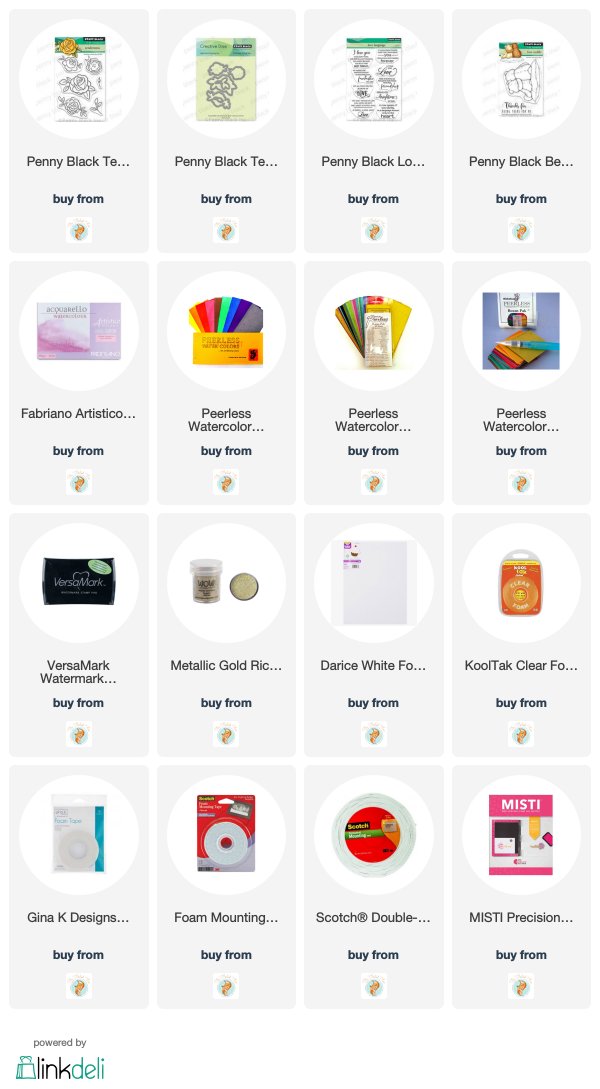
Goodies Used:
Sorry, the comment form is closed at this time.



February 7, 2020
Lagene
Gorgeous creations, I love the watercoloring with the gold embossing!