A Pumpkin Harvest With The Framing Fall Stamp
HI there,
It is getting to be near Harvest time and that means big, fat pumpkins, acorns, etc. The new Framing Fall stamp and die set has it all, and so beautifully arranged too. These two complete borders, plus few other lovely elements are included in this set.
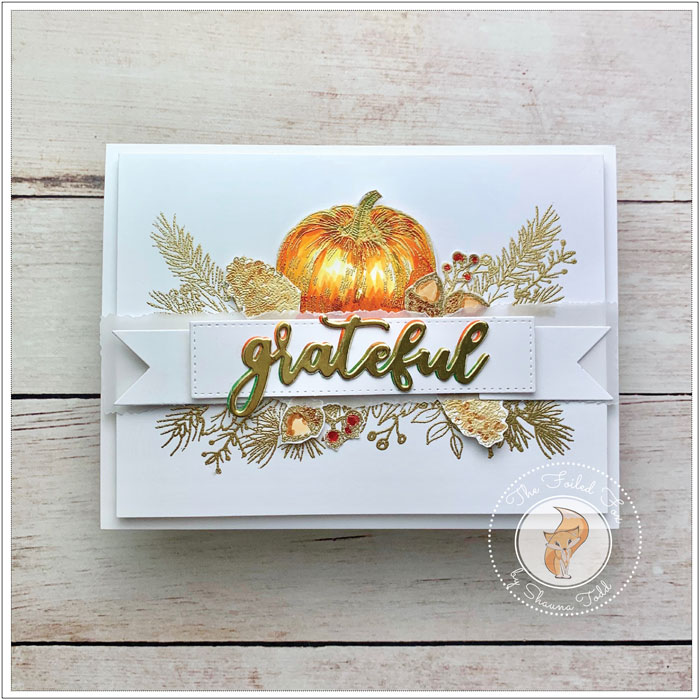
This card design starts by stamping the two borders in the Framing Fall stamp set with Versamark ink onto a piece of Neenah white cardstock. It was then heat embossed with gold embossing powder. By the way, the borders were spaced about an inch and a quarter apart, leaving room for the banner and sentiment.
Once the borders were stamped and embossed, a foam panel was added to the back then placed on a slightly larger white card base.
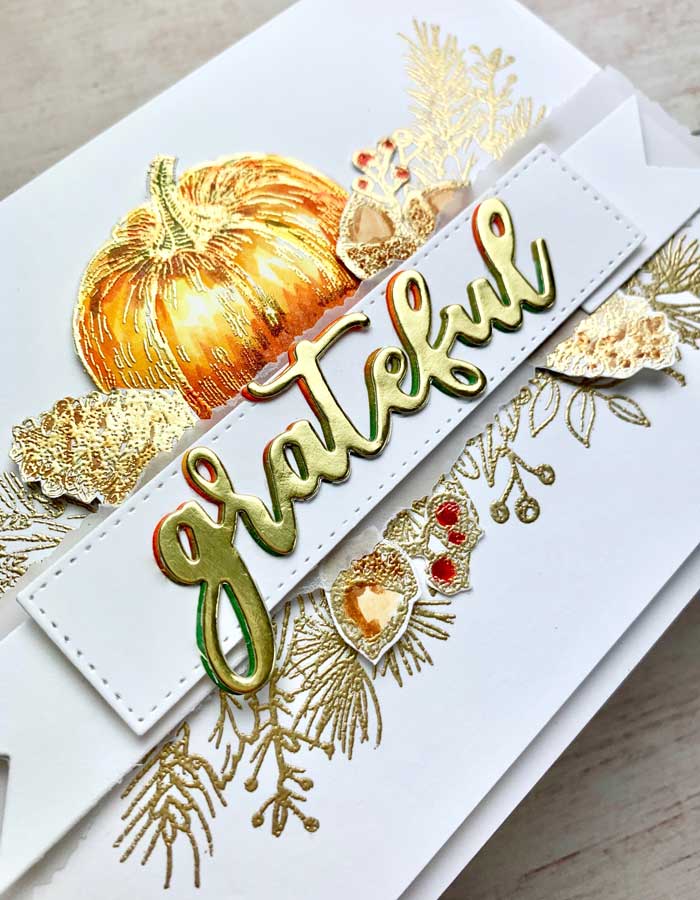
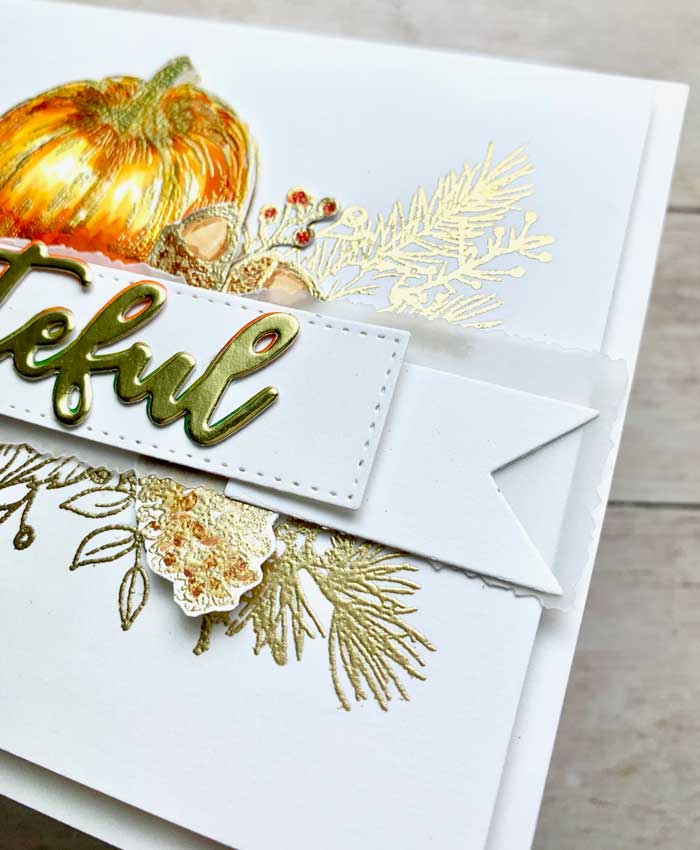
Then, on a separate piece of white cardstock, I stamped the pumpkin again and the other Autumn-y stamps, like the acorn, berries, and pinecone. These elements were gold embossed, then colored with Copic markers (see the supply list below for the colors used).
After all the coloring was done, the pumpkin and other individual stamps were cut out and mounted with a bit of foam tape over the stamped areas. This gives them a little dimension.
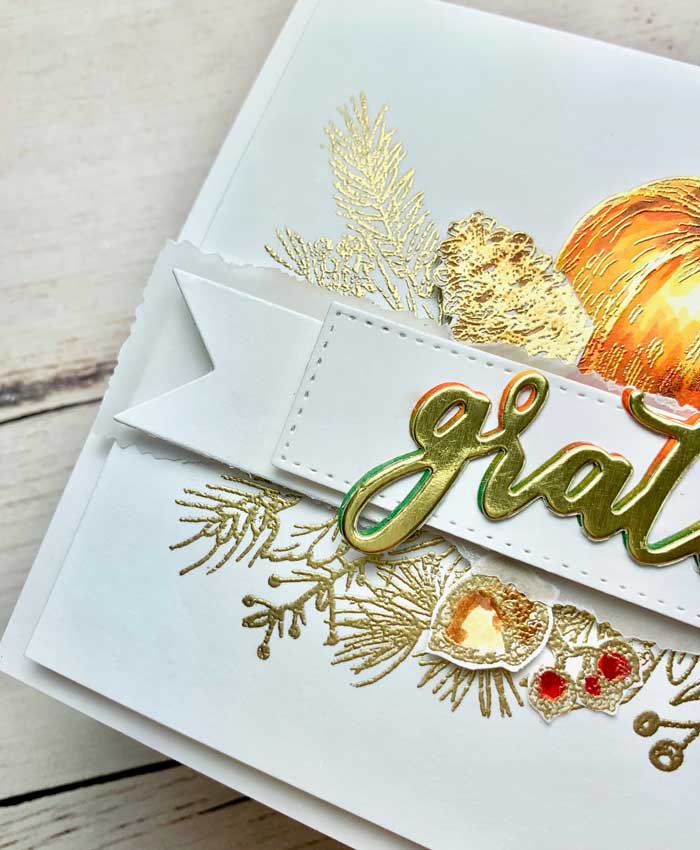
Using a strip of heavy vellum, I deckled the edge and mounted it between the two borders, then added a white banner that I had cut from white card stock, using the Papertrey Ink-Ink To Paper Build-A-Banner die set.
The word ‘grateful’ was cut from gold foil and one from white cardstock. After coloring the white one with Copic markers, the gold one was stacked and glued on top of the colored one, then mounted on top of the white banner.
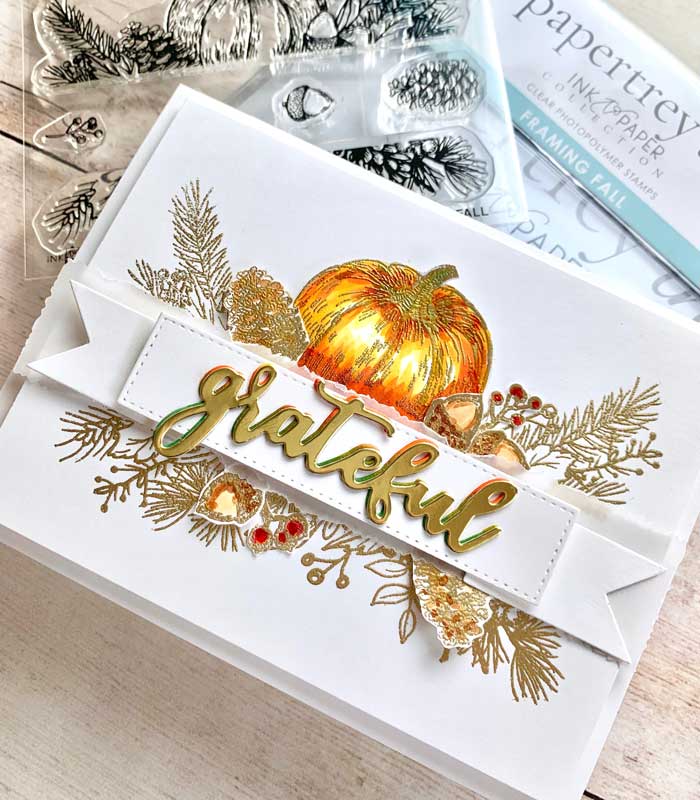
All done. See how easy that was! ♥
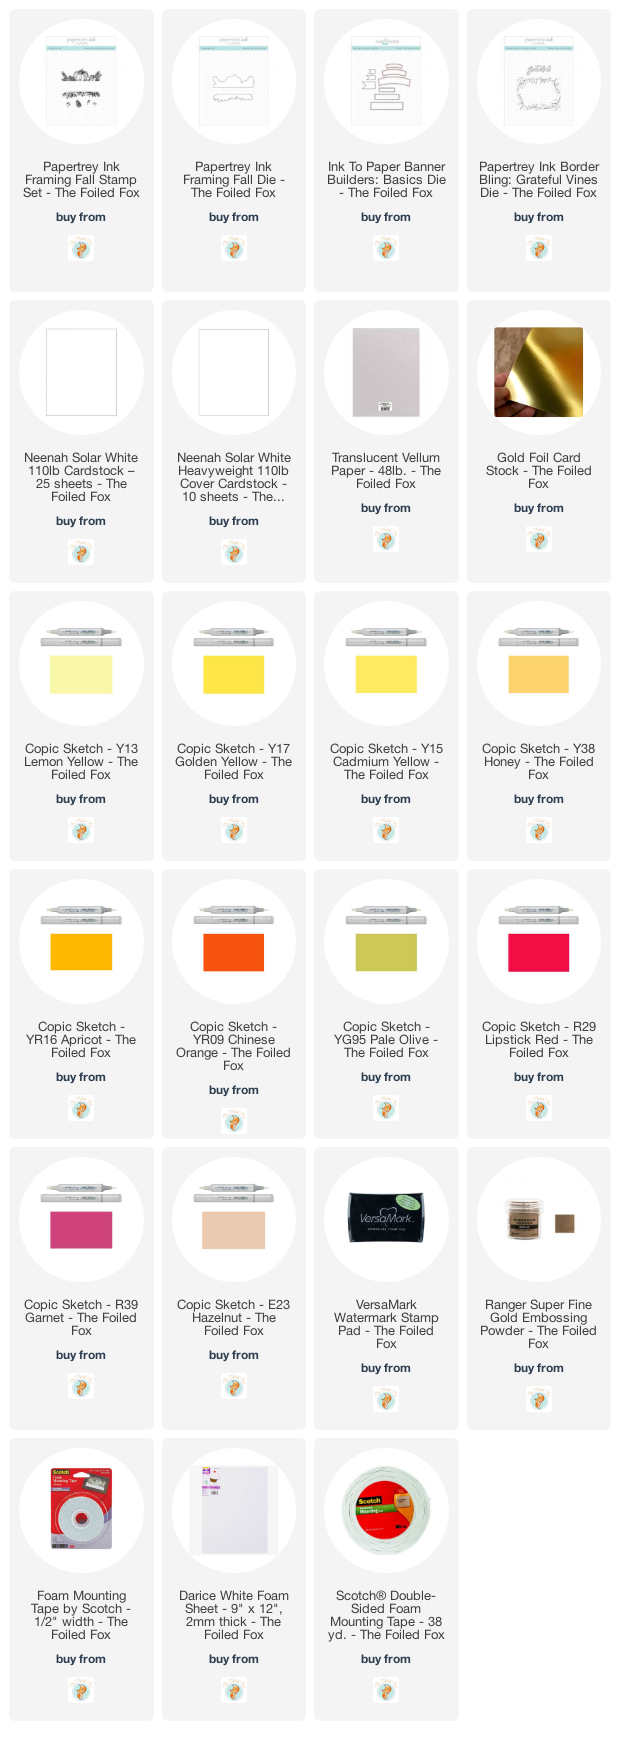
Goodies Used:
Sorry, the comment form is closed at this time.

August 24, 2020
LeAnne M Pugliese
This is stunning! That gold pumpkin is just beautiful!
August 25, 2020
Shauna Todd
thank you so much!