A Winter White Poinsettia Thank You by Heather Telford
Hi Crafty Friends,
It is nice to be back after a few days of Christmas cheer. We sincerely hope your holidays were wonderful and you are still enjoying a few extra days of ‘r and r’ yourself! As a special treat, we are welcoming Heather Telford back again! Heather’s artistry and card design are always one of our favorites and today she is sharing a gorgeous winter white poinsettia. The stamp she is using is the beautiful “Christmas Red” by Penny Black.
Heather amazes us how she can create such beauty with just a few distress inks and/or stains. Read on for all the details on how she made this poinsettia come to life. Then, if you are enjoying this project as much as us, pop over to her blog for more inspiration.

I’m so happy to be sharing one more card here on the Foiled Fox blog this year. Life has been very busy with one thing or another but I’d like to thank you for your encouraging comments and interest in what I create. I look forward to many more creative ventures with you next year.
I have stamped quite a few red poinsettias since the Penny Black ‘Christmas Red’ stamp arrived but it was always in the back of my mind to try it in ‘white’, not a true white but a pale, pale green.
As is often the case with Christmas cards I started by splattering some masking fluid on hot pressed watercolour paper. Once dry I put the panel in the MISTI and positioned the large rubber stamp, ‘Christmas Red’ from Penny Black. I inked the whole stamp with shabby shutters distress ink and stamped on the watercolor panel. I next added mowed lawn distress ink to the outer leaves, spritzed the stamp and stamped again.
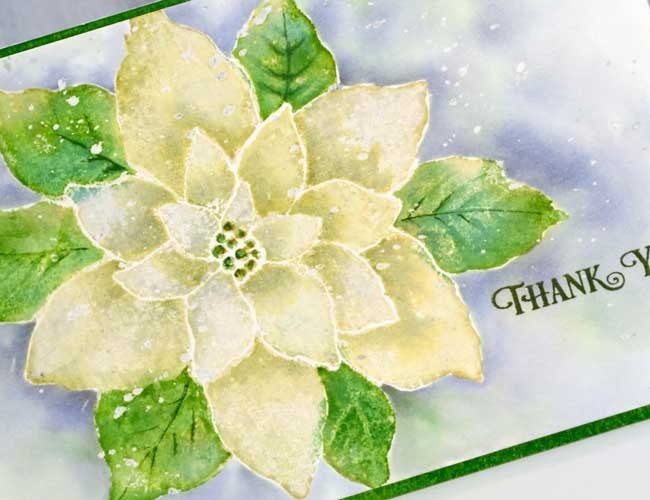
I did all my blending and painting while the panel was still in the MISTI just in case I wanted to add more definition with a third impression but as it turned out I didn’t need to. I worked on the light petals first blending the ink with water on one petal at a time. Once the petal was wet I dabbed it with a paper towel to remove some of the green ink, making it even paler. I blended all the petals the same way then added some diluted shabby shutters ink back in the shadow areas where one petal is behind another. I blended the mowed lawn leaves with water also and once dry added some of the definition back in with mowed lawn ink and a fine tipped brush. I added Mowed Lawn ink and gold Wink of Stella to the centre of the flower.
When all the painting on the flower was dry I painted around the edges first with water then, while the paper was damp, with weathered wood distress stain. I also dropped some shabby shutters and mowed lawn inks into the damp background area. When the background dried I removed all the masking fluid to reveal some ‘snowy dots’.
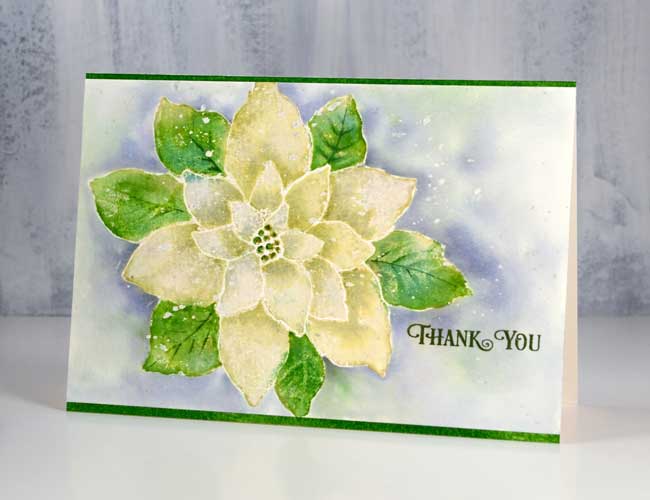
I thought about a gold cord and gold embossing but in the end, just added a sentiment from the ‘banner sentiments’ set in shady lane Versafine Clair ink. I did want to frame the panel somehow though and after checking all my green cardstock without a happy match, I dragged the mowed lawn ink across two edges of a piece of watercolor paper then let it dry. Tada! a perfectly matched green mat.
Making thank you cards with my Christmas images keeps the stamps in use a little longer. I always say I will start the next year’s Christmas cards straight away but it doesn’t happen!
Learn a bit about Heather:
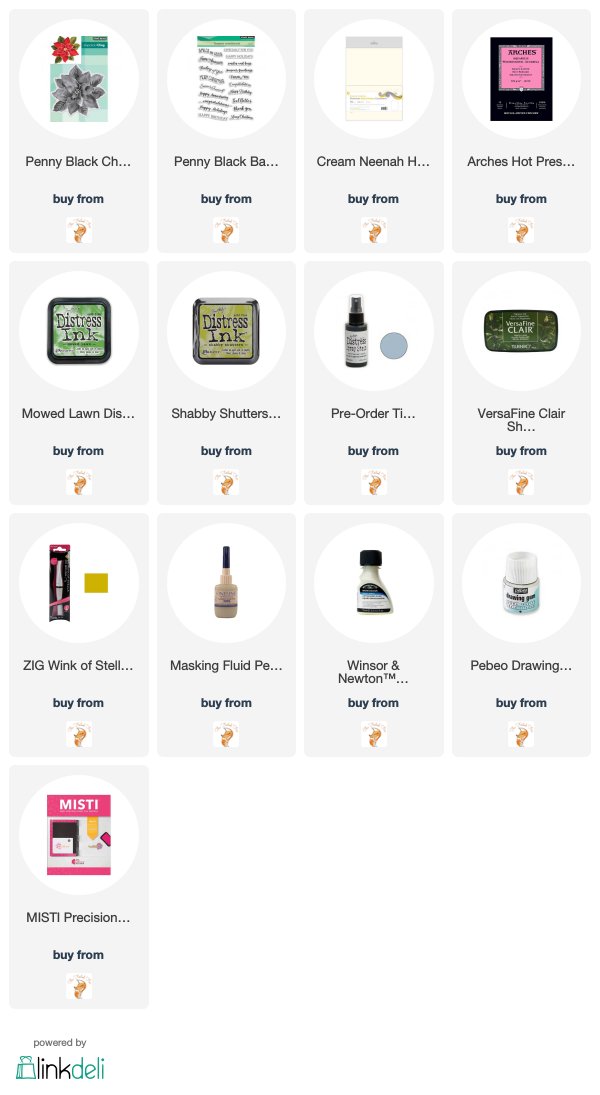
Supply Used: