Adorable Fall Friends by Rosali
Hello Crafty Friends,
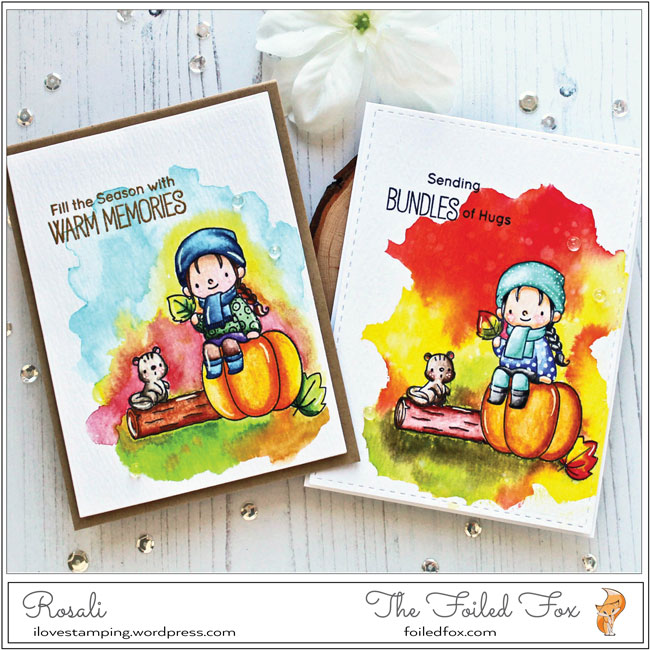
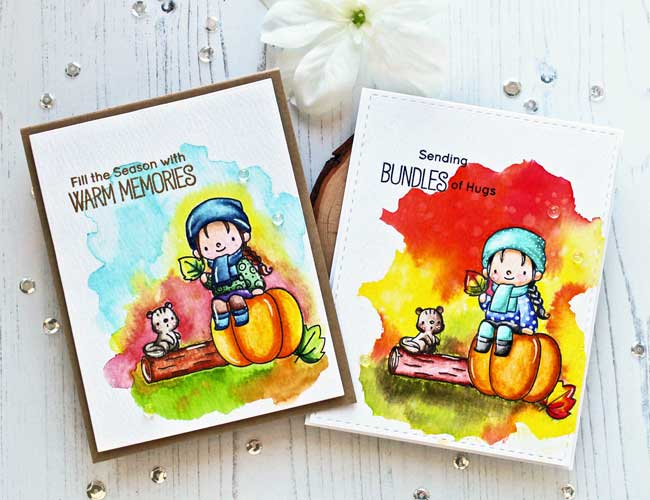
We are sharing two adorable designs by Rosali of I Love Stamping. In each of the cards she has used the My Favorite Things Fall Friends stamp and die set. The first design is colored with distress inks and watercolor paints. For the second design, Winsor & Newton watercolor markers were used, either way, aren’t they cute as a button?
Check out how she made these cards happen, then jump over to her blog for more fun!
Hi there! Today I have another fall themed card for you! Or two cards, actually – because I made two variations of the same design. But first things first … Let’s start with the original card. I am currently loving watercolors – watching them flow and do their thing is so beautiful and calming! 🙂 So when I got my hands on the adorable “Fall Friends” stamp set from My Favorite Things I decided to create a one layer scene with watercolors.
Here is how I made my card step by step:
- I stamped a couple of images from the “Fall Friends” set onto Ranger Watercolor card stock with Versafine onyx black ink. Images that I wanted to be up front I stamped first (girl on the pumpkin and squirrel). Then I used the matching dies to cut out masks and stamped the other images (tree trunk and leaf besides the pumpkin). I used a Sharpie to draw in connecting lines between the images where they didn’t stamp because of the slightly bigger masks.
- After that, I added masking fluid to the background to narrow the area down where my watercolor would later go. I also covered all the images with masking fluid. There are different types of masking fluid to get – mine has a blue tint – I will link to a couple of different options down below. To be honest I had no idea how much fluid to use and it looked like a mess when I had applied it but it turned out fine in the end. 🙂
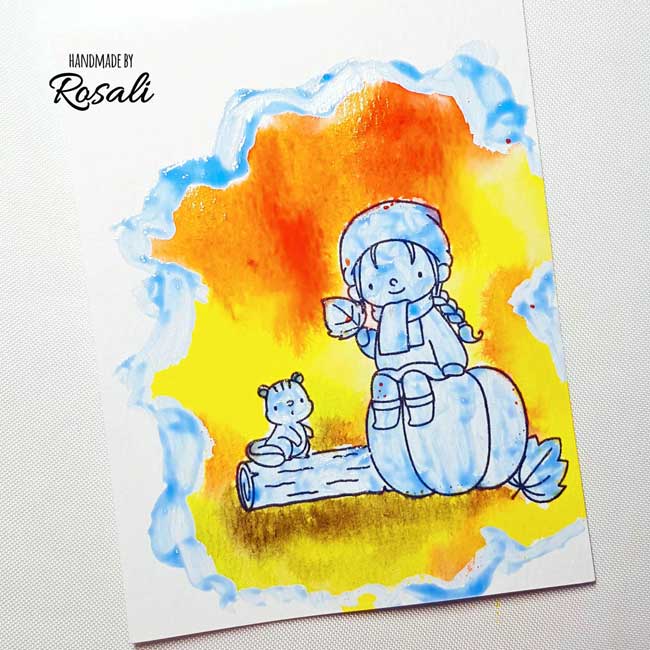
3. Once the masking fluid was dry I covered the area in between with water and dropped in different colors of Distress Inks (Squeezed Lemonade, Ripe Persimmon, Candied Apple, Twisted Citron, Forest Moss). Isn’t it gorgeous how the colors blend into each other with this wet in wet technique? To add extra texture I splattered some water over the ink after it was dry. Then I could remove the masking fluid just by rubbing over it with my finger.
4. Now it was time to color in the stamped images. I could have used Distress Inks as well but instead went with traditional watercolors. Since parts of the images are quite small I used a no. 2 round brush. To blend the watercolor out I used tiny circular motions and really took my time while coloring. After the coloring was done I added some highlights and polka dot patterns with a white gel pen.
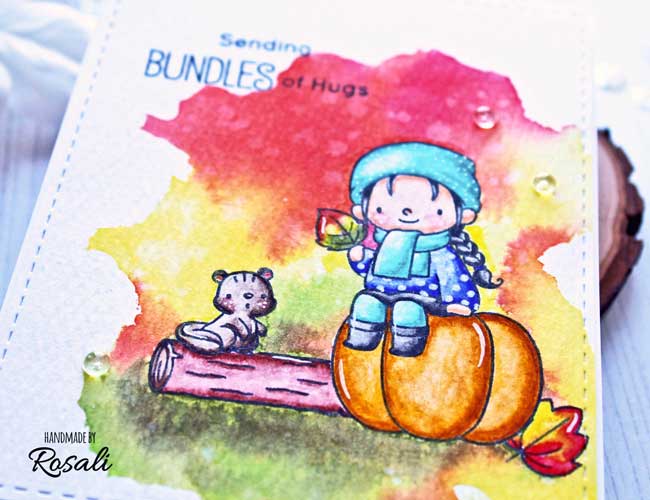
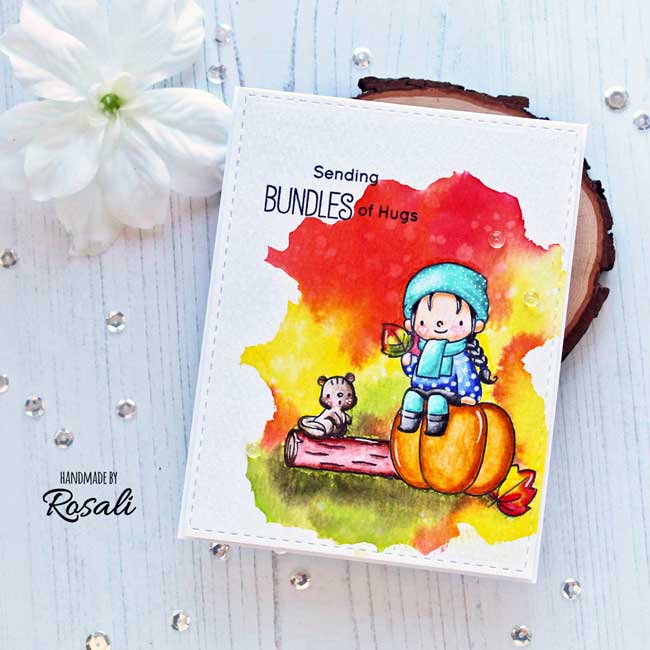
5. I didn’t want to take away from the cute images and coloring so I stamped the sentiment simply in black and used a stitched rectangle die to cut my panel. I then adhered it to my card base with a layer of fun foam in between. Lastly, I added a few Clear Droplets as embellishments
6. Since I had stamped my masked scene twice right from the beginning and coloring was so much fun I went ahead and turned the second one into a card as well. This time I used watercolors for the background and painted around the stamp image (without masking it). As you can see in the picture below, the watercolors look a bit more organic while the Distress Ink background is really vibrant. I colored the second image in using Winsor & Newton watercolour markers. This time, I chose kraft card stock for my card base and a matching gold embossing powder for the sentiment.
I hope I have given you some inspiration today! Have a great day! ♥
Rosali
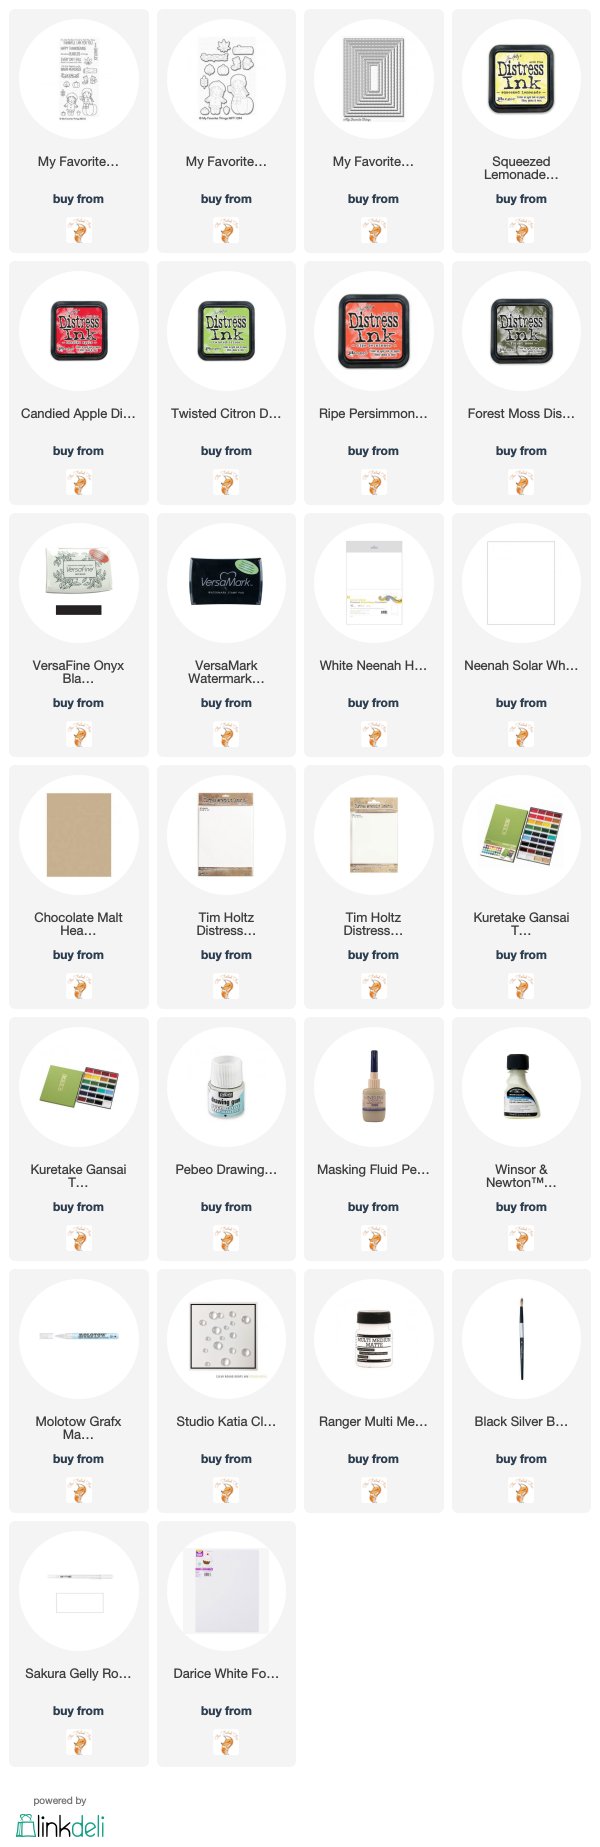
Supplies Used:
Sorry, the comment form is closed at this time.

October 16, 2018
Lagene
Awesome cards, love how you did the backgrounds!
October 17, 2018
Rosali
Thanks a lot, Lagene! 🙂