Beautiful Summer Stems by Lisa Tilson
Hi Everyone,
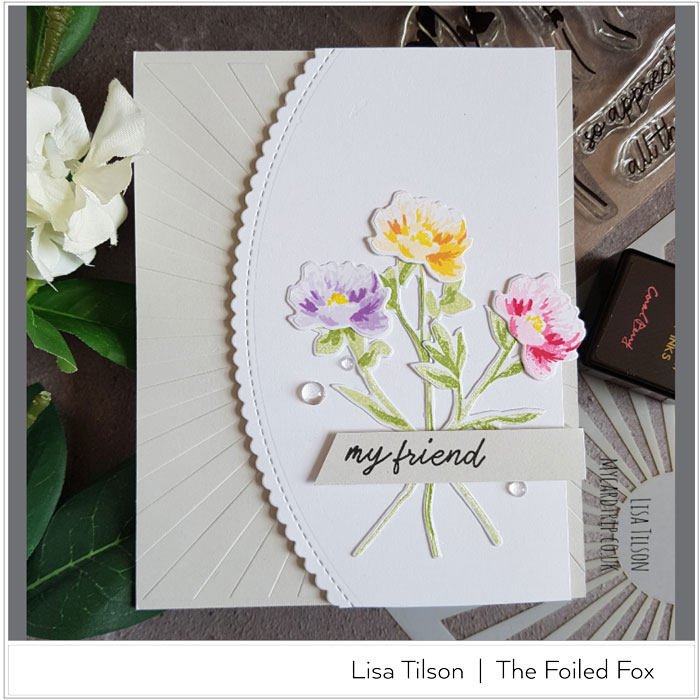
Today we are sharing a simply lovely card design by Lisa Tilson at My Card Trip. She created this elegant design using a new stamp and die set by The Stamp Market called Summer Stems. The soft colors, subtle gray background, and the scalloped edge complete this vision of beauty.
Hello there crafters!
I am delighted to be back as a Guest Designer here at Foiled Fox today – it’s always a treat to be asked and today I am sharing a card featuring the gorgeous Summer Stems set from The Stamp Market. This is a stamp layering set and it’s one of the easiest (and prettiest!) stamp layering sets I have had the pleasure of creating with.
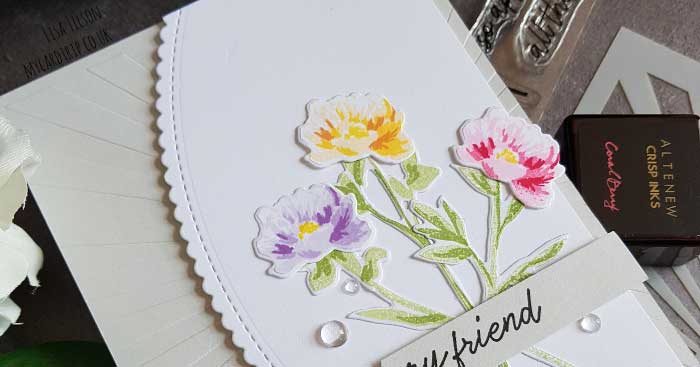
There are a choice of three stems you can select from and a choice of three different flower heads to place on top of your stems but today I decided to go with the largest of the blooms for my card. I am sure I am not alone here, but when I was thinking of a design for this set, I had something COMPLETELY different in mind. This card is not in any way what I thought I would make – but that’s the fun of crafting right? So, to start, I did a whole bunch of stamping of stems and flower heads in differing colour combinations using Altenew inks. But in the end, I opted to go with a traditional summer palette for my card.
Altenew Inks used: Frayed Leaf, Forest Glades, Buttercream, Warm Sunshine, Caramel Toffee, Soft Lilac, Lavender Fields, Deep Iris, Frosty Pink, Coral Berry, Ruby Red.
It’s really easy to line the layers up too, I used an acrylic block. I didn’t even feel like I needed a MISTI to help me. Once the stamping was done, I just used a little wet adhesive to adhere the flowers onto the stems and left them to set whilst I worked on the rest of the card. I took a panel of Neenah 80lb and an MFT Stitched Scallop Basic Edge die and ran it through the Gemini Junior, and set that to one side to be trimmed down to size later.
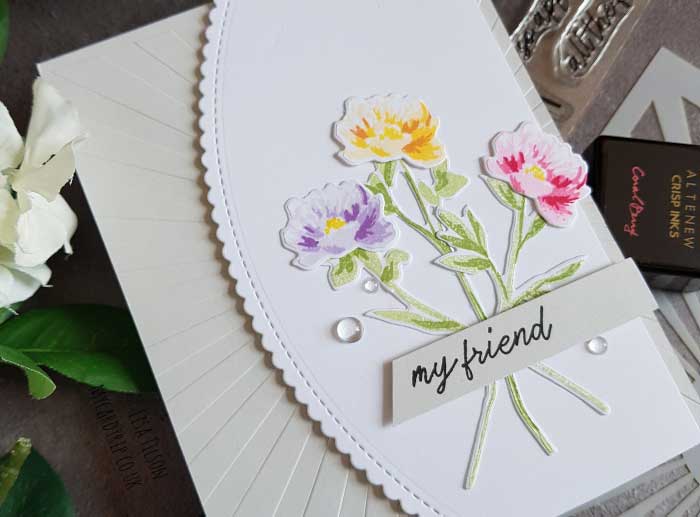
Next, I took some MFT Grout Gray cardstock and rather than just adhere that directly to my base, I dry embossed it first using the MFT Radiating Rays stencil. This adds some extra interest and a lovely texture to an otherwise clean and simple card. I felt that the burst of rays coming from the side of the white panel would help draw your eye towards the flowers too. The white scalloped edge panel was trimmed down a little and popped up with foam tape for a little dimension. I did leave a little of the gray cardstock showing on the right, again for extra interest and you can see the continuation of the rays on this tiny little side strip.
I arranged the flowers onto the panel and adhered them with Multi Medium Matte. The sentiment from the set was stamped with Versafine Onyx Black ink onto Grout Gray cardstock, trimmed and popped up with foam tape. Lastly, a few raindrops were added for embellishment.
I do hope that you like the card– it would work for so many occasions with this sentiment, and even more, if you want to switch the sentiment out for sympathy, anniversary, etc. Thank you of course to Foiled Fox for having me guest today and I will be back with another project for you soon. Happy crafting!
Learn a little about Lisa:

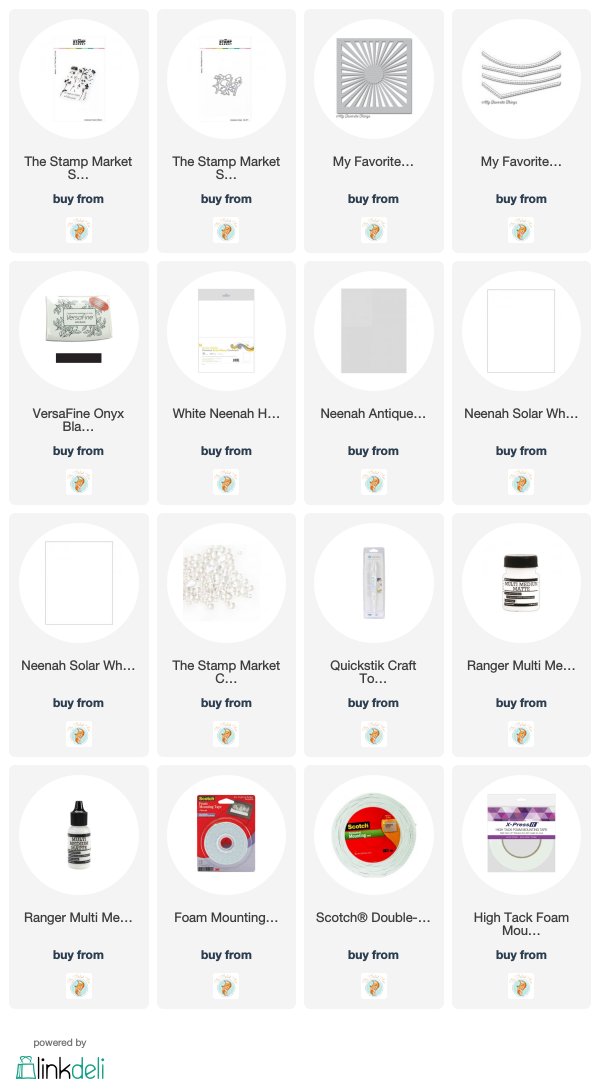
Goodies Used: