Best Witches For A Happy Halloween
Hi Crafty Friends,
I had to squeeze in another Halloween card before it was too late! You probably know I am a Halloween card freak. This holiday gets me every time!
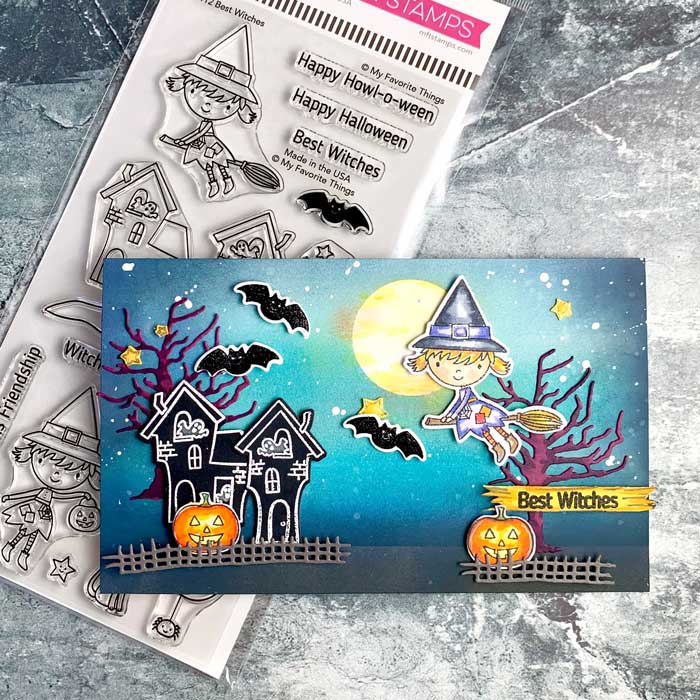
For this card design, I used the adorable Best Witches stamp and die set by My Favorite Things. There are sooo many awesome Halloween stamps in this set it is easy to create a spooky scene!
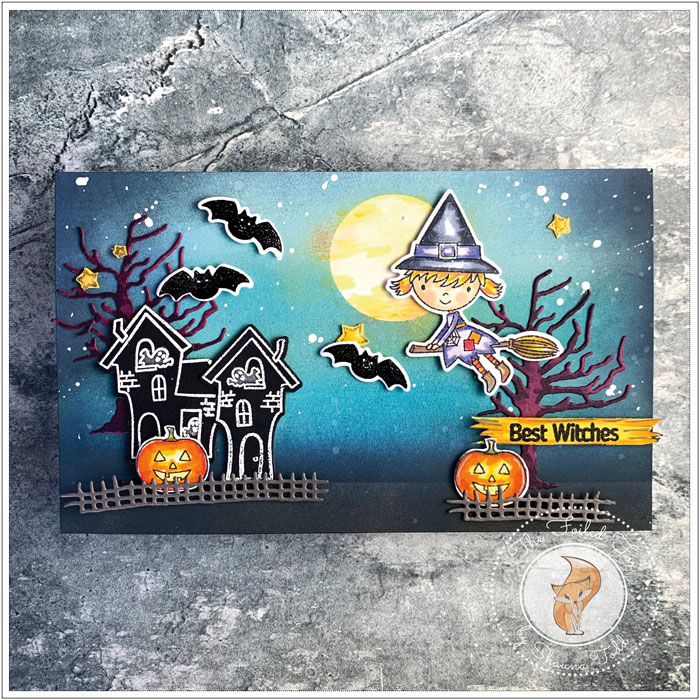
This is a long-ish card, so I used a piece of Bristol paper, measuring 4.25″ x 7″ for the background. I like to use Bristol paper when I am blending inks since it seems to allow the inks to go on smoother and easier. And who doesn’t want that!
To make the background, I first cut a round mask from masking paper and placed it in the ‘sky’ – because you know no self-respecting Halloween card is complete without a moon! Then, starting at the top and working my way down the panel, I blended on distress oxide inks in this order: Tumbled Glass at the top, then Mermaid Lagoon, Broken China, Chipped Sapphire and lastly Black Soot. A little Chipped Sapphire and Black Soot were added to the very edges all the way around the panel.
With all the ‘sky’ ink blending done, I peeled off the mask to reveal the ‘moon’, then gently added Squeezed Lemonade to the moon. Next, I splattered the panel with water droplets and blotted it dry. Finally, to add to the sky scene, I splatted on white ink droplets using Dr. Ph. Martin’s Bleedproof White ink and a Starbucks green coffee stopper (my fav for splattering inks). Then, set it aside to dry.
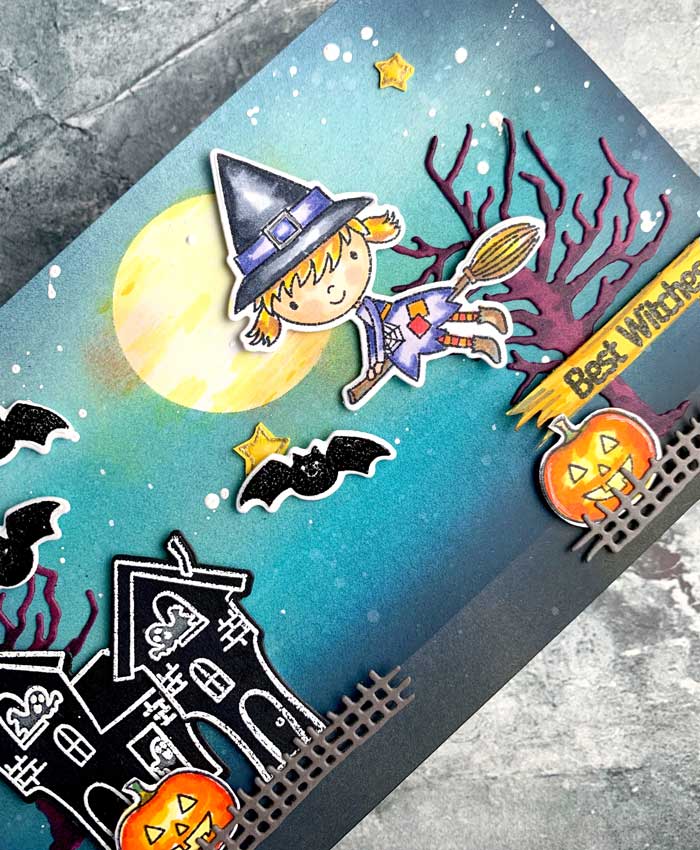
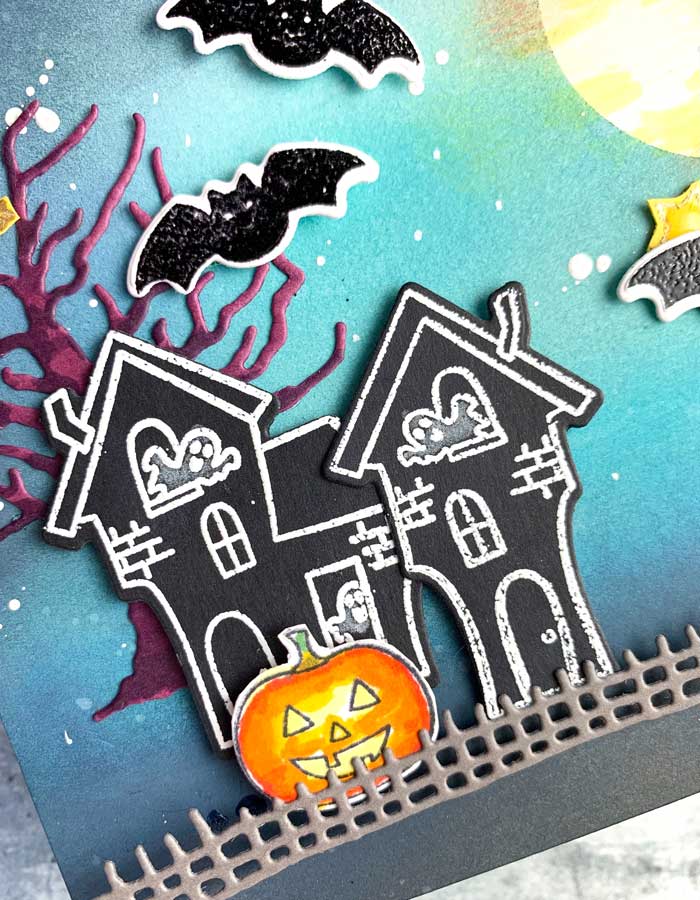
Now, on to creating the elements. I started by stamping the houses on black cardstock with Versamark ink and white heat embossing them. Next, I stamped the witch and pumpkins with Memento Tuxedo Black ink. I also stamped with Versamark ink the stars onto yellow cardstock and the bats onto white cardstock and then heat embossed the stars with gold embossing powder and the bats with black embossing powder. I then cut out all these pieces using the matching dies.
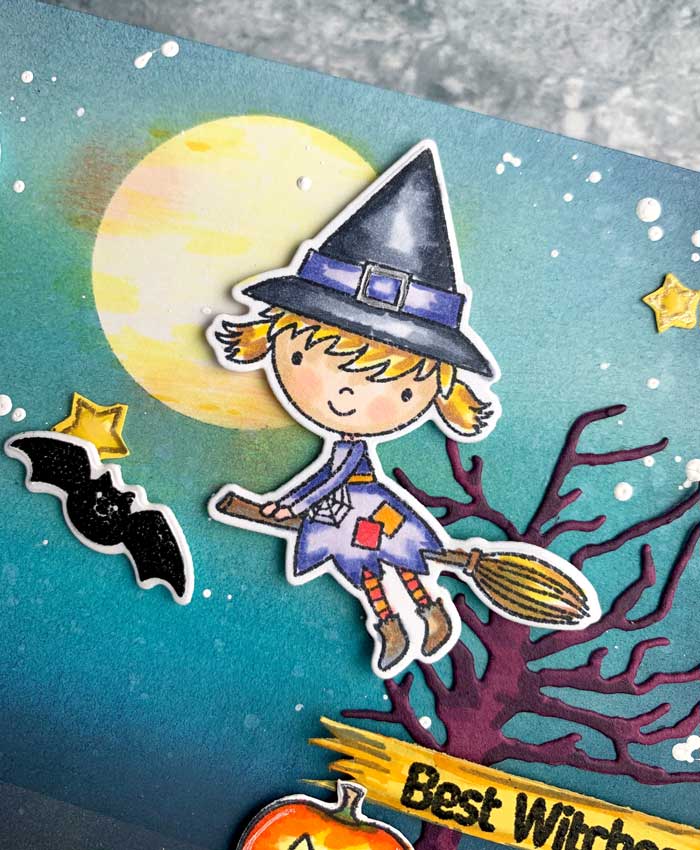
Next, I colored the witches and pumpkins with Copic markers. I used: Y11, Y18, E23 (hair); E00, E31, Ro1 (face); C1, C4, C7, BV0000, V20, Bv04, R35, Y38, E23, (hat and dress); Y18, E23, C4 (broom) for the witch and Y11, Y18, Y38, Yr16, R35, G46 for the pumpkins.
I needed just a few more elements for my Halloween scene. For these pieces I used the Penny Black Haunted Hollow die set and cut two trees and fence. The trees were cut from Mulberry purple card stock and Slate gray card stock for the fence. To add to the drama of the trees, I added random strokes of C4 and C7 Copic markers around the trees.
With the background now dry and the pieces ready to go, I mounted the background onto a white cardstock card base. Next, I arranged the scene, adding squares of foam and glue where needed. I decided to separate the stars so I fuzzy cut them and added them.
The final step was to stamp the sentiment onto a strip of yellow card stock with Versamark ink and heat emboss with black embossing powder. When finished, I cut jagged edges with my detail scissors on each end and added BV0000, C4 and Y38 to the edges. The sentiment strip then was adhered with foam tape and the ghosts were colored with a white colored pencil.
With the card now finished, I hope you have an awesomely scary Halloween. 🎃
Goodies Used:

