BOO! Happy Haunting with Ink To Paper
Hi Crafty Friends,
Every year I look forward to Halloween! It gives me a chance to use fabulous colors I love and let’s my inner self go wild. This year I am especially excited because I get to use Ink To Paper’s terrific stamps and dies. They are soooo innovative and fun. Check out one of their latest, Ghosts and Ghoulies and have ourself some “Happy Hauntings” fun!
With this card design, I decided I would “channel” one of my favorite designers, Inge Groot. She has an amazing ‘eye’ when creating her card designs. When you have a chance, check her out. She is well worth it!
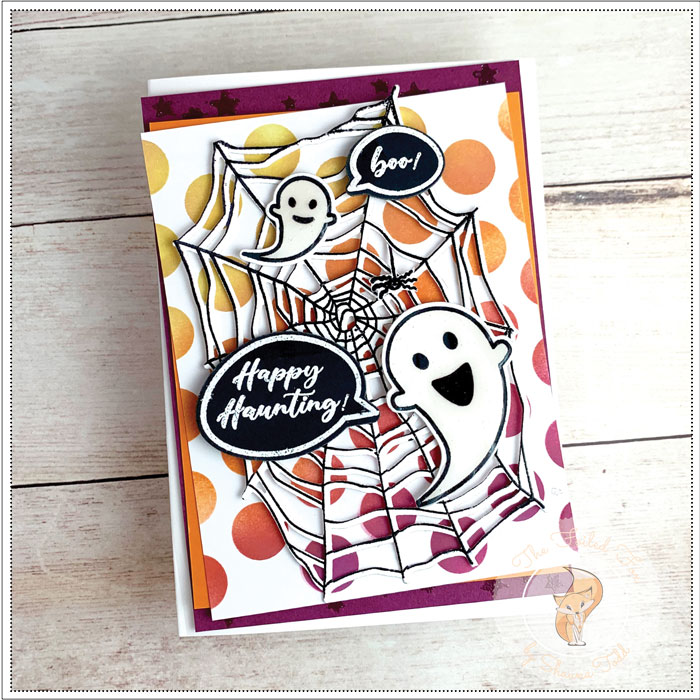
Now, back to this card design. I like to start by making all the elements, like the ghosts, speech bubbles and web. This way I can arrange them on a plain paper card panel and get an idea of how I would like the card to look. With this design, I decided to start with stamping the web with Versamark ink and heat embossing it with black embossing powder. I like to use Hero Arts Detail Black embossing powder for this. After it was heat embossing, I cut it out with the coordinating die.
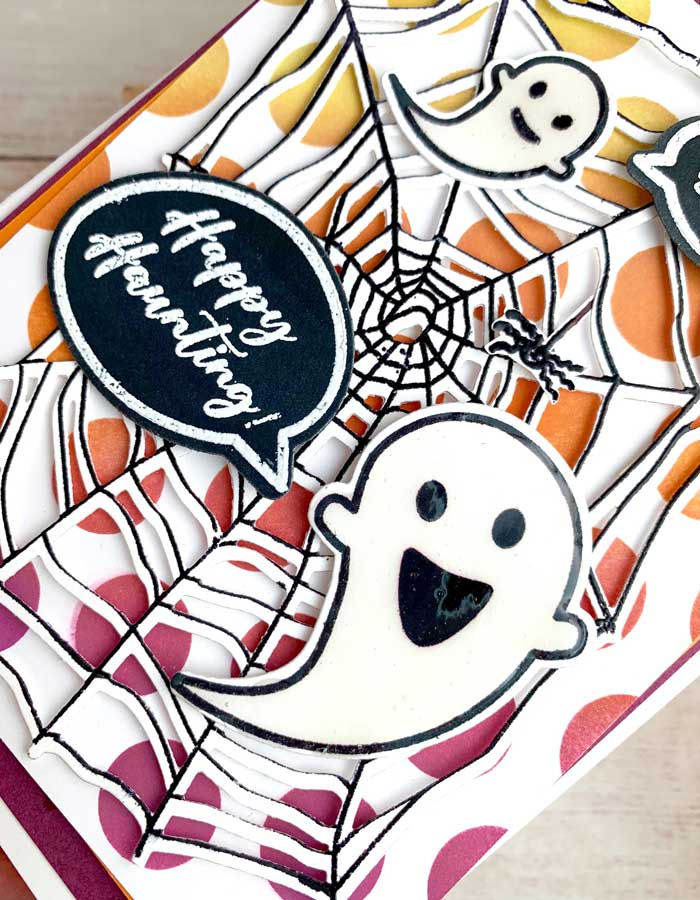
Next, I stamped the outline of the ghosts (aren’t they fun and scary?!), then added their faces with permanent ink, like Versafine Oynx Black. While I was at it, I also stamped the speech bubbles and sayings onto black card stock with Versamark ink and white heat embossed them.
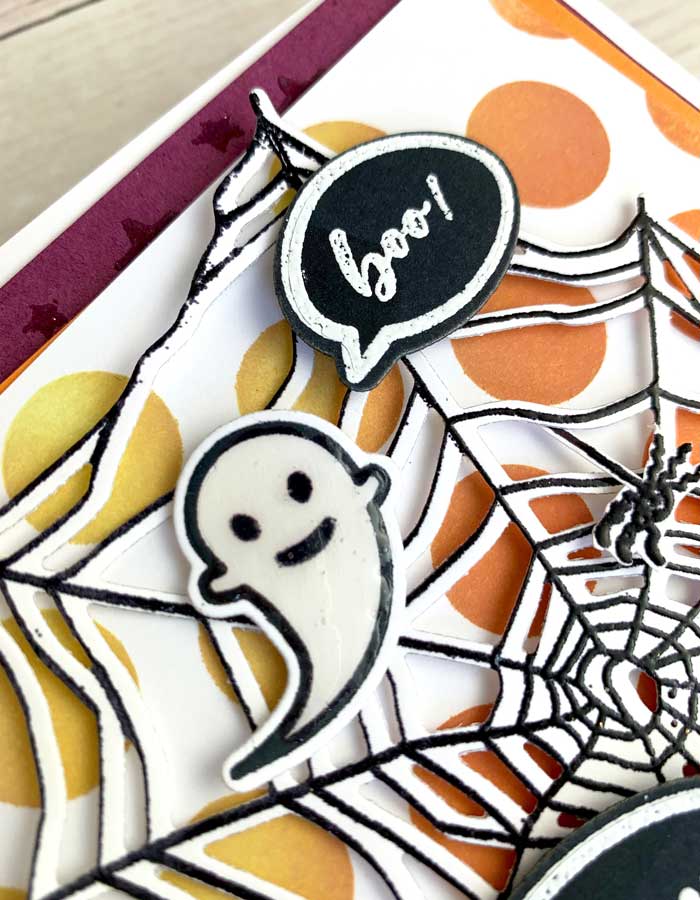
Since all the pieces were ready, I jumped in using one of Inge’s most effective and creative ideas – stacking different panels to create coordinating and contrasting layers. I started with the large polka dots. Using the MFT Jumbo Polka Dot Mixables stencil, a few distress inks and a blending brush, I started by placing the stencil over a Neenah white cardstock panel and blended the inks, Squeezed Lemonade first, then worked my way down using Fossilized Amber, Ripe Persimmon and Seedless Preserves.
My next panel was made using a piece of Mulberry card stock and another stencil, MFT’s Card-Sized Star Confetti. I blended Versamark ink over the stencil and card stock and clear heat embossed it.
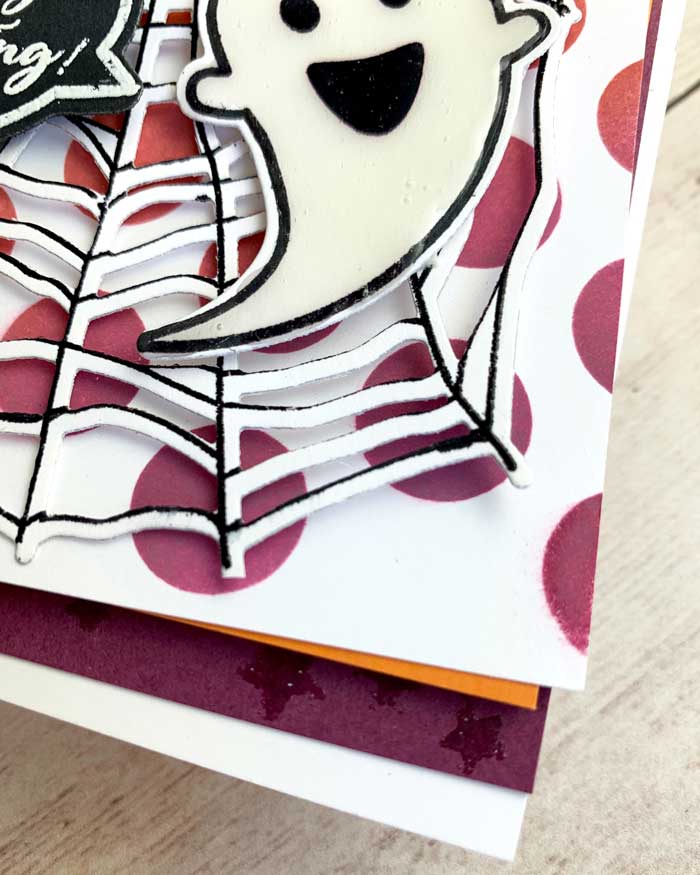
Then came the fun part, putting it all together. This was pretty easy by starting with a white card base, then stacking the purple panel and a Circus Peanuts card panel on top. On top, I added the multi-colored polka dot one. Next, I added the web with little strips of foam tape, then the ghosts and speech bubbles with foam tape.
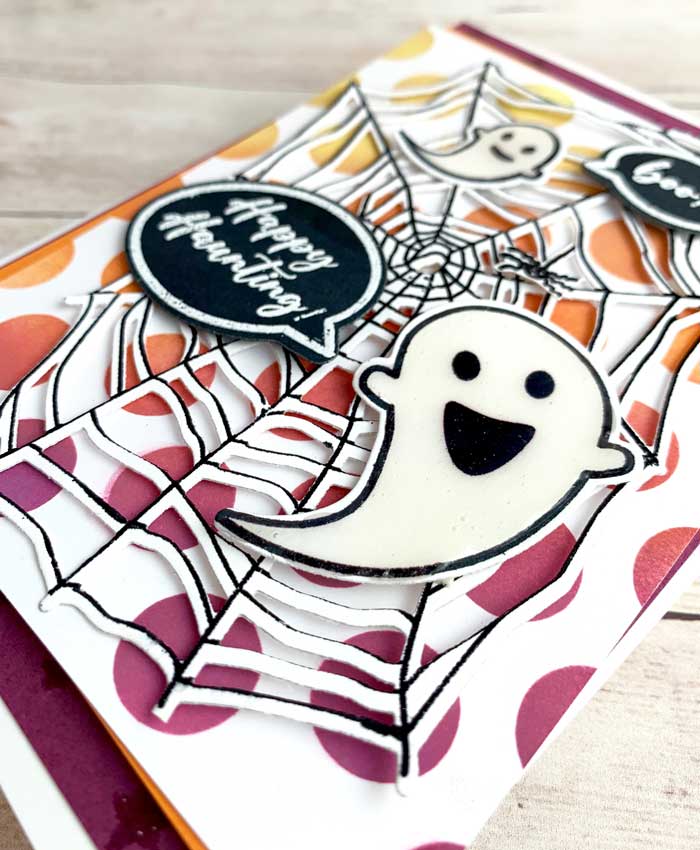
Everything was just as I liked it … except a few tiny little extras… like adding Glossy Accents to the ghosts so they have dimension and shine and adding one final piece… the spider. No self-respecting web is complete without a spider. The problem is, I hate spiders so I had to find the cutest spider possible. I found it in the Penny Black stamp set, Spider and Bats. This little spider was stamped with Versamark ink and heat embossed with the Hero Arts Detail Black embossing powder. The spider is fussy cutout and added with a bit of foam tape. Now, I can call it done!
🎃Happy Haunting! 🎃
Goodies Used:

