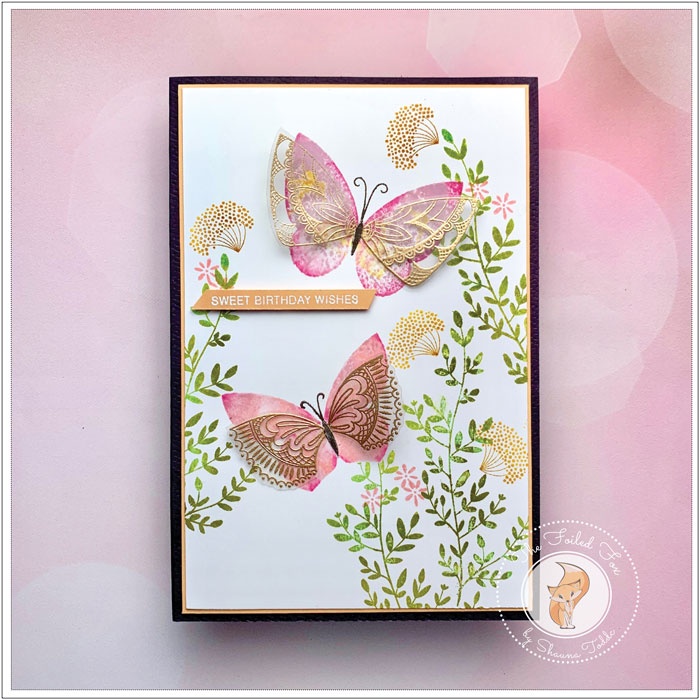
Brilliant Butterflies with Embossed Wings
Hi Everyone,
I hope you are all well and enjoying the summer weather! Along with the summer comes butterflies and I fell in love with these Brilliant Butterflies by My Favorite Things.
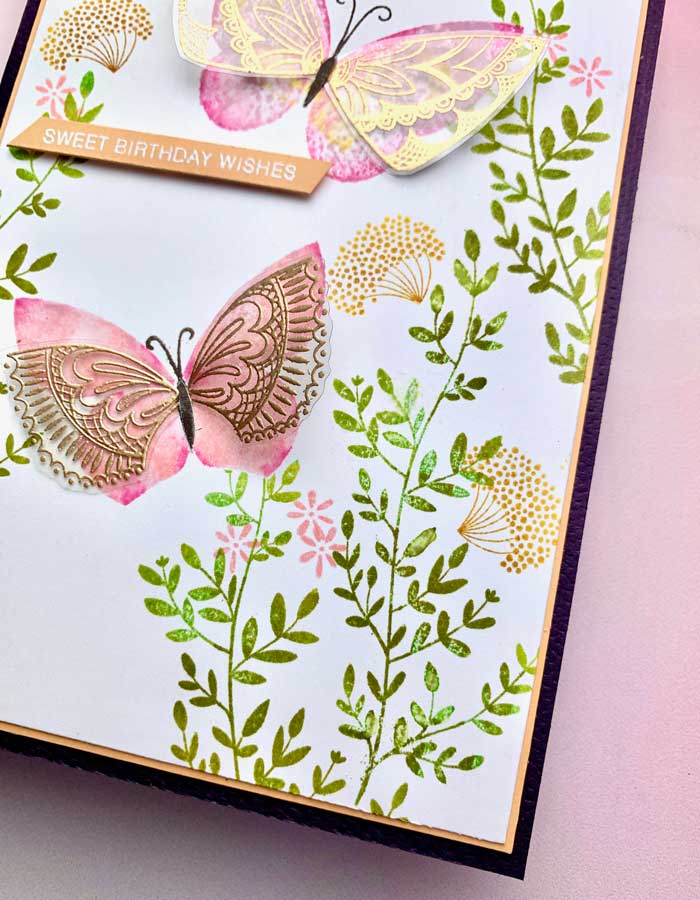
I began this card design with a white Bristol paper panel (it blends the ink better for the butterflies), a selection of Papertrey Ink ink cubes, and a Dandelion Greenery stamp set by My Favorite Things. I first stamped the ‘greenery’ part with a combination of New Leaf, Simply Chartreuse, and Ripe Avocado inks by inking the stamp with one color, using Ripe Avocado at the bottom and then a mix of New Leaf and Simply Chartreuse near the top. While stamping the greenery, I was careful to keep a lot of white space for the butterflies.
With the greenery stamped, I added the dandelion tops “wishies” with Honey Nut, then added a sprinkling of tiny pink flowers with Pale Peony.

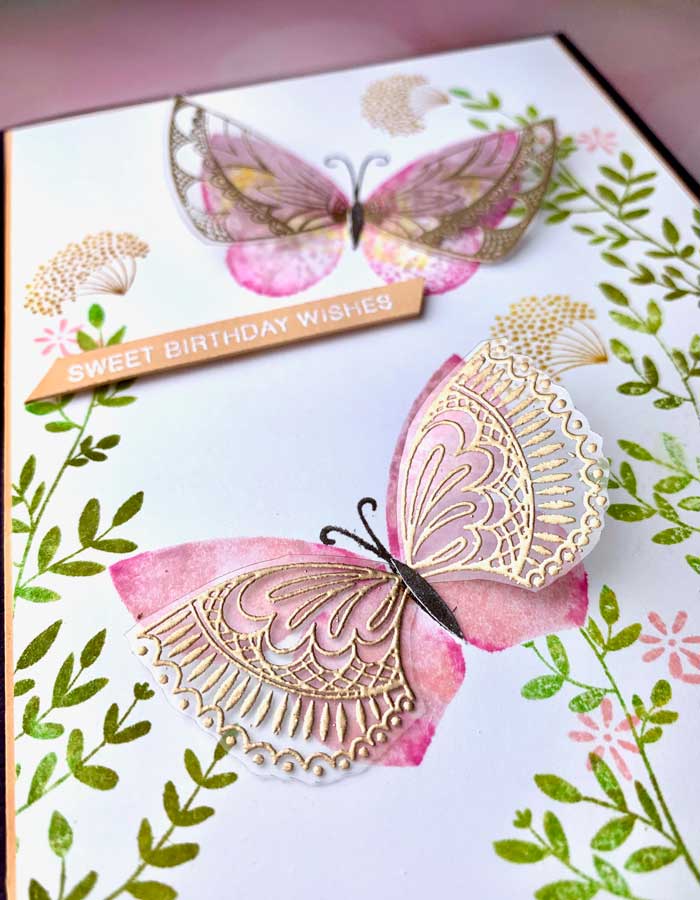
It was time to stamp the butterflies. For this, I selected two different butterfly stamps from the Brilliant Butterflies stamp set and mounted them each on an acrylic block. With each butterfly, I inked the stamp with Pale Peony, Lavender Moon, touches of Bright Buttercup, and a tinge of Raspberry Fitz on the tips. Then, lightly spritzed it with water (you know, the Goldilocks amount of water – not too much, not too little – to help with that, I like the Tim Holtz sprayer) and stamped the butterfly on the panel. I held the stamp on the paper for 5 or 6 seconds before lifting. This lets the ink blend into one another and gives a watercolor look. Once the butterfly wings were dry, I stamped their bodies and antennae with Smokey Shadow.
The Brilliant Butterfly stamp set comes separate stamps for the wings. I chose the corresponding wings for each butterfly and stamped them onto Lawn Fawn heat resistant clear acetate with Versamark ink, then heat embossed with Rose Gold embossing powder.
HINT: Heat resistant acetate is great for this, but for best results follow these steps: 1. Liberally prep the acetate before stamping with anti-static powder 2. Liberally ink the stamp with Versamark ink, then stamp, being careful to not slip on the slippery acetate and smear the image 3. Liberally sprinkle with embossing powder and only lightly tap off, flick off any unwanted flecks of embossing powder with a tiny brush 4. When applying heat, make sure your heat tool is very hot, and only stay in one place a short time, then go to another spot – you can always go back but you can’t stay in one place too long or the acetate will melt.
While the acetate wings cooled, I created an Augerine dark purple (and beautifully textured too) card base and a slightly smaller Citrus Slice melon-colored card panel and mounted it to the card base. The butterfly panel was added.
I cut out the wings with the matching die set, slightly creased them in the center, and adhered them to the center of the butterflies. To mask the glue and finish the butterflies, I stamped another set of butterfly bodies, cut them out and adhered them on top of the wings. To complete the card, I stamped a sentiment from “Tagged” a Papertrey Ink and Ink to Paper sentiment stamp set onto a strip of orange slice card stock using Versamark ink and heat embossed it with white embossing powder.
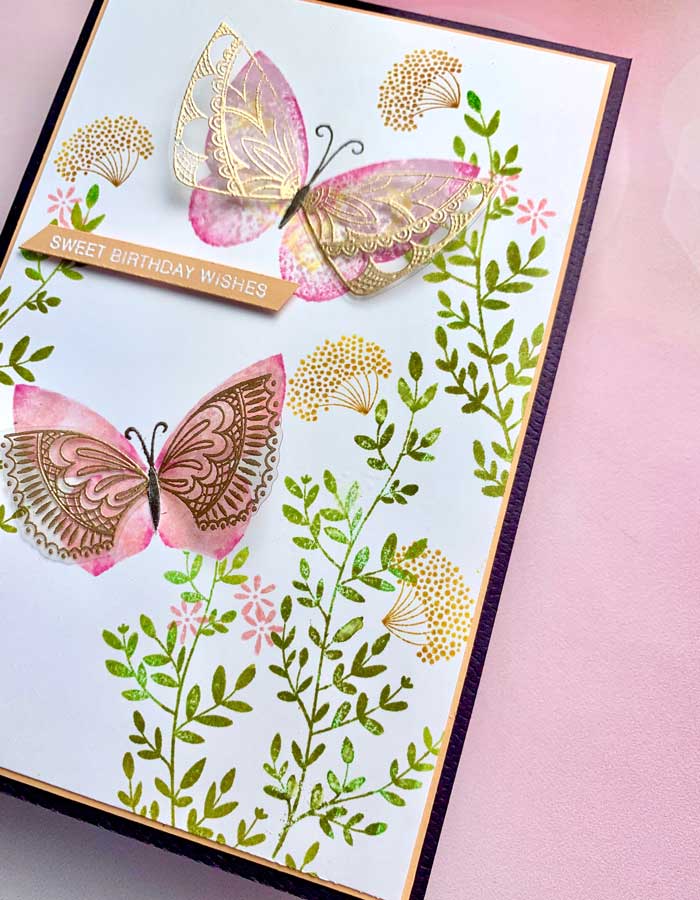
The sentiment strip was mounted with a strip of foam tape. And there we have it, a sweet card design for a sweet friend! ♥
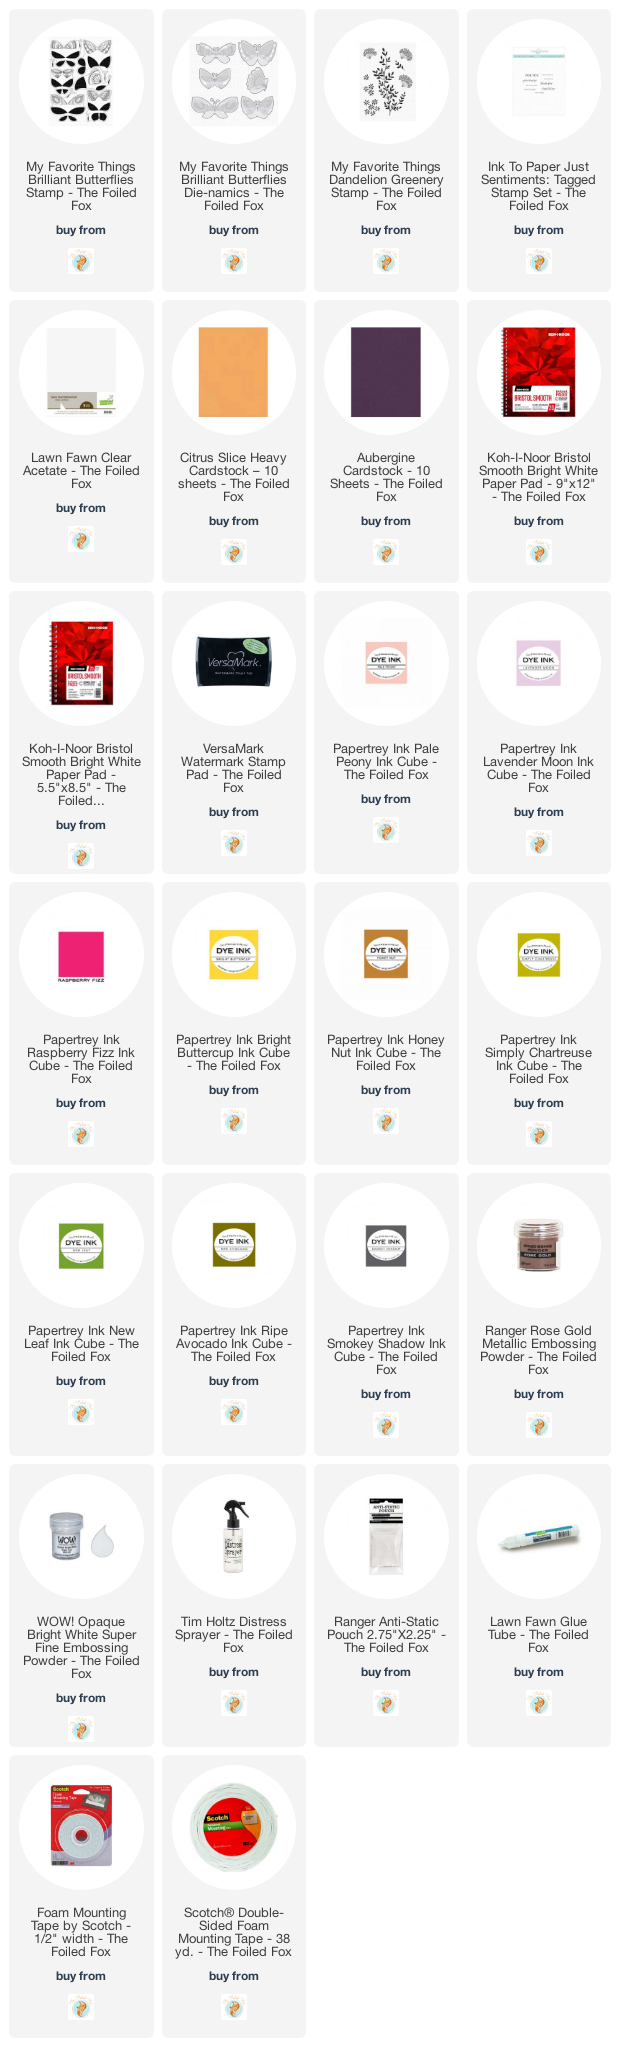
Goodies Used: