Canines With A Picture Perfect Snapshot
Hi there,
Rosali of I Love Stamping (Instagram: @ilovestamping) has done it again! She has created her second adorable card this week using the Picture Perfect stamp set by My Favorite Things.
Remember her fatastic retro black and white ‘snapshot’ on Tuesday? Well, this one is in full, awesome color. Take a look.
Oh, and don’t forget, there is still time to enter our giveaway hosted by Rosali and The Foiled Fox. Just leave a comment on this post on both our Instagram pages – @ilovestamping and @foiledfox. We will announce our winners next week – YAY! (scroll down for more info)
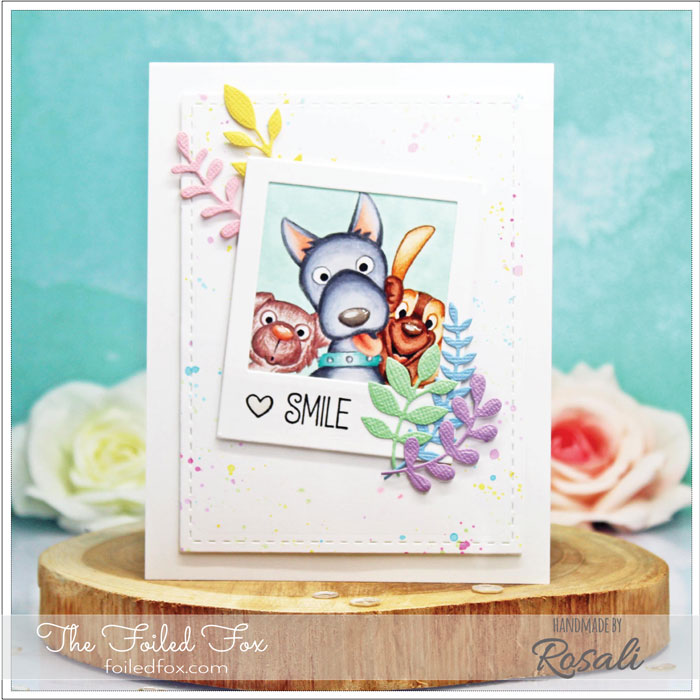
I am back with the second card for @foiledfox using @mftstamps’ “Picture Perfect” and it features a more time-consuming design than the kraft cardstock one (did you see that one?!). I used my favorite #twostepcoloring method with a base layer of Copic Markers & Multiliner and a second layer with colored pencils, both using the “no-line coloring” technique (see close-up photos). I stamped the image with a light grey ink to achieve this look. For the background, I splattered watercolors in matching rainbow colors onto a piece of Bristol cardstock and I have to say – I love how it turned out! What do you think?
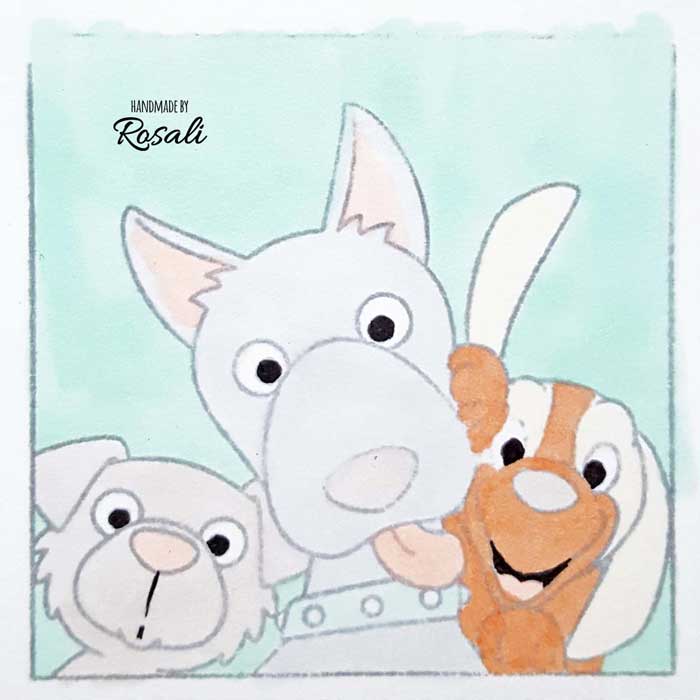
Above is step 1 – stamping the image in gray ink and coloring in the background and critters with Copic markers.
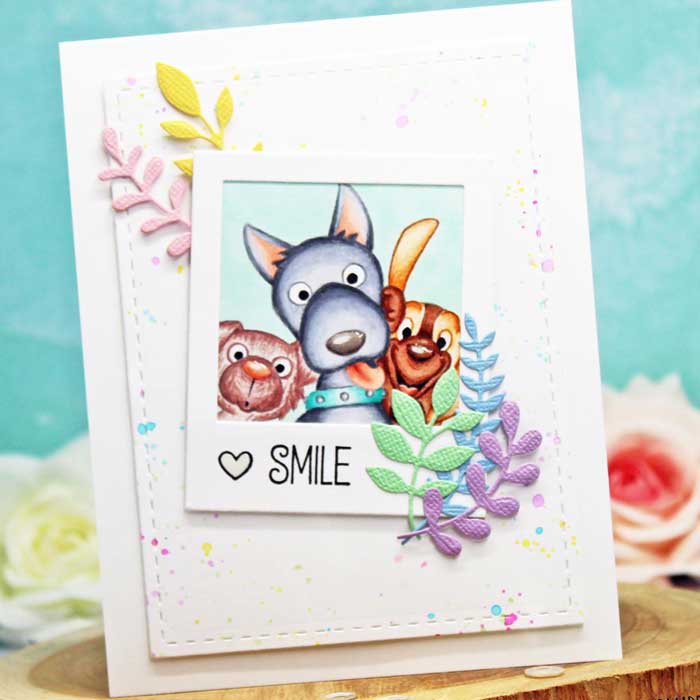
Now take a look below at the ‘snapshot’ with the dogs with all the coloring finished. You can see I varied the amount of colored pencil and copic markers I used for each cute canine to give each one it’s own special look.

With all the coloring done, I die cut some leaves using scraps of pastel card stock and the Fab Foliage die set by My Favorite Things. Next, I cut a panel from Bristol paper using a stitched rectangle die. I then splattered it with watercolor paints to match the colors of the leaves.
The stitched panel was then mounted onto a Neenah white card stock card base. These next few steps finished the design.
- mounted a few of the sprigs
- cut a ‘polaroid’ frame and stamped the sentiment with black ink.
- mounted the critter pic in the center of the polaroid frame and then added it to the top of the stitched panel
- the remaining sprigs were arranged and mounted.
- finally, a drop of glossy accents was added to the eyes and noses of the critters and let dry. This makes the eyes ‘pop’ and take on a more realistic look.
That’s all the steps. Now you have a snapshot of your favorite pooches!
♥ ♥ ♥
A little about Rosali:


Goodies Used: