Celebrate! Wildflower Card
Hello again,
I am excited to be with you again with a new project. Today, I am using the Concord & 9th Wildflower Stamp Set and watercolor paint to create this card. There is nothing more relaxing then coloring beautiful flower images, right? And we all know, Concord & 9th has some beautiful flower stamps.
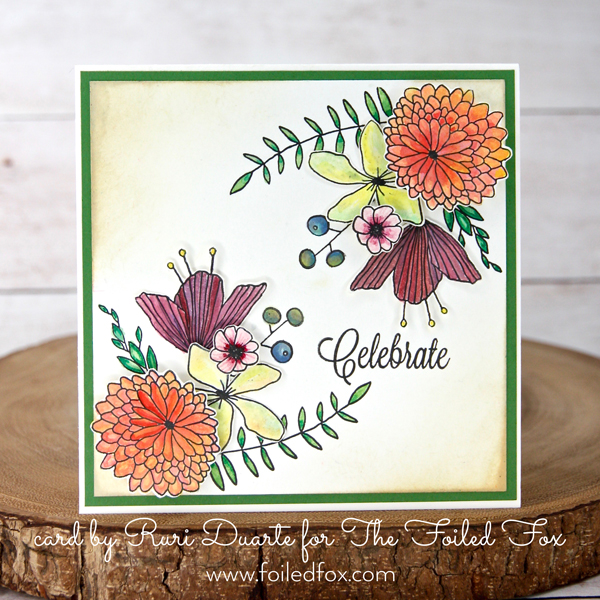
I will be using today a 5 1/2″ x 5 1/2″ card base made from a 5 1/2″ x 11″ piece of Neenah Solar White card stock, folded. Then, with a panel of 5 3/8″ x 5 3/8″ green card stock and a panel of 5 1//4″ x 5 1/4″ of solar white card stock, I was ready to start.
On watercolor paper and using Versafine Oynx Black ink, I stamped each of the 4 different flowers twice. To get a clear, even stamping of the flowers, use the MISTI tool. It will allow you to stamp the image a few times in the same position if the first stamping doesn’t stamp evenly.
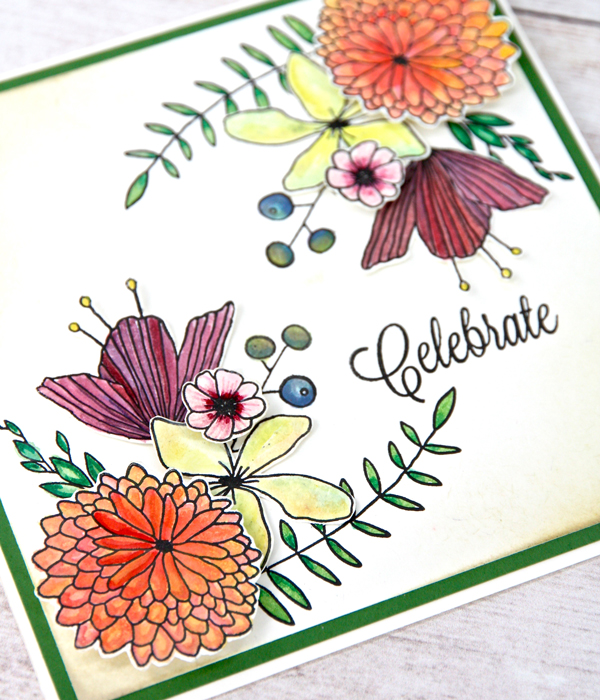
As some of you may know, I love to color so painting these luscious flowers was a pleasure. Any watercolor paints will work for this project so it is easy to dive in and start painting.
When the flowers were dry, I carefully fussy cut each of the flowers, leaving very little border. I really wanted to show off the pretty colors of the watercolor so the narrow border seemed to do the trick.
Arranging the cut flowers on the front white card stock panel really helped me decide on the positioning of the ‘greenery’. Once I got an idea where I wanted the flowers positioned, I stamped the greenery stamps and “Celebrate” directly onto the white panel. Again, the MISTI was a great aid in making clear, even stamping and getting the positioning just right.
.
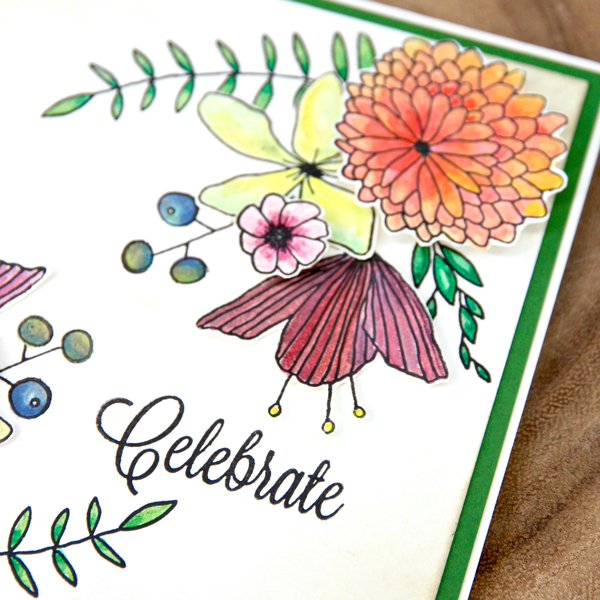
I lightly watercolored the greenery, using very little water. I didn’t want the paper to start to buckle so I was very careful with my use of water.
After the foliage was dry, I sponged on some Antique Linen distress ink in the corners. I started light and slowed built on the color until I was satisfied. The little sponge daubers are a great help with this job. It allows you to go slow and apply the ink evenly. Here is a close-up to show you what I mean – a picture is worth a 1000 words, right?
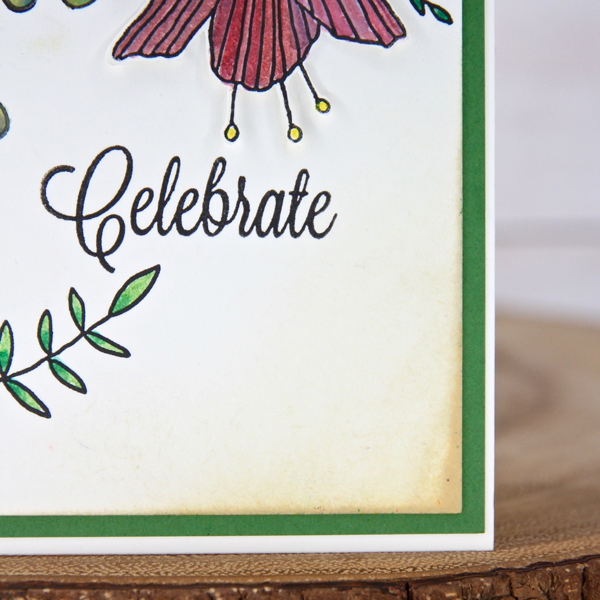
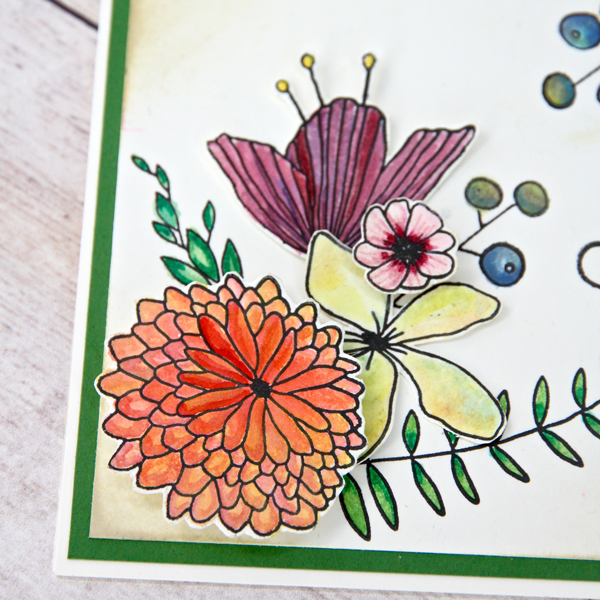
The only thing that is left was to attach the green panel to the card base and add the stamped and colored white panel on top. Arrange the flowers as desired. Some of the flowers were mounted on foam tape, while others were directly adhered to the top panel. You can get an idea of what I mean in the close-up below.
Well, here you have it – a fun, relaxing card ready to send to your favorite person.

Supply List:
Sorry, the comment form is closed at this time.


September 19, 2016
Sue Malone
lovely card…it is certain to brighten one’s day.Love the colors. It feels “JOYFUL” to me.